The Best Chili for a Crowd

It’s the time of year that we have a constant flow of guests in our home, and since our household alone is 8 mouths to feed, adding another family makes quite a crowd!  A few weeks ago I was having a garage sale, which if you’ve done before, you know it’s time consuming.  In my zeal for hospitality and in the tradition of believing I am capable of more than I am, I also invited a family over for dinner.

I had two choices: 1.  Call them up and reschedule and admit that I am a mere human.  or 2.  Run around like a crazy person and make our home present like we are NOT hoarders AND fix food worthy of guests while I’m sitting outside running a garage sale.

I, of course, chose 2.

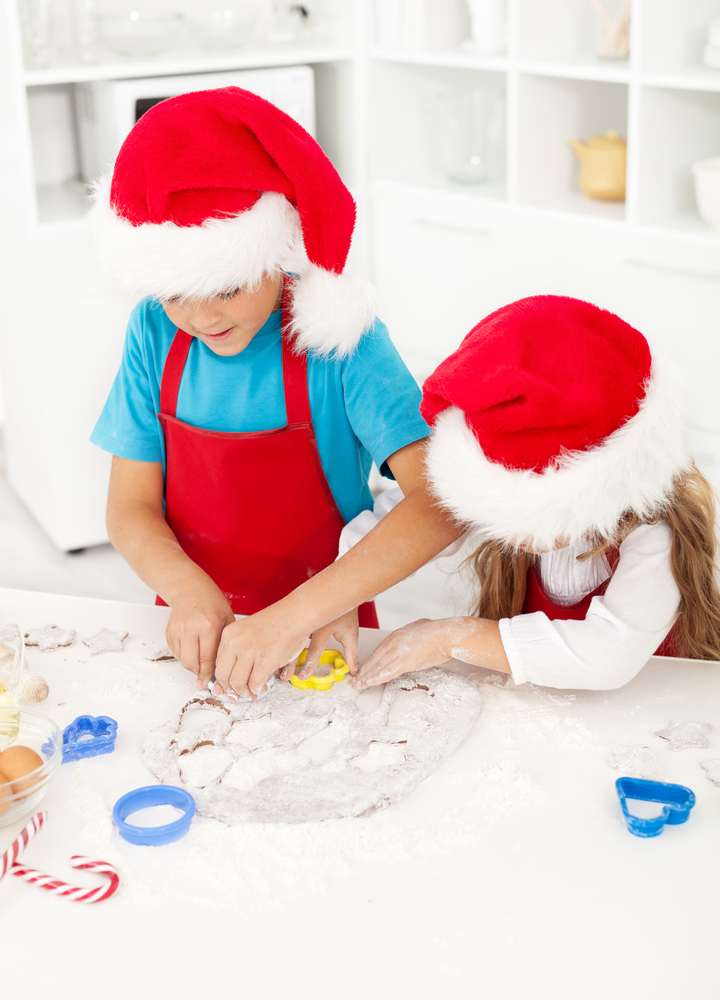
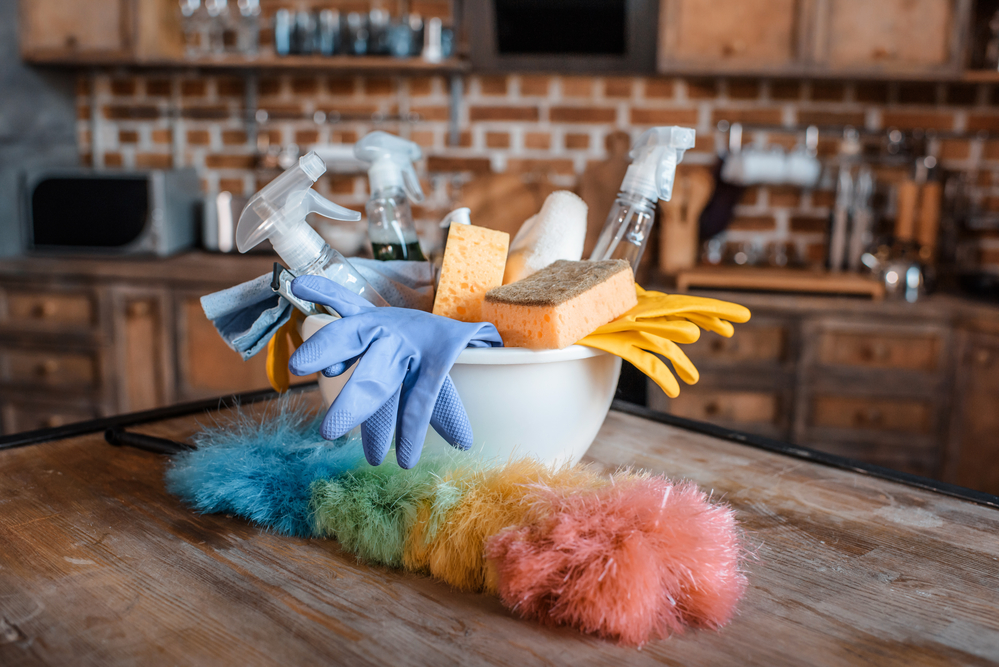
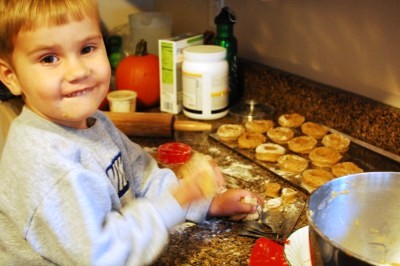
To do that, I needed help.  My mom came to help watch the sale, which thankfully she loves to do.  And I filled the bread machine with pumpkin cinnamon roll dough.  While that was mixing, I browned the beef and onion, and threw the rest of the ingredients for 2 gallons of chili in a couple of crock pots.  Then ran around picking up the clutter so when the kids walked in the door after school I could arm them with dust mops, brooms, and microfiber cloths.   There were several hours in between those few chores and the kids coming home that I could help with the sale.

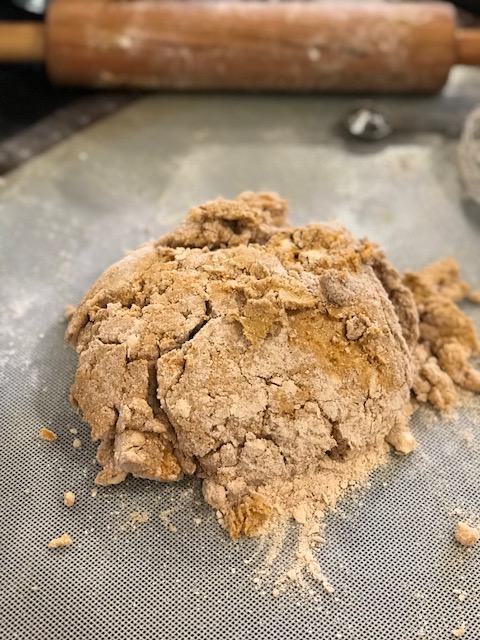
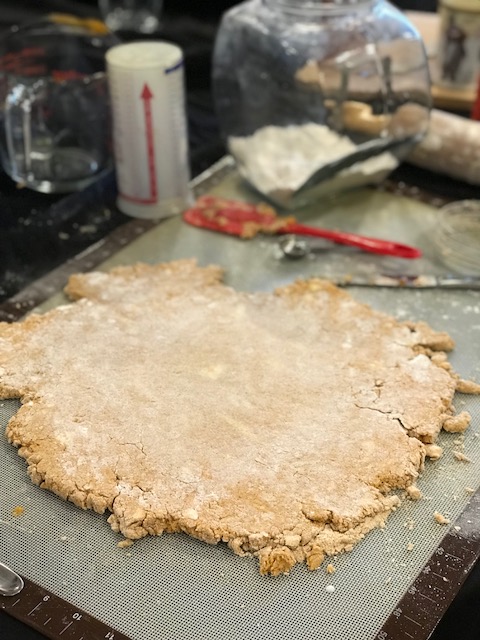
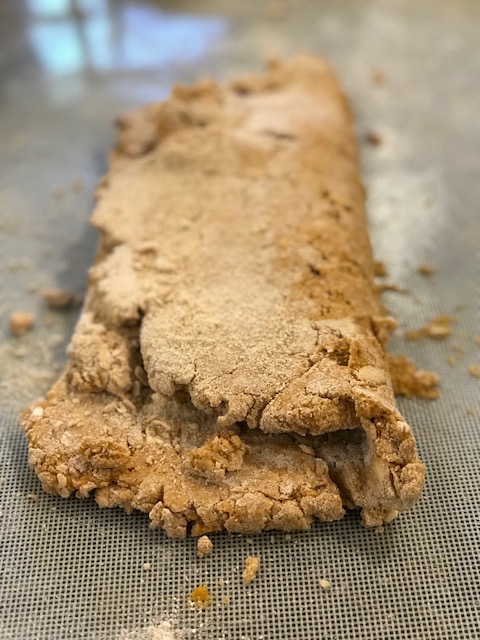
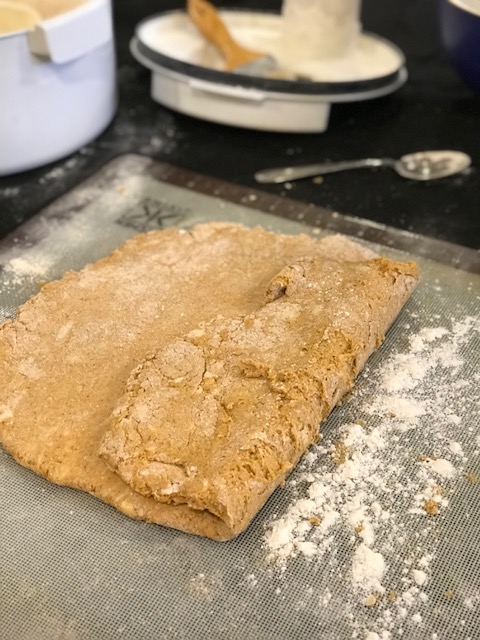
While the kids were cleaning, I rolled out the cinnamon roll dough and prepped them for the 2nd rise.  By the time our guests arrived, we looked like we lived in a reasonable state of cleanliness and you could smell good things coming from the kitchen..

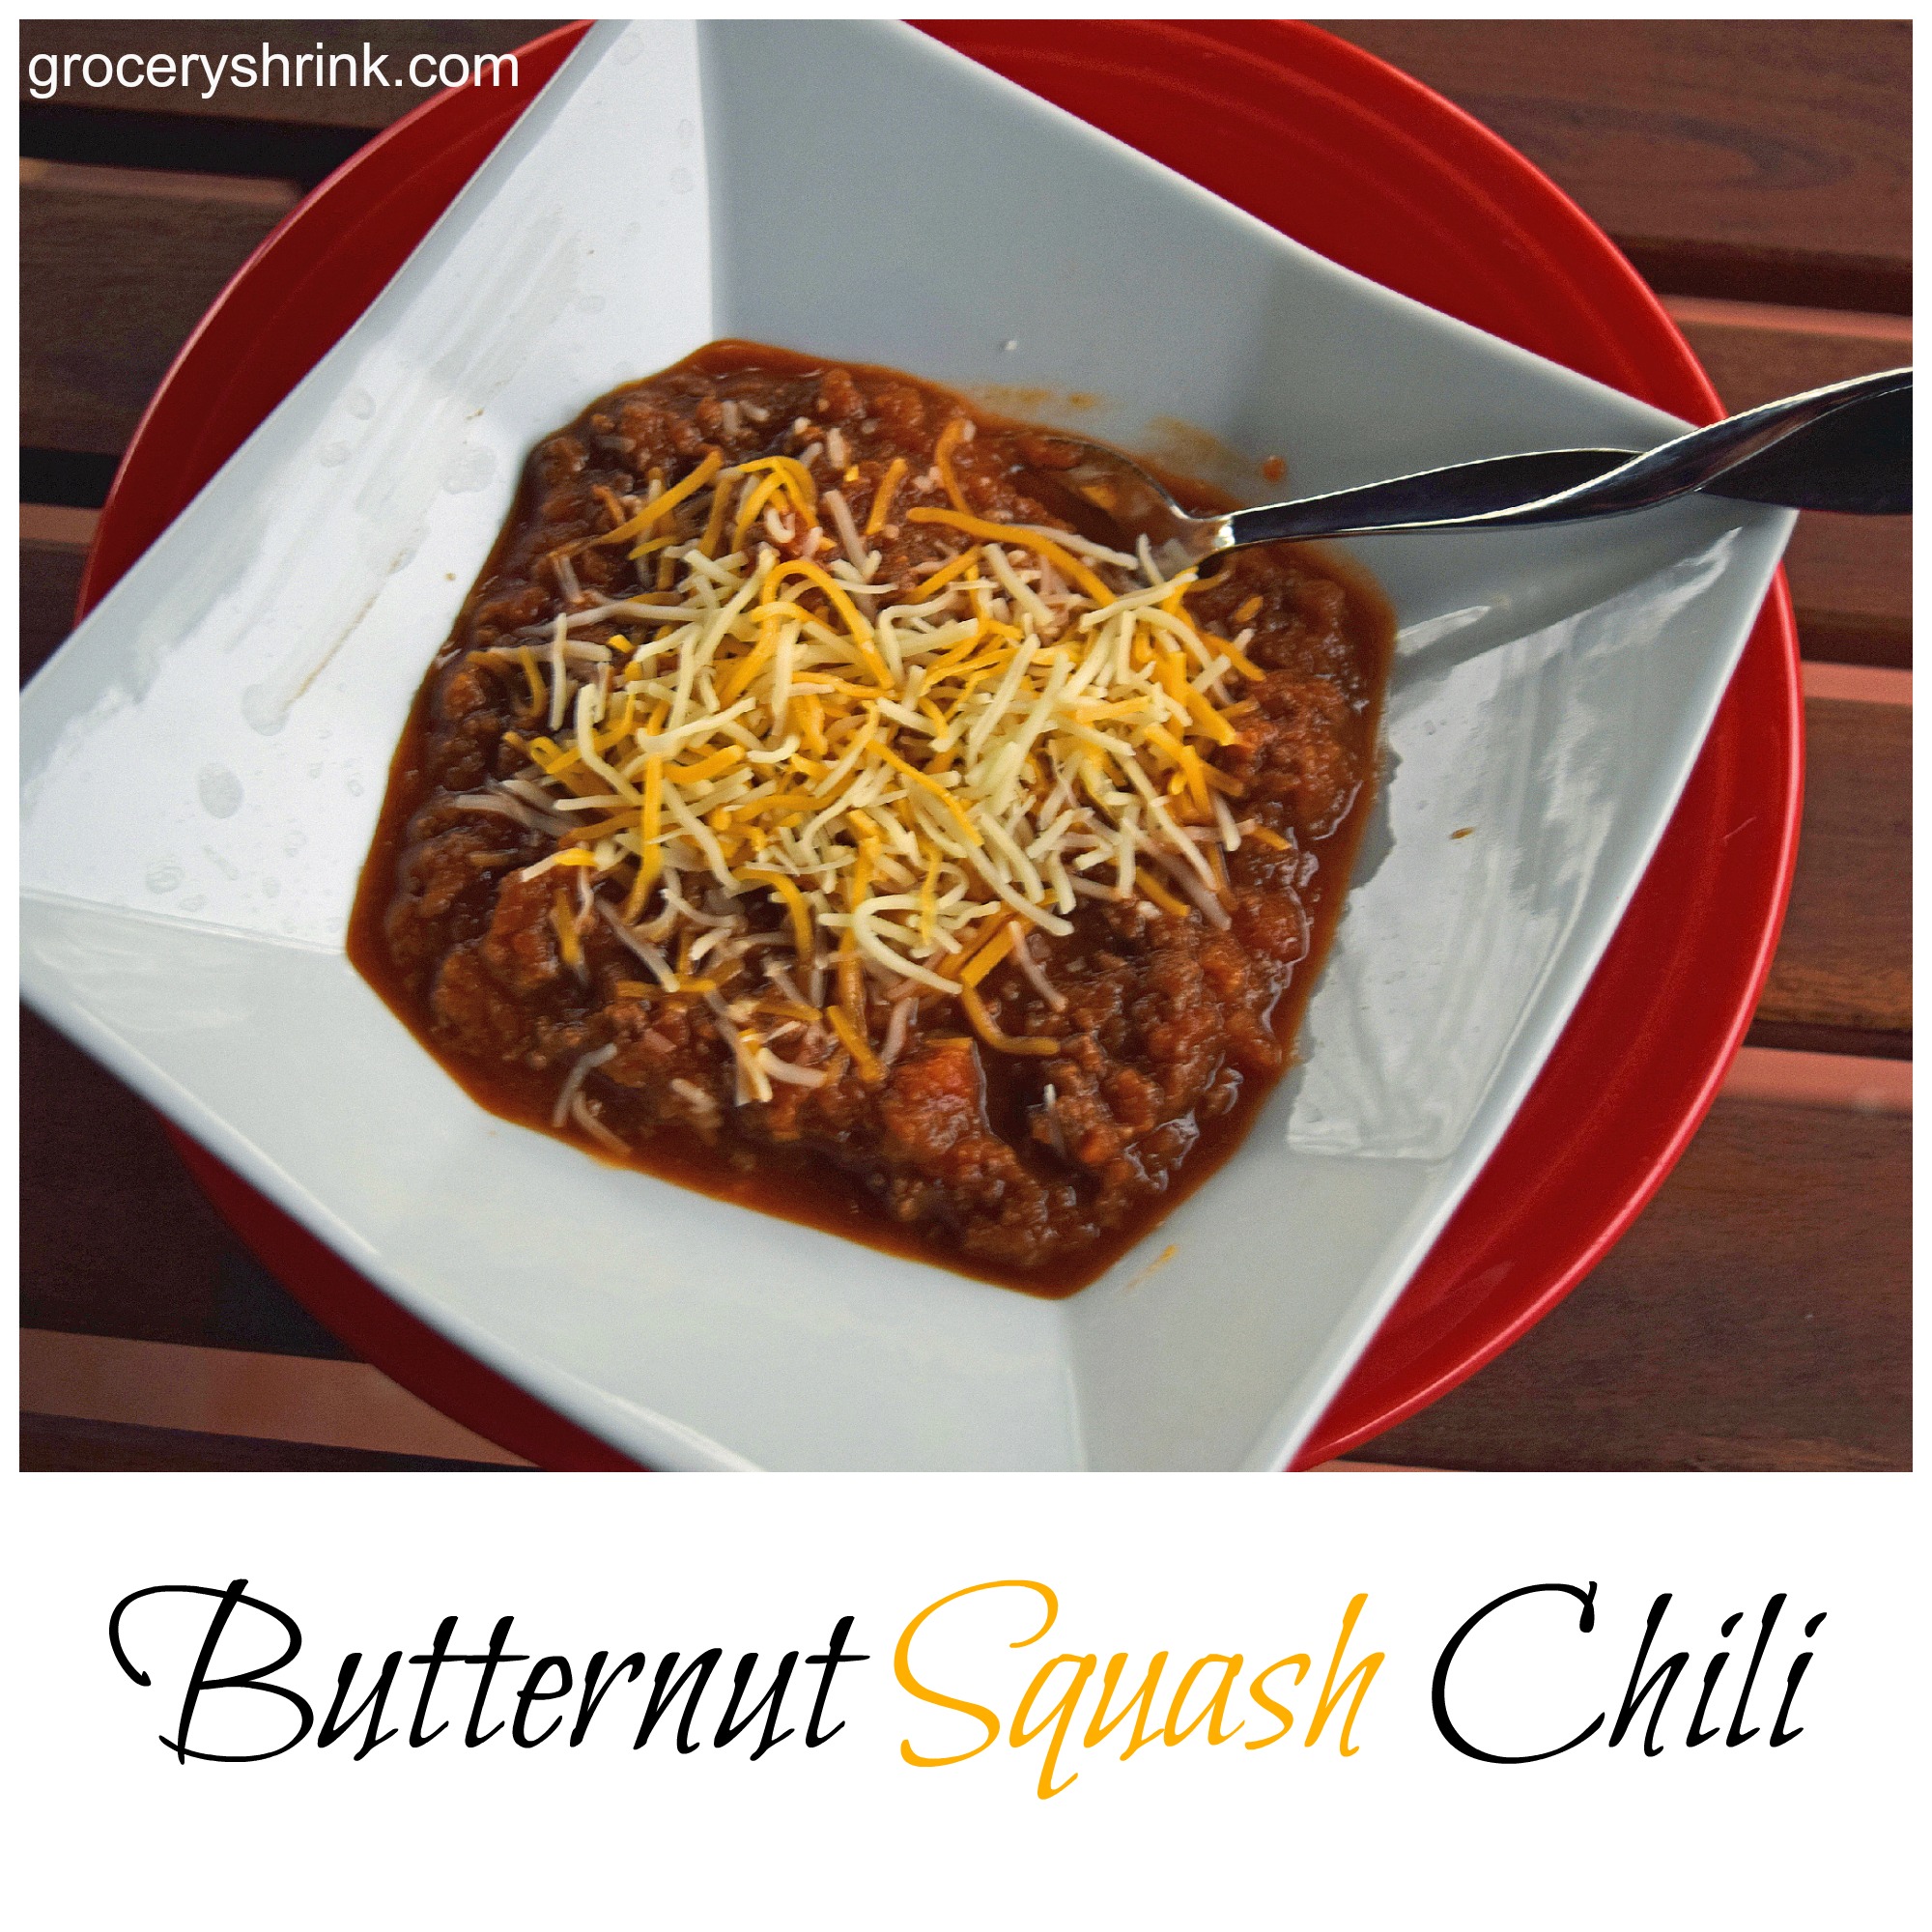
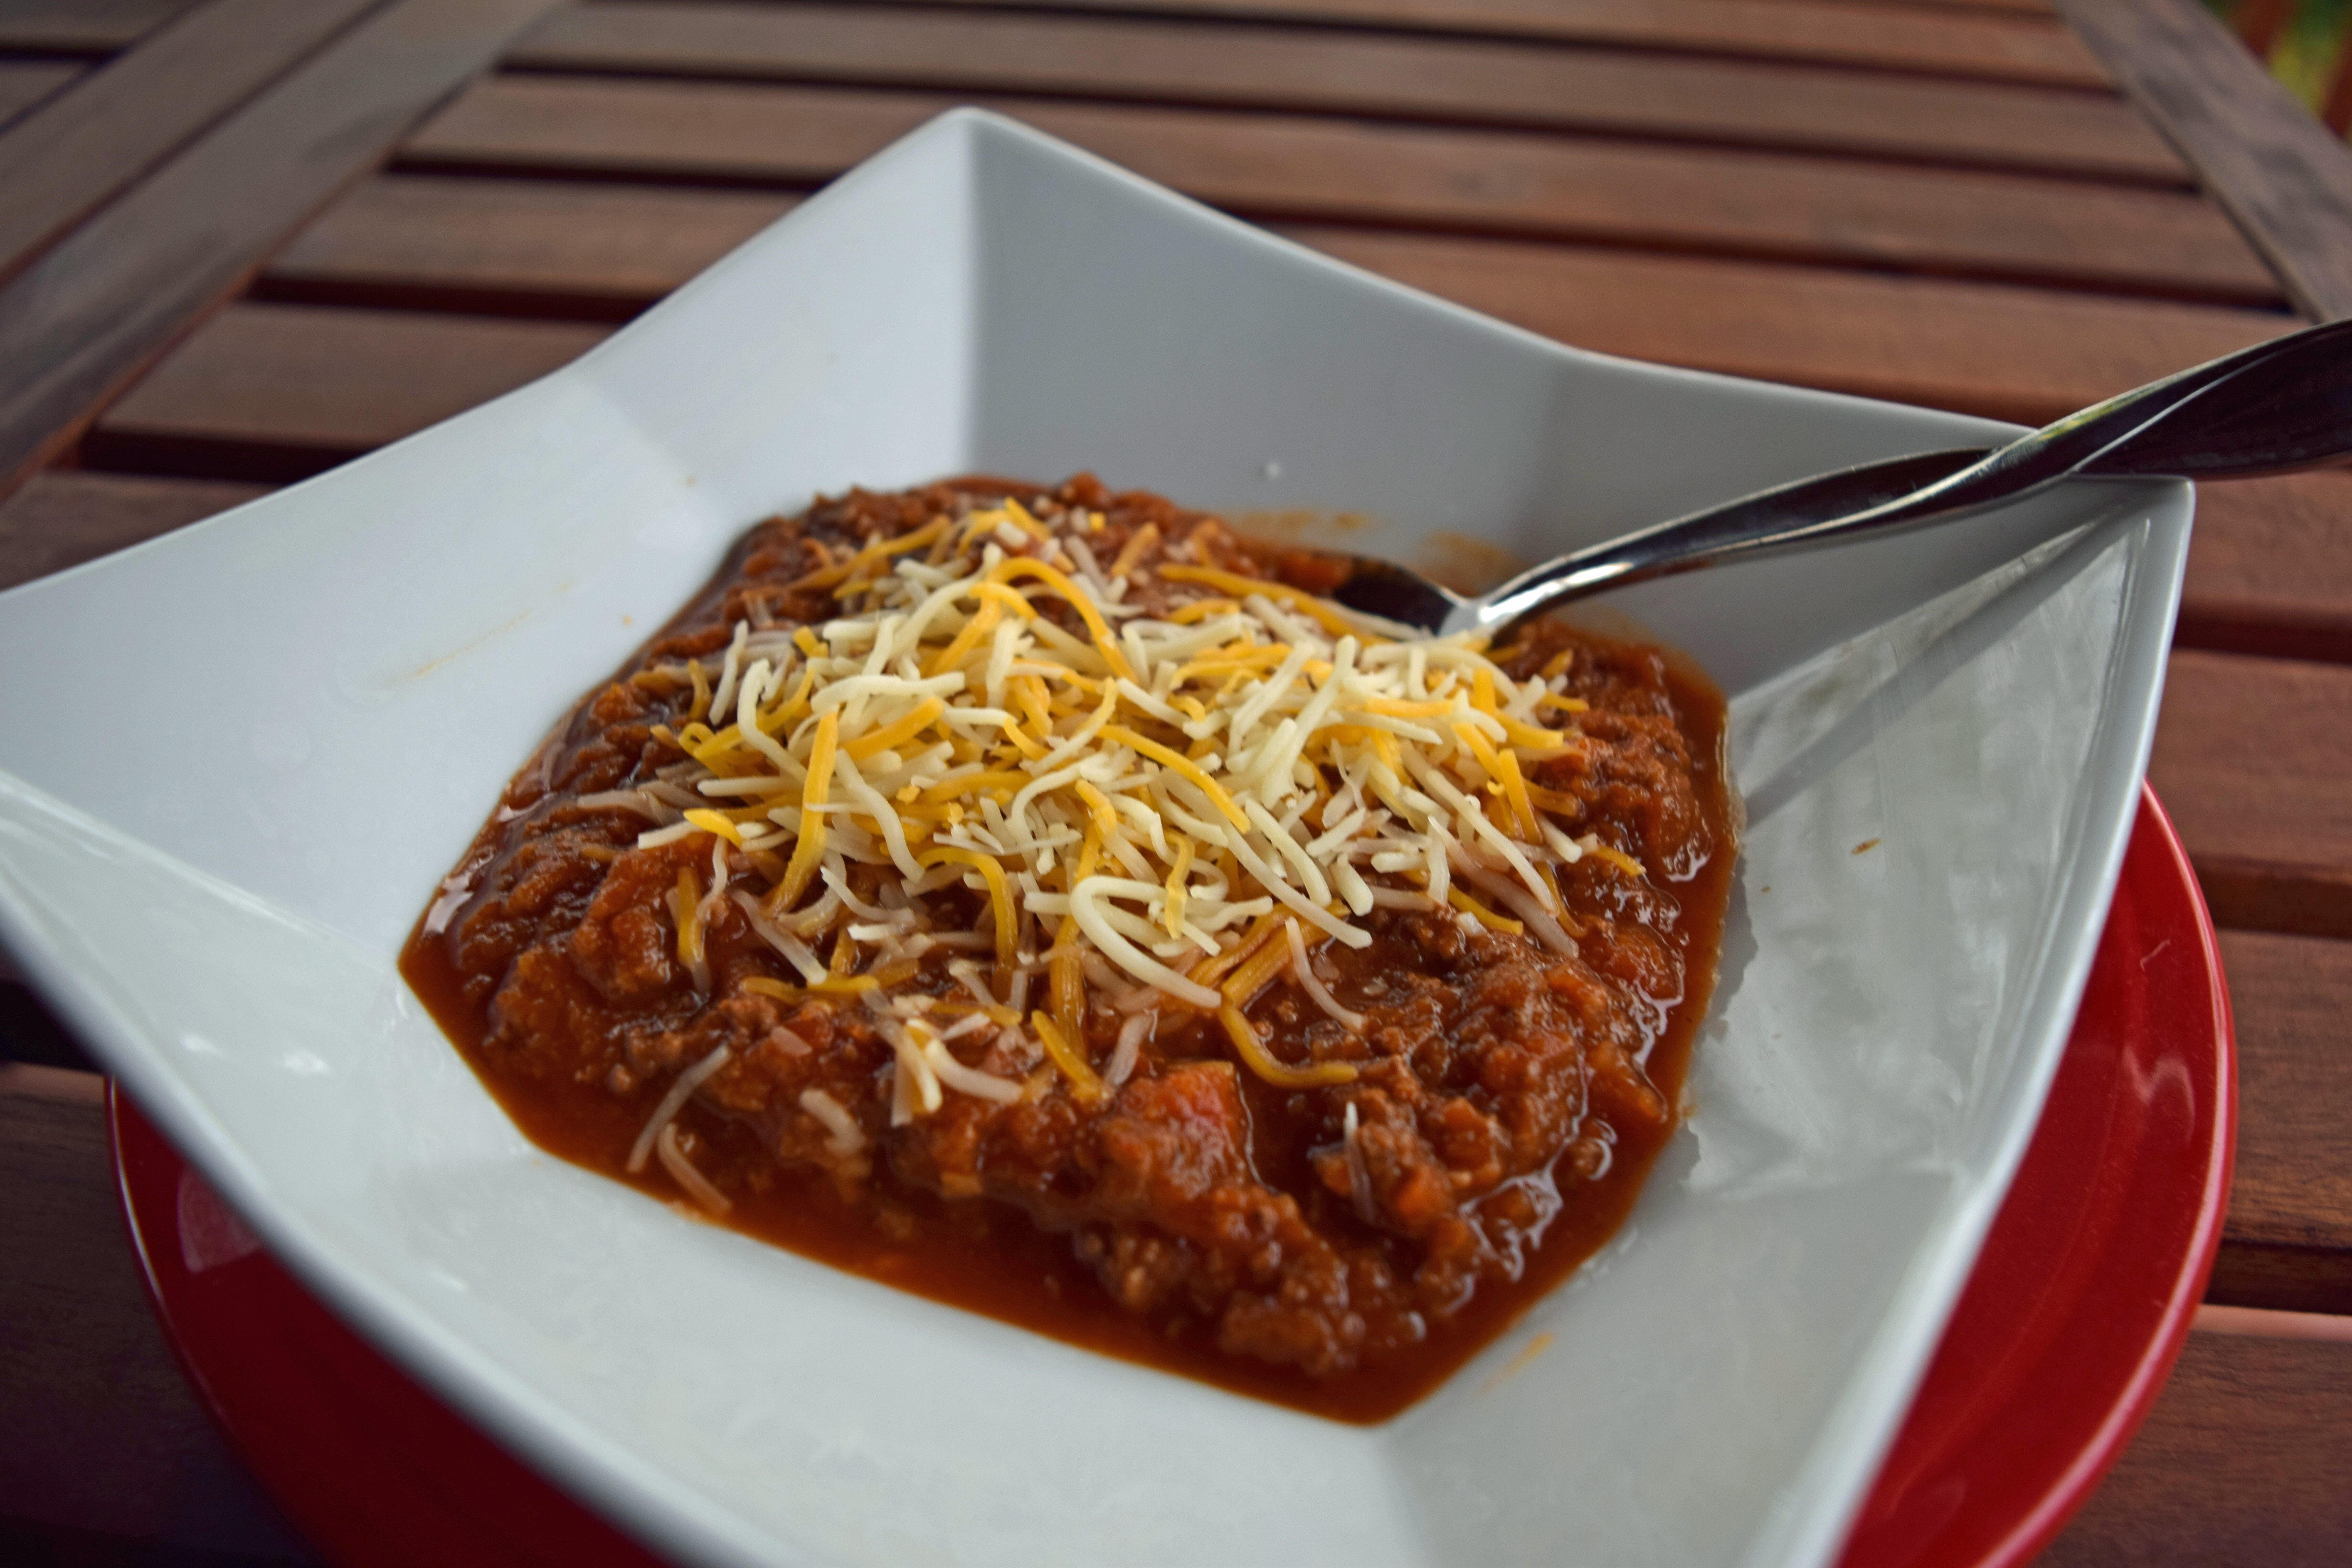
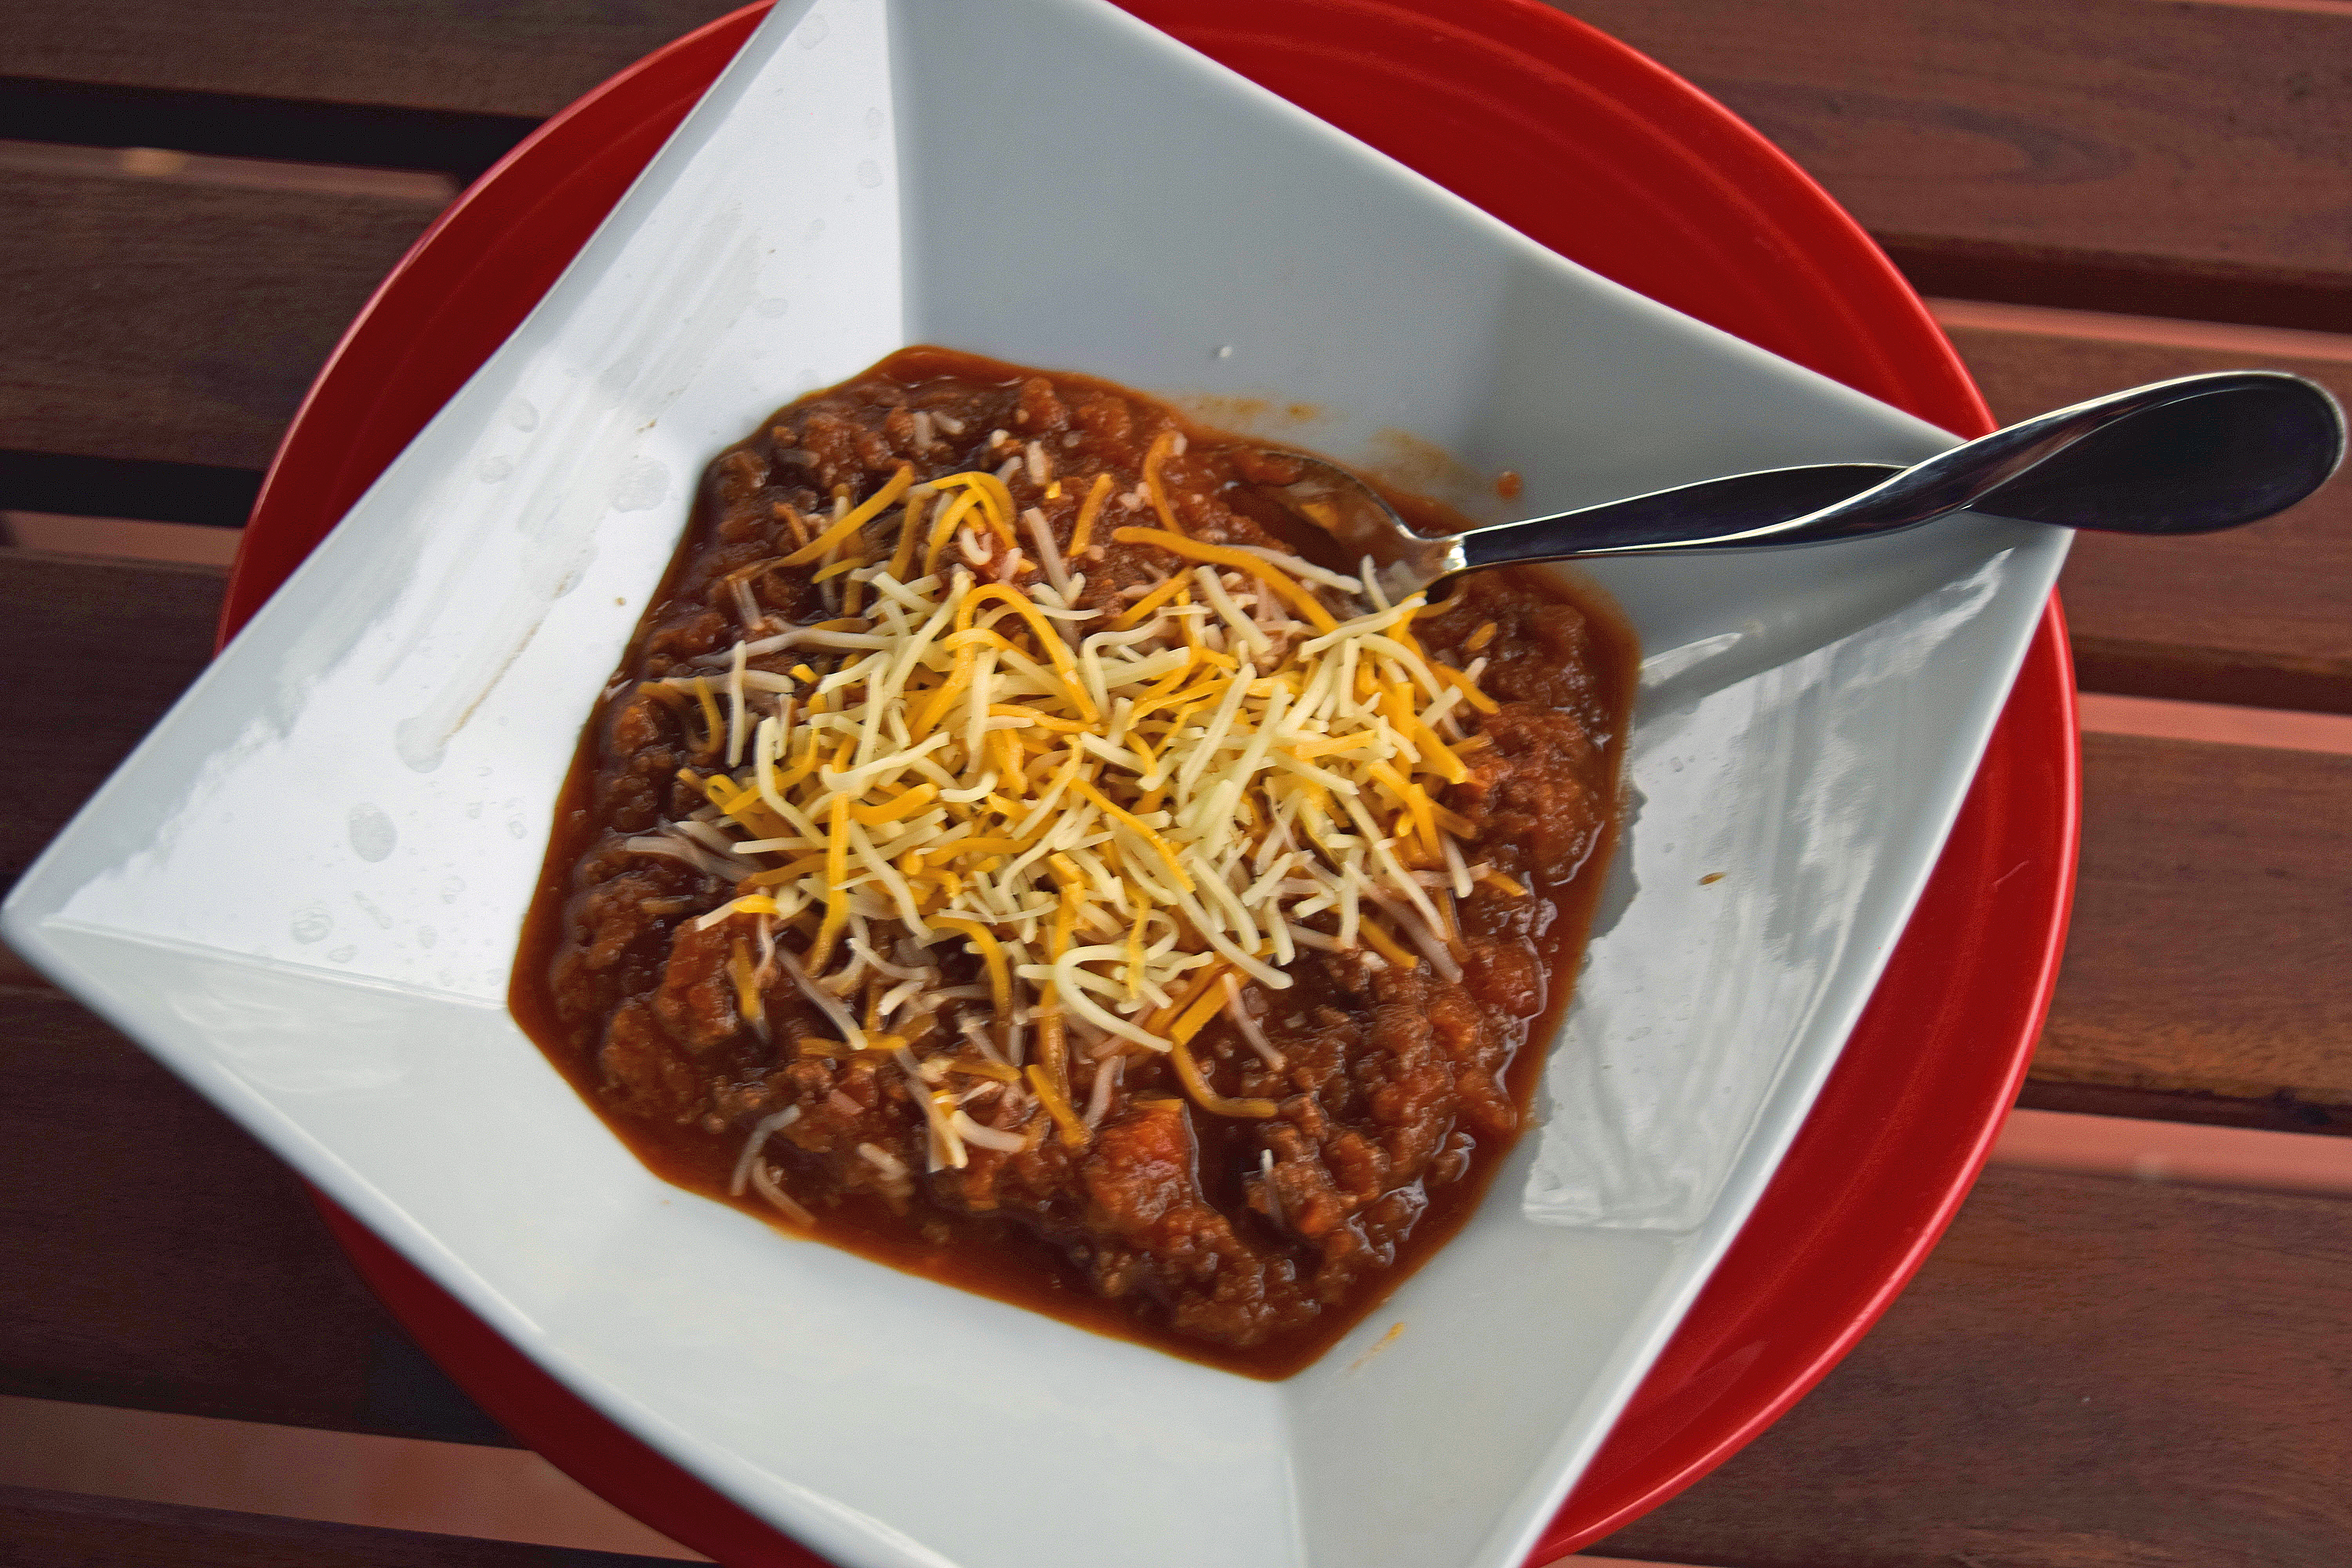
I was feeling a little bit like a domestic Wonder Woman, when one of our guests gave my chili the side-eye. It was a horrible moment, because the only other things on the table before the cinnamon rolls came out, were shredded cheese, fancy applesauce (out of a jar), various crackers and corn chips.   Showing his good breeding, he cautiously took a bite, then devoured the whole bowl full.  After dinner, he admitted it was the first bowl of chili he liked.  To be honest, It was the best bowl of chili I’d ever eaten myself.

I figured that made it worthy of sharing with you guys.  I didn’t work from a recipe and just threw together some things I had in my pantry, which became a happy accidental success story.  Thankfully I wrote it down as I went, just in case it turned out well.  If you are in charge of chili for a fundraiser dinner, please consider this one.  There aren’t any tomato chunks or weird ingredients like pork breakfast sausage. (Yes, I’ve seen that done!)

The Best Chili for a Crowd

4 lbs, lean ground beef

2 onions, finely chopped

2 cloves garlic, minced

6 cans, 15 oz chili beans, undrained

2 cans, 24 oz crushed tomatoes, undrained

1 quart beef broth

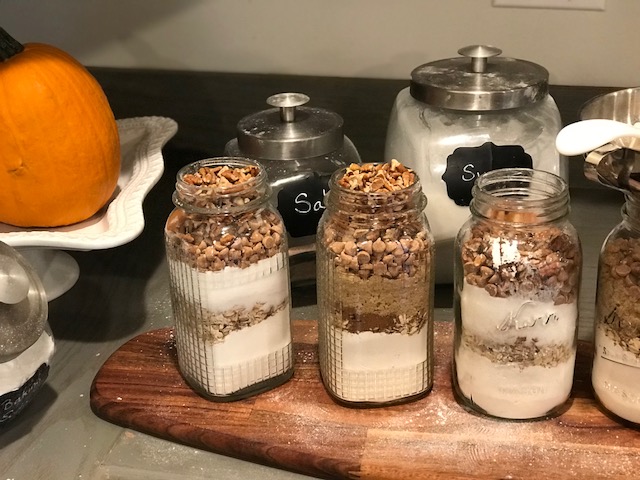
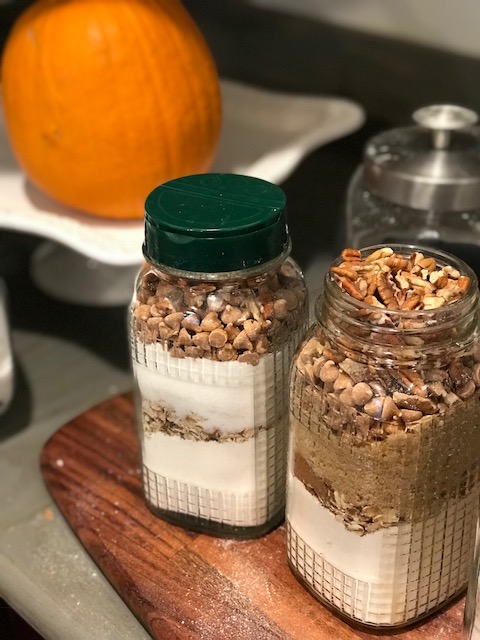
1/2 cup Grocery Shrink Chili Mix

Brown the ground beef with onions and garlic.  Then divide between two 5 quart crock pots.   Add exactly half of the remaining ingredients to each pot and cook on low for 6-8 hours.   The long slow cook allows the flavors to blend with fabulous results.   Alternatively this can be made in one of the giant roasters.  It halves and doubles well.

I bought all of my ingredients from Aldi, except for the ground beef, which my father-in-law raises himself.


How to Stop an Impulse Buy

I don’t know about you, but I struggle with sale anxiety.  I’ll see a sale advertisement that everyone seems to be buying and think I should by it.  The crowd can’t be wrong…right? Or even worse, I get wrapped up in a new hobby or craft project and buy all the things associated with it, then realize I don’t have the time for it after all.

Just recently I saw my niece hula hoop.  She was really good and it looked so easy. I remarked how tiny her waist was and her mom said it wasn’t that tiny a few months ago. She said they watched her waist whittle away the more she hooped. Then I thought I really needed a hula hoop.  I watched “how to hoop” youtube videos for beginners. I researched all about the hoops and what kind would be best.  I was never successful in the past with a hoop and found out it was because the hoop was too small and light weight. I started to believe that if I bought the $70 hoop, I could really do it.  I could hula hoop while watching my favorite show and in a few months my waist would be tiny like my 13 year old niece’s.

I didn’t buy the hoop.  Instead I thought about the Gazelle walking machine that I sold at a $200 loss at my garage sale, the aerobic step, the yoga bricks, the Home TRX system….you see where this is going.  I still put a moderately priced hoop on my Christmas list, but this is something I need to think about more.  Will I actually do it?  Or is it a waste of money?

I have a spinning wheel, wool carders, drop spindles, a whole bin of roving, and even owned an angora rabbit at one time so I could harvest my own wool.  That was all because I thought hand spinning, then knitting a set of angora ear warmers would make watching peewee soccer games in cool weather more comfortable.  I think I saw it on a blog post featured on pinterest one time, and went totally overboard. I can’t tell you the last time I spinned something and my handmade stuff wasn’t as nice to work with as yarn from the store.

It’s no better when an ad pops up on facebook and shows all the cool gadgets or cute outfits, or special apps that let you buy all the things at a deep discount.  It’s even worse when a blogger I love will show off her new thing (especially home decor thing.) Those are the items I want to buy the most. I will follow the links, read the reviews, look for the best prices and then quickly stop myself from buying a bunch more stuff to clutter my life and stock next year’s garage sale at a loss. Only because experience is a great teacher.

You may already be great at saying no to impulse buys, but just in case you struggle like I do, here are a few questions I ask myself before I buy:

  1. Am I buying to cover up a feeling of inadequacy or to mask emotional pain?
  2. Did I know I had a need before I saw the ad or item?
  3. Do I have the cash for it?
  4. If I use the cash for it, what opportunity will I be giving up in exchange?
  5. Are the reviews complimentary?  Are the reviews fake?
  6. How long did I have to work to earn this money?
  7. What’s the worse thing that will happen if I don’t buy it?
  8. Where will I put it?  Will it add to the clutter?
  9. How long before it ends up in the donation pile?

Shopping and buying stuff is a natural part of life. The key is to let your shopping work with your goals and to not give up what you want most, for what you want now.

What do you think?  Do you have special tricks to keep yourself from buying stuff you don’t need but really want anyway?

Our Thanksgiving Table, On letting children help, and Easy Roast Turkey

We hosted Thanksgiving this year, for our first time ever.  I roasted a 26 lb turkey, which didn’t go well the last couple of times I tried it.  It made me nervous, but it came out beautifully.  I’ll share my super easy recipe at the end.

We had 19 guests, but thought planned for 22. I set up two 6 foot round folding tables and pushed 2 rectangular folding tables together in the middle for a circle, square, circle configuration.  My goal was to feel like we were all sitting at 1 table, but be able to still walk around the room as needed.  It worked!

We’ve still never gotten a real table for this room. I keep thinking I’m going to build one and have several pinned in my “wood” pinterest board.  Other things take priority, so it will probably be a few years before I actually build something.  With a table cloth, we mostly forget our every day table is a portable fold up tables.   I used 2 of these and 2 of these tablecloths for this setting and love that they come in a ton of color options for a great price.  I also grabbed 3 of these runners to dress it up.  I had planned to write scriptures down the middle layer with chalk, but in the end, we liked the simple cleanliness of it all.

The black chargers are Dollar Tree gold chargers that I spray painted with chalk paint.  One can of paint and one can of primer did all 22 chargers.  I topped the chargers with my every day white Corelle plates.

I grabbed buffalo check napkins which match my curtains (ahem tablecloths with a rod pocket sewed in the top.)  I saved the napkins to use the first time for the Thanksgiving table, but they will be our new everyday napkins since the old ones are worn thin.

The day after Halloween I bought a couple of boxes of foam craft pumpkins on clearance at Hobby Lobby.  They were glow in the dark orange, so the kids and I painted them to look like heirloom pumpkins.  Walmart is the best price for craft paint even with sales and coupons if you ever wondered.

Then we printed up some name tags and tied them to the stems with jute twine from the Misc. drawer.

While the clearance sale was on, I also grabbed 2 large heirloom pumpkins.  They cost about the same as buying real pumpkins, but won’t rot and I can use them year after year.

This is a fake one on a burlap wrapped Dollar Tree Foam Wreath and Ikea Eucalyptus branches.  I had the branches on hand and just pulled them out of the arrangement they were in to try to beef up the table.

This pumpkin is real.  My guests thought they were all real until they touched them.  The faux boxwood wreaths are from Ikea and were on my front doors just the day before I set the table.  It was all clever and fun until a spider walked out from the wreath and ran across the table during dinner.  EEEEK!

We placed a butter dish, salt and pepper shaker, roll basket, and gravy boat on every table.  (I asked some of the guests to bring theirs so we’d have enough without buying extra things.) All the other food was served buffet style.

My oldest daughter helped me arrange the table settings and place cards the morning of Thanksgiving, and I watched her running around in a frenzy, shooing the younger children out of the room because they weren’t doing things perfectly and being completely frazzled.  In that moment I saw a perfect reflection of myself during her younger years.  I felt convicted and grateful simultaneously.  Sorry that she was only living what she had seen, and glad that she was still in my home and mine to teach.  So I apologized to her for her crazy holiday mother from her childhood, and we had a talk about the value of little hands and how their imperfections make life that much more sweet.

Two things made our holiday especially less stressful.

A.  I set out a yogurt buffet for breakfast, so I didn’t have to cook and they could come in and grab something when they were ready.  I even let them eat at the coffee tables since the kitchen tables were already set for lunch.  Everything was from Aldi and I was so excited that they offered fresh raspberries and blackberries for $1 a clamshell the day before

B.  I roasted the turkey the day before and carved it up into 9×13 pans.  Then I poured the broth back over the meat to keep it moist.  Then Thanksgiving morning, I reheated the meat in the broth.  After we transferred the meat to a serving platter, I could still make gravy out of the broth.   So here’s my super easy Turkey Roasting Instructions:

Super Easy Turkey Roasting Instructions:

  1.  Thaw the bird in the refrigerator ahead of time. Here’s a handy chart.
  2. Preheat the oven to 400 degrees.
  3. Don’t wash it, but do pull out the neck and the bag of giblets.  (Or leave it in, it really doesn’t matter.)
  4. Place a wire rack in a large, deep roasting pan.  Place the turkey breast side DOWN on the pan and rub it all over with melted coconut oil (about 2 Tbs) and sprinkle with salt.
  5. Roast at 400 for 1 hour (this seals in the juices), then without opening the door turn the temperature down to 350.  Cook for 1 hour longer.
  6. After the bird has been in the oven for 2 hours.  Take it out and flip it over so it’s breast side up. Rub it all over with coconut oil (2 more Tbs) and salt again.  Then stick the probe of an oven proof digital thermometer with alarm in the thickest part of the thigh.  (The thigh is right inside the leg.) Put it back in the oven and shut the door with the alarm part of the thermometer outside the oven.  You’ll close the door on the cord.
  7. Then leave it be until the alarm goes off.  If you want an estimate for how much time you’ll need, here’s a handy chart.
  8. When the alarm goes off, set the turkey and pan out of the oven and let it rest for 1 hour.  This allows the juices to reabsorb into the meat, but if you carve it right away it will all run out and be dry.

We still haven’t put up any Christmas decorations, because we have 6 of these until next Wednesday.  It’s worth the wait.

How was your Thanksgiving?  Is your Christmas tree up?


6 Doable Ways to Get Christmas Cash Fast

Aak! it’s already November and if your social media is full of moms bragging about their Christmas shopping escapades while you’re still wondering how you’re going to avoid Christmas debt, you might be feeling a little discouraged.  No worries!  Here are 6 ways to get Christmas money fast that will have you singing “Joy to the World” in no time.

  1. Donate Plasma to get paid and save a life at the same time. Plasma is the clear portion of the blood and is used for preemie babies, burn victims, hemophiliacs and other cool medical rescues.  Since they separate the blood and give you back your red blood cells, it is safe to donate twice a week.  Most centers pay on a reloadable visa card and pay more for the 2nd visit per week than the first to encourage you to keep coming back.  My husband and I both donated when we had an income crisis a few years ago and together earned $450 a month for a few hours a week of our time.  They had free wifi for us while we were there and I enjoyed some downtime surfing Pinterest or watching a movie. If you try it, you’ll need to call or go on their website to schedule your first appointment since it takes a bit longer for the full health screening.  Always take a blanket and a stress ball to squeeze with you (it helps the blood flow faster and those places are COLD.)   And have something to drink and a snack in the car for your drive home. (Our center wouldn’t allow us to bring food or drink into the building.)   The center will guide you on your eligibility to donate. Some medications, health conditions, recent tattoos or piercings or trips outside the country will disqualify donors.

2. Host a Mom’s Night Out. Plan some easy kid’s crafts, homemade pizza, games, and a movie for a whole pile of kids and announce you are open for business among your social circle for date night drop offs.  Charge what you like, but you might consider $15 per child for a 3 hour window.  If you want to give multi-child discounts, it’s totally up to you.

3. Clear out some Clutter. Before the season brings a whole host of new things into your home, clear out what’s not useful to you anymore. Craigslist is still a great option for selling your stuff, but there’s also OfferUp, and Facebook Marketplace.   Beyond furniture, people also use them to buy household items like linens and decor, clothing, baby gear, and household items.  Some people are even selling their extreme coupon hauls there.

4. Hire out for No Judgement Emergency Cleaning. Most charge around $20 an hour and work fast. You could even have an option for the jobs most people hate:  bathroom cleaning and kitchen floor mopping.  I’ve hired people before and I became frustrated if my helper wasn’t self-directed.  If you hire out, bring your own supplies and have a checklist for yourself, so you know exactly what to do without being told.  You can present the checklist ahead of time so your client knows what to expect.

5. If you have at least a bachelor’s degree you can teach English to Chinese students online.  The pay is between $14 and $22 an hour, but requires a 6 month minimum commitment.  You can find out more here.  I have a personal friend who is doing this right now and LOVES IT. She offered to help guide you through the process.  Shoot me an email at angela@groceryshrink.com and I can forward it on to her.

6. Monetize your skills.  Do you crochet? Sew? Paint? Bake? Decorate? Organize? Extreme Coupon? Style hair or apply makeup? Write in cool fonts? What do people constantly ask you about for advice? Offer group classes and make sure to charge enough to cover supplies plus your time.

The ideal way to plan for Christmas, is to set aside a little bit every month.  We take ours out in cash on pay day and put it in an envelope.  If you set aside $50 a month, by the end of the year you’ll have around $600 for gifts in a sinking fund.   Need more?  Saving $75 a month will get you $900 and $100 a month builds up to $1200.  When budgeting for Christmas, I often think about the gifts and forget to plan for sending cards, special foods and clothing. The sinking fund should be large enough to cover all those things.  How much should your Christmas budget be anyway?  Find out more here and here.


Texas or Bust

I just got back last night from an extended weekend in Bryan, TX for my husband’s high school reunion and am leaving tomorrow to drive back down to Dallas for FinCon17.  We looked at the option of dropping me off in Dallas so I wouldn’t have to do so much driving, but I wouldn’t have a car that way, and would have expenses of taxi and flights, plus I’d miss all the parent teacher conferences.  I needed to see my people.

They handed me this picture at the casual luncheon and my dreamboat mostly looks the same, except for his neck width.  I was like wowza, were you power lifting?  And he said, “Nope, that was from practicing headers with the soccer ball.”

We took Darren’s parents down with us, so they could see all the old places and friends again.  The bonus was great conversation and me never touching a steering wheel for the whole weekend.  The downside was blowing right through Waco, TX without even a glance at Magnolia, because I didn’t get to touch the steering wheel all weekend.

We visited dear friends who built this house in the shape of a barn and it’s full of charm.  When I came down 20 years ago, it was the house that inspired all my dreams of what I wanted my grown up home to be.  I posted more pictures of it on my instagram account.

The lady of the home is now 84, but looks at least 20 years younger.  We chatted about her nutrition and beauty secrets which include using a facial brush and a bentonite clay/apple cider vinegar mask.  She shared a string of testimonies about how Jesus has blessed her life.  And also how her husband holds her hand everywhere they go, because she needs the stability, but it makes them look like young lovers.  Which I love.

I thought I would be able to bake, photograph and post all the recipes for the 31 days of Pumpkin before we left, but I wasn’t thinking about trimming out, caulking and painting our attic space and turning it into a guest room right before it becomes the new master bedroom that week as well.   Or on our washing machine breaking and all those trips to the laundromat.  I’m still a little disappointed with Whirlpool who should have had a part recall, and at the Sears repair service who tried to charge us $100 extra on the part over their website price and $300 in labor for a 15 minute fix.  But we fired them all and Darren fixed it himself.  If there’s a lesson in this, it’s to not let anyone pressure you into a $600 repair and that it’s ok to take time to research all your options.

I’m not sorry I tried the Write31 Days challenge.  I definitely got a lot more blogging done than I would have without it, but I’m waving the white flag until I get back from my second trip to Texas.  It was a 12 hour drive to Bryan and will be 9 hours for me to go back to Dallas for FinCon17.  So it’s kind of a big deal to my introverted self, especially since I’m driving alone and rented an airbnb with a complete stranger.

I’ll post the rest of the recipes before Thanksgiving, but I’m ready to add some other topics of blogging back in too–like our Makeover Monday posts.  Speaking of which, I only have 2 rooms left in the queue for Makeover Monday, so it’s a great time to submit your room for consideration. You can email your before pictures to angela@groceryshrink.com with a few thoughts about your hopes and dreams for the space.

P.S.  This is our selfie from Friday night football and all I have to say about that is they take their football VERY SERIOUSLY in Texas.

P.P.S. This is Irlen Syndrome awareness week and I’m loving my new, lighter colored lenses. My color lightened because my brain healed and changed some while I was wearing my first pair of Irlen Filters. You can hear about the latest research from Cornell University from this facebook live.

P.P.P.S. We are starting a Healthy Holidays fitness challenge in November that will help us reach and keep fitness goals while still indulging in some of the holiday food traditions. All members of groceryshrinkplus can join the challenge for free with special meal plans (and prizes) provided.


Flaky Layers Whole Wheat Pumpkin Biscuits

These slightly sweet, spiced biscuits are perfect for a grab and go breakfast, after school snack, a side dish for hearty stew or as part of a brunch menu.

Flaky Layers Pumpkin Biscuits

3 cups Unbleached Flour (or Hard White Wheat Flour or WW Pastry Flour) The pictures show the White Wheat option.  I ground the flour fresh just before baking for maximum nutrition.

2 tsp baking powder

1 tsp baking soda

1/2 tsp cream of tartar

2 tsp pumpkin spice

3/4 tsp salt

1/2 cup cold butter

1/2 cup Buttermilk (If using homemade Buttermilk, reduce by 1 Tbs)

1 cup Pumpkin Puree

1/4 cup Real Maple Syrup or Honey

Preheat oven to 400°.

2. Lightly spoon flour into dry measuring cups; level with a knife. (This time don’t measure by scooping.)Combine flour, baking powder, baking sods, pumpkin pie spice, and salt in a large bowl. Cut butter into small pieces and then use a a pastry blender to work it into the flour mixture until mixture resembles coarse meal. Chill 10 minutes.

3. Combine buttermilk and maple syrup, stirring with a whisk until well blended; beat in  pumpkin. Add buttermilk mixture to flour mixture; stir lightly just until dough comes together.  Do not over work. Some loose flour is ok.

4. Turn dough out onto a lightly floured surface.  Do not knead and roll dough into a 1/2-inch-thick rectangle; lightly dust top of dough with flour. Fold dough into thirds. Roll again into a ½ inch thick rectangle; dust top of dough with flour. Fold dough into thirds then gently roll to a 3/4-inch thickness.

6. Cut dough with a 2 inch biscuit cutter. Place biscuits, 1 inch apart, on a greased baking sheet.

7. Bake at 450° for 12 minutes or until golden. Remove from pan; cool 2 minutes on wire racks. Serve warm. Yield 12 biscuits.

Slice your cold butter into pats before using the pastry cutter.  It will make the cutting in go much faster.

Here’s what it will look like when you’re done cutting in.  You’ll still want some fairly large pieces of butter–like pea sized.  This will help make the layers.

Your pumpkin/buttermilk mixture will look like this.  At first when you try to stir it in, you won’t think there’s enough liquid, but I promise there is.

This dough is DONE mixing.  Please don’t keep going until all the flour is mixed in.  Your biscuits will be tough.  Start rolling without kneading at all.  In the layer making process the dough will fully come together.  I use a silicone mat which makes the layers easier.

Rol it 1/2 inch thick them lightly dust the top with flour.  

Lift the mat to fold the dough into thirds.  The bottom part of my dough was a bit sticky, so I used a spatula to scrape if up, then dust the mat underneath again.  Roll it out like you did the first time.

Then fold it up again.  Keep it lightly dusted if it’s sticking.

This dough here just needs a light rolling to be ready to cut.  I over did mine.  They still tasted good but weren’t as thick as I like.

I wish I had rolled my dough a little taller.  It’s only about 1/2 inch, but it might have made them tough to start again.  Make yours taller.

The last biscuits on my pan are a little wonky, but I choose not to knead the dough for the second roll out.  I just kind of bunch it together to keep the light and flakey texture.

These are delicious with butter, but pumpkin butter is even better!

This is day 15 of 31 Days of Pumpkin Recipes

1 Pumpkin spice mix

2 Homemade pumpkin puree

3 Pumpkin Sugar Cookies

4 Pumpkin Dinner Rolls

5 Pumpkin Cinnamon Rolls

6 Pumpkin Bagels

7 Butternut Chicken Stew

8 Healthy Pumpkin Pecan Scones

9 Pumpkin Waffles

10 Pumpkin Snickerdoodles

11 Butternut Squash Chili

12 Pumpkin Jar Mix

13 Baked Pumpkin Doughnuts

14 Pumpkin French Toast Casserole

15 Pumpkin Biscuits

16 Easy Pumpkin Cake

17 Pumpkin Dump Cake

18 Baked Pumpkin Oatmeal

19 Pumpkin Mousse

20 Pumpkin Cheesecake

21 Pumpkin Latte

22 Pumpkin Pie Smoothie

23 Pumpkin Breakfast Cookies

24 Maple Pumpkin Butter

25 Stuffed Sugar Baby Pumpkins

26 Pumpkin Pancakes

27 Pumpkin English Muffins

28 Roasted Pumpkin Seeds

29 Pumpkin Biscotti

30 Pumpkin Caramel Monkey Bread

31 Impossible Pumpkin Pie

Pumpkin French Toast Casserole

French Toast Casserole reminds me of Christmas morning or a celebration brunch, but it’s easy enough to have any time.  I love that it can serve a crowd without having to stand over a hot griddle cooking a few slices of bread at a time.  The pumpkin flavor and pecan butterscotch topping, makes this dish especially festive.

You can bake it in a 9×13 casserole dish, muffin tins, a Bundt pan, or even a slow cooker.  It makes a great freezer meal, or a prep the night before dish. I’ll give instructions for each variation at the end.

Pumpkin French Toast Casserole

1 loaf, 20 oz of bread.  We like Saralee Artisan Golden Wheat Bread

Read more

Baked Pumpkin Doughnuts, No Special Pan Needed

These sweet and tender Baked Pumpkin Doughnuts are as easy to make as biscuits.  Brandon helped make our first batch at 2 years old.  He’s 10 now–eeek!  When I look back on these old pictures I wish I had taken a lot more.

We like this recipe because it doesn’t take any special pans or a donut maker which makes it accessible to every kitchen.  It’s easily made dairy free. Just sub coconut oil for the butter and almond milk for the dairy milk.  And dust with powdered sugar instead of yogurt glaze. We’re still perfecting a gluten free recipe so you have that to look forward to that later.

Read more

Pumpkin Muffin or Cookies Jar Mix

This mix contains the epitome of autumn flavors with the butterscotch chips, pumpkin spice and pecans.  It has has been a family favorite for years and fits prettily in a quart jar and makes a nice appreciation gift or a welcome to the neighborhood gift.  This is another original recipe you won’t find anywhere else.

Pumpkin Jar Mix

1 1/2 cups All-purpose Flour

1 tsp Baking Soda

1/2 tsp Salt

1 1/2 tsp Pumpkin Spice

1/2 cup Rolled Oats

3/4 cup Sugar*

1/2 cup Butterscotch Chips

1/2 cup Chopped Pecans

Layer in a quart jar

*If you are baking right away, brown sugar tastes better.  If it is a mix for storage then white sugar is best.  Brown sugar will dry out next to the flour and get hard and impossible to mix into the recipe.  Sucanat or coconut sugar would work in either situation.

For cookies: Mix 1/2 cup softened butter, 1/2 t maple flavoring, 1 cup of pumpkin puree and 1 egg. Add pumpkin mix, and mix just until combined. Drop by spoonful onto greased cookie sheets.  Optional, decorate before baking by pressing a pecan half into the top. Bake at 350 for 12-15 minutes. Makes 2 dozen cookies.

For muffins:

Mix together 1/4 C butter or yogurt, 2 eggs, 1/2 t maple flavoring, and 1 cup of pumpkin puree. Add pumpkin mix alternating with 1 C milk. Fill greased muffin cups nearly full and bake at 400 for 15-20 minutes. Or until a toothpick inserted in the middle comes out clean. Makes 15-18 muffins.

P.S.  Did you know that parmesan jar lids fit quart jars?

This is day 12 of 31 Days of Pumpkin Recipes

1 Pumpkin spice mix

2 Homemade pumpkin puree

3 Pumpkin Sugar Cookies

4 Pumpkin Dinner Rolls

5 Pumpkin Cinnamon Rolls

6 Pumpkin Bagels

7 Butternut Chicken Stew

8 Healthy Pumpkin Pecan Scones

9 Pumpkin Waffles

10 Pumpkin Snickerdoodles

11 Butternut Squash Chili

12 Pumpkin Jar Mix

13 Pumpkin French Toast Casserole

14 Easy Pumpkin Cake

15 Pumpkin Dump Cake

16 Baked Pumpkin Oatmeal

17 Pumpkin Mousse

18 Pumpkin Cheesecake

19 Pumpkin Latte

20 Pumpkin Pie Smoothie

21 Pumpkin Breakfast Cookies

22 Pumpkin Biscuits

23 Maple Pumpkin Butter

24 Stuffed Sugar Baby Pumpkins

25 Pumpkin Pancakes

26 Pumpkin English Muffins

27 Roasted Pumpkin Seeds

28 Baked Pumpkin Doughnuts

29 Pumpkin Biscotti

30 Pumpkin Caramel Monkey Bread

31 Impossible Pumpkin Pie

Butternut Squash Chili

I love Chili and all things beans, but sometimes they don’t love me.  And beans never love my teenage son.

With butternut squash we can have a nice thick beanless chili without spending a fortune on extra meat. Originally I planned to cut the squash into bite sized squares for a nice texture similar to beans.  Then I remembered my kids aren’t big fans of squash…yet.   I have all sorts of secret plans to turn them into squash fans, mmmmmwwwwahahahahahaha.  It’s a work in progress.

I sauteed the squash in a skillet with a little coconut oil and chopped onion, then pureed it in a blender with a can of broth.  When I stirred it into the crushed tomatoes, the squash and onion disappeared.  Chili powder’s dark color made the camouflage complete.  You could totally save a step and use canned pumpkin puree instead.

Butternut quash’s mildly sweet flavor complements the spicy seasonings perfectly.  The kids gobbled this up.  It’s a hearty, comforting autumn meal that is lower carb and won’t cause bloating or other gastric distress.

Butternut Chili Con Carne

1 medium butternut squash, peeled and cubed

1 onion, diced

1 can, 15 oz beef or chicken broth  (or 2 cups homemade, cool in temperature)

2 lbs ground beef or turkey, browned and drained

1 can, 28 oz crushed tomatoes

3 Tbs chili powder

1 Tbs cumin

1 tsp salt

1 tsp garlic powder

1/2 tsp black pepper

Saute squash with onion in a little bit of coconut oil until fork tender, about 15 minutes.  Add to a blender or food processor with broth.  Puree.  (You can leave it whole if you like the texture.)  Combine everything in a stock pot and warm through.  The longer it simmers the better the flavors will meld.  This can be stirred together in the morning and held in a slow cooker on low until dinner.

Topping ideas: shredded cheese, sour cream, chopped chives, chopped tomatoes, olives, crushed tortilla chips, oyster crackers….

1/8th of the recipe prepared with 93% lean ground beef = 318 calories, 9g fat, 19 net carbs, and 34 grams of protein

This is day 11 of 31 Days of Pumpkin Recipes

1 Pumpkin spice mix

2 Homemade pumpkin puree

3 Pumpkin Sugar Cookies

4 Pumpkin Dinner Rolls

5 Pumpkin Cinnamon Rolls

6 Pumpkin Bagels

7 Butternut Chicken Stew

8 Healthy Pumpkin Pecan Scones

9 Pumpkin Waffles

10 Pumpkin Snickerdoodles

11 Butternut Squash Chili

12 Pumpkin French Toast Casserole

13 Pumpkin Muffin/Drop Cookie Mix

14 Easy Pumpkin Cake

15 Pumpkin Dump Cake

16 Baked Pumpkin Oatmeal

17 Pumpkin Mousse

18 Pumpkin Cheesecake

19 Pumpkin Latte

20 Pumpkin Pie Smoothie

21 Pumpkin Breakfast Cookies

22 Pumpkin Biscuits

23 Maple Pumpkin Butter

24 Stuffed Sugar Baby Pumpkins

25 Pumpkin Pancakes

26 Pumpkin English Muffins

27 Roasted Pumpkin Seeds

28 Baked Pumpkin Doughnuts

29 Pumpkin Biscotti

30 Pumpkin Caramel Monkey Bread

31 Impossible Pumpkin Pie