Dump and Go Slow Cooker or Pressure Cooker Quinoa Enchilada Casserole

It’s recipe 3 for our fill your freezer in 7 days challenge.  I hope beyond just giving you a few recipes, that I spark your imagination about how to adapt some of your favorite recipes for the freezer or even create some new flavors.

If you pre-dice your chicken, or used browned ground meat instead, this dish can be made in a skillet in just 20 minutes.  I love how in the slow cooker, it’s hands off until the end.  It’s truly a fix it and forget it situation.

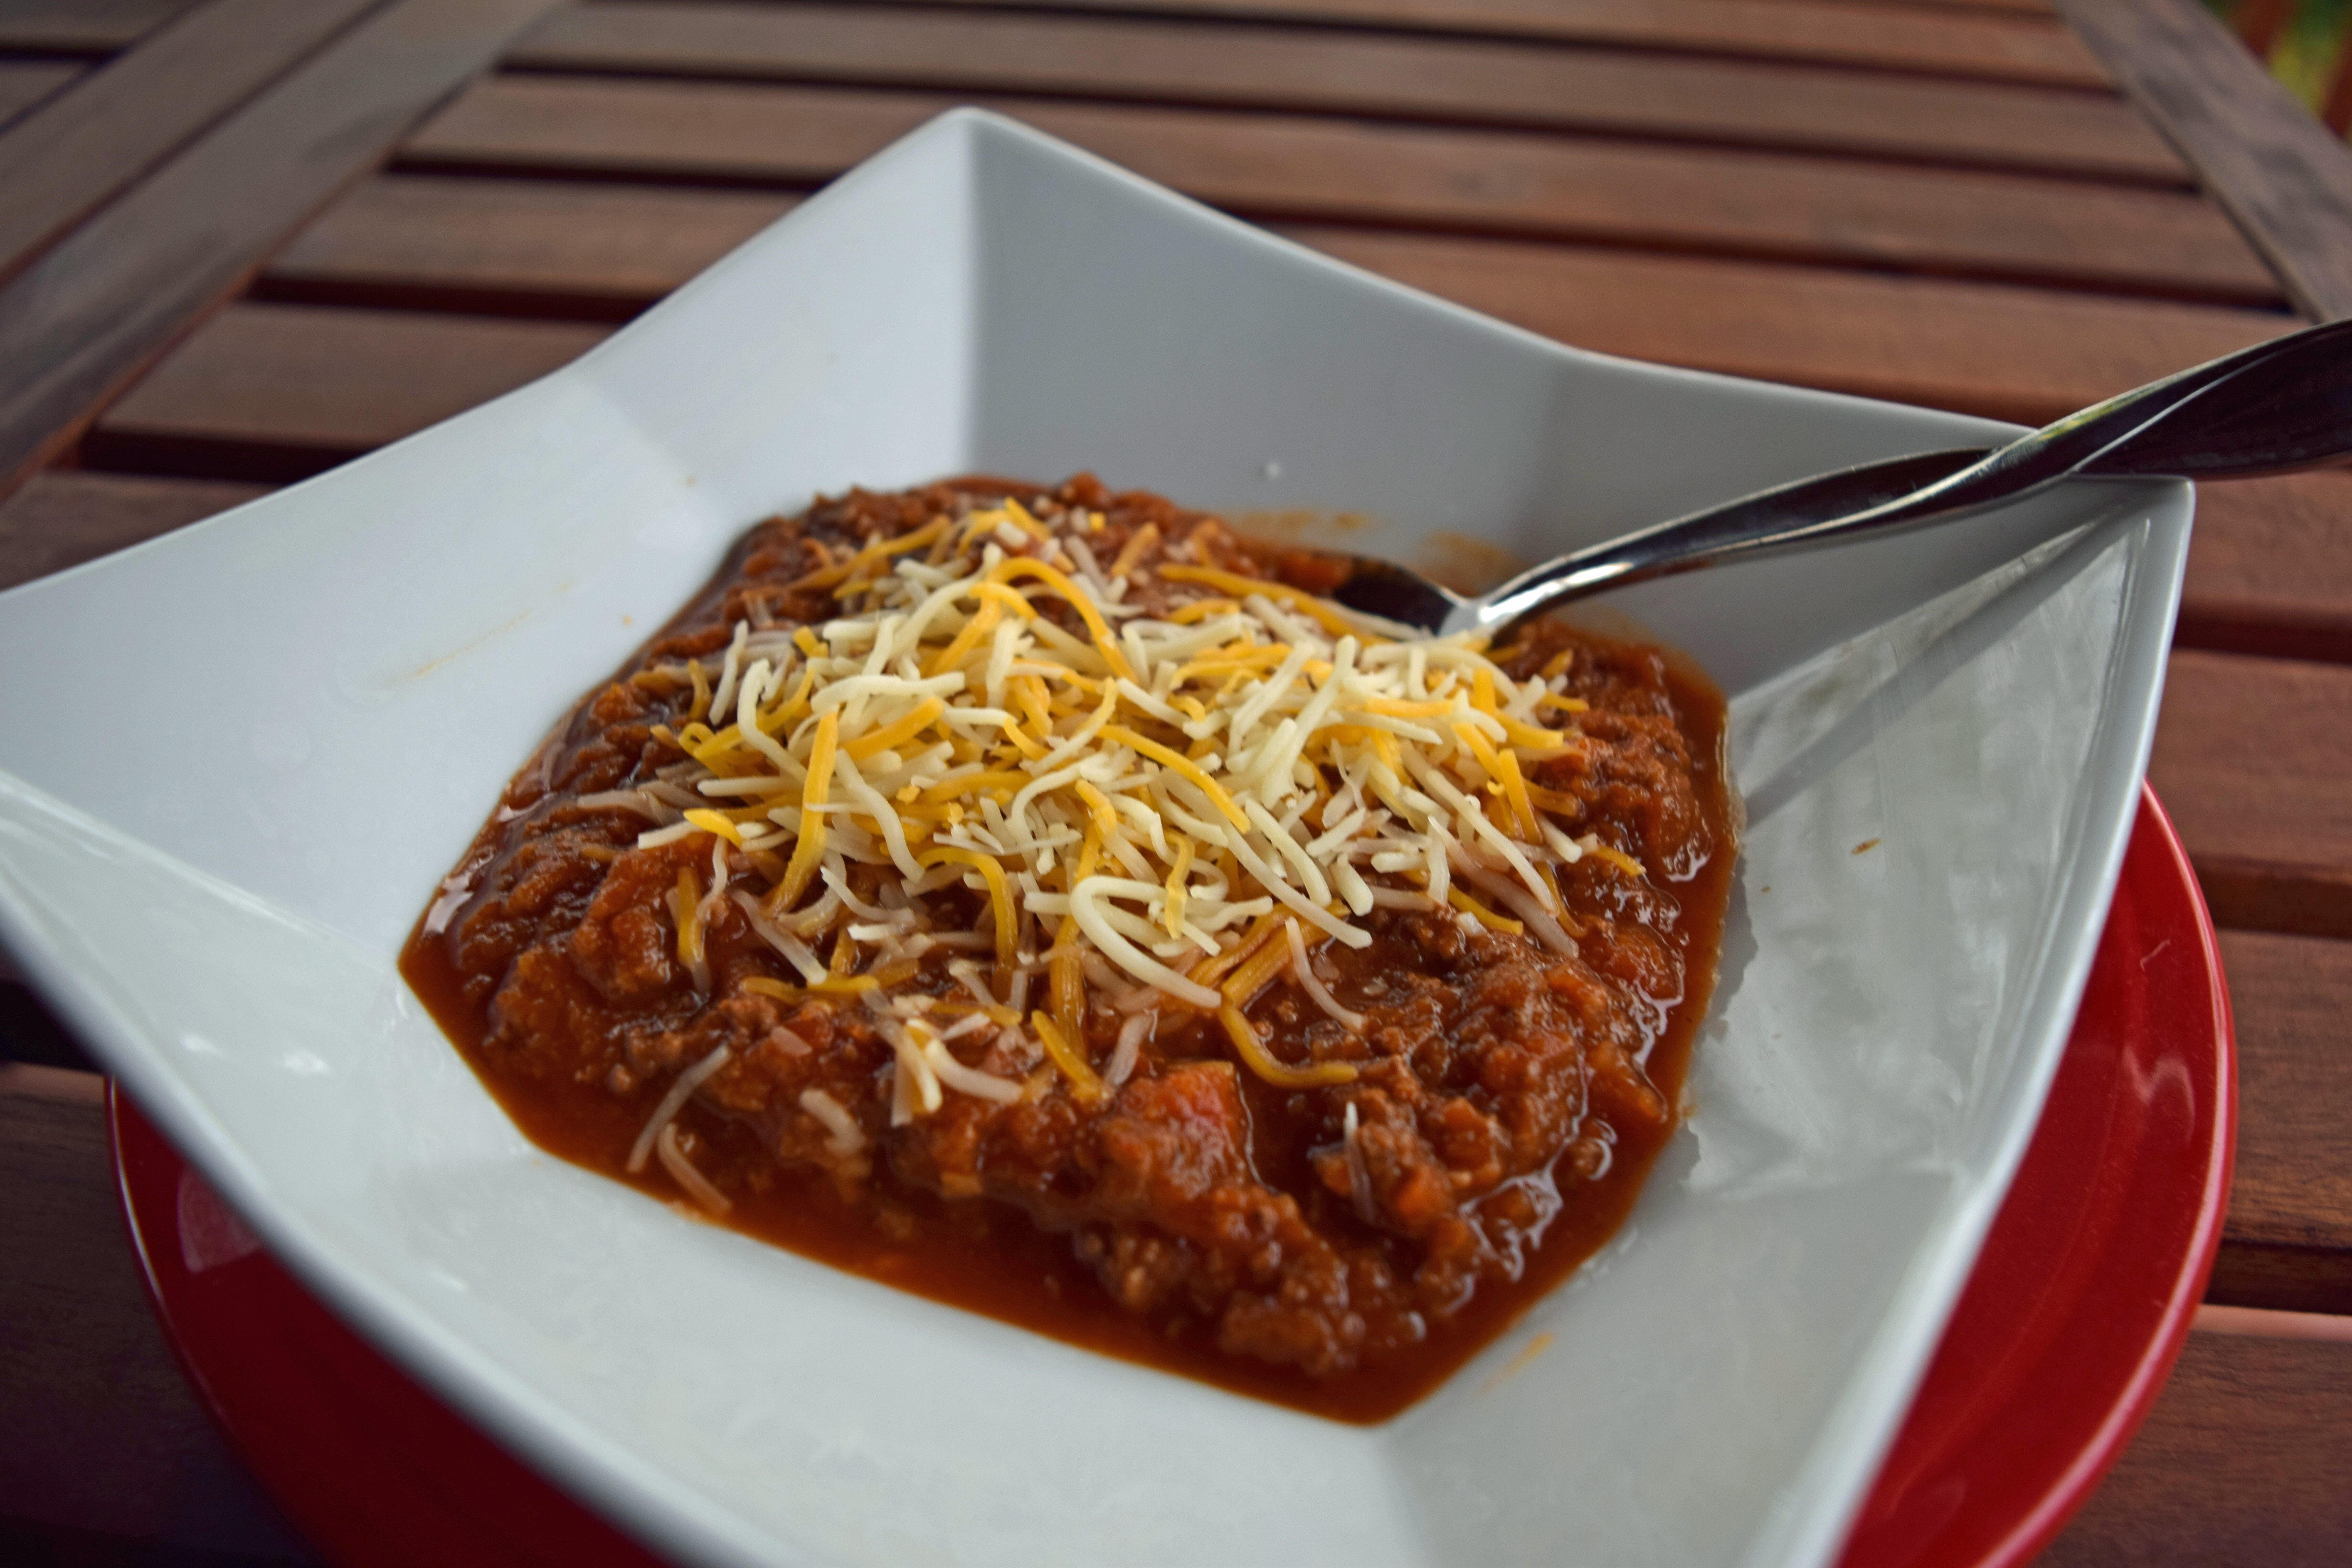
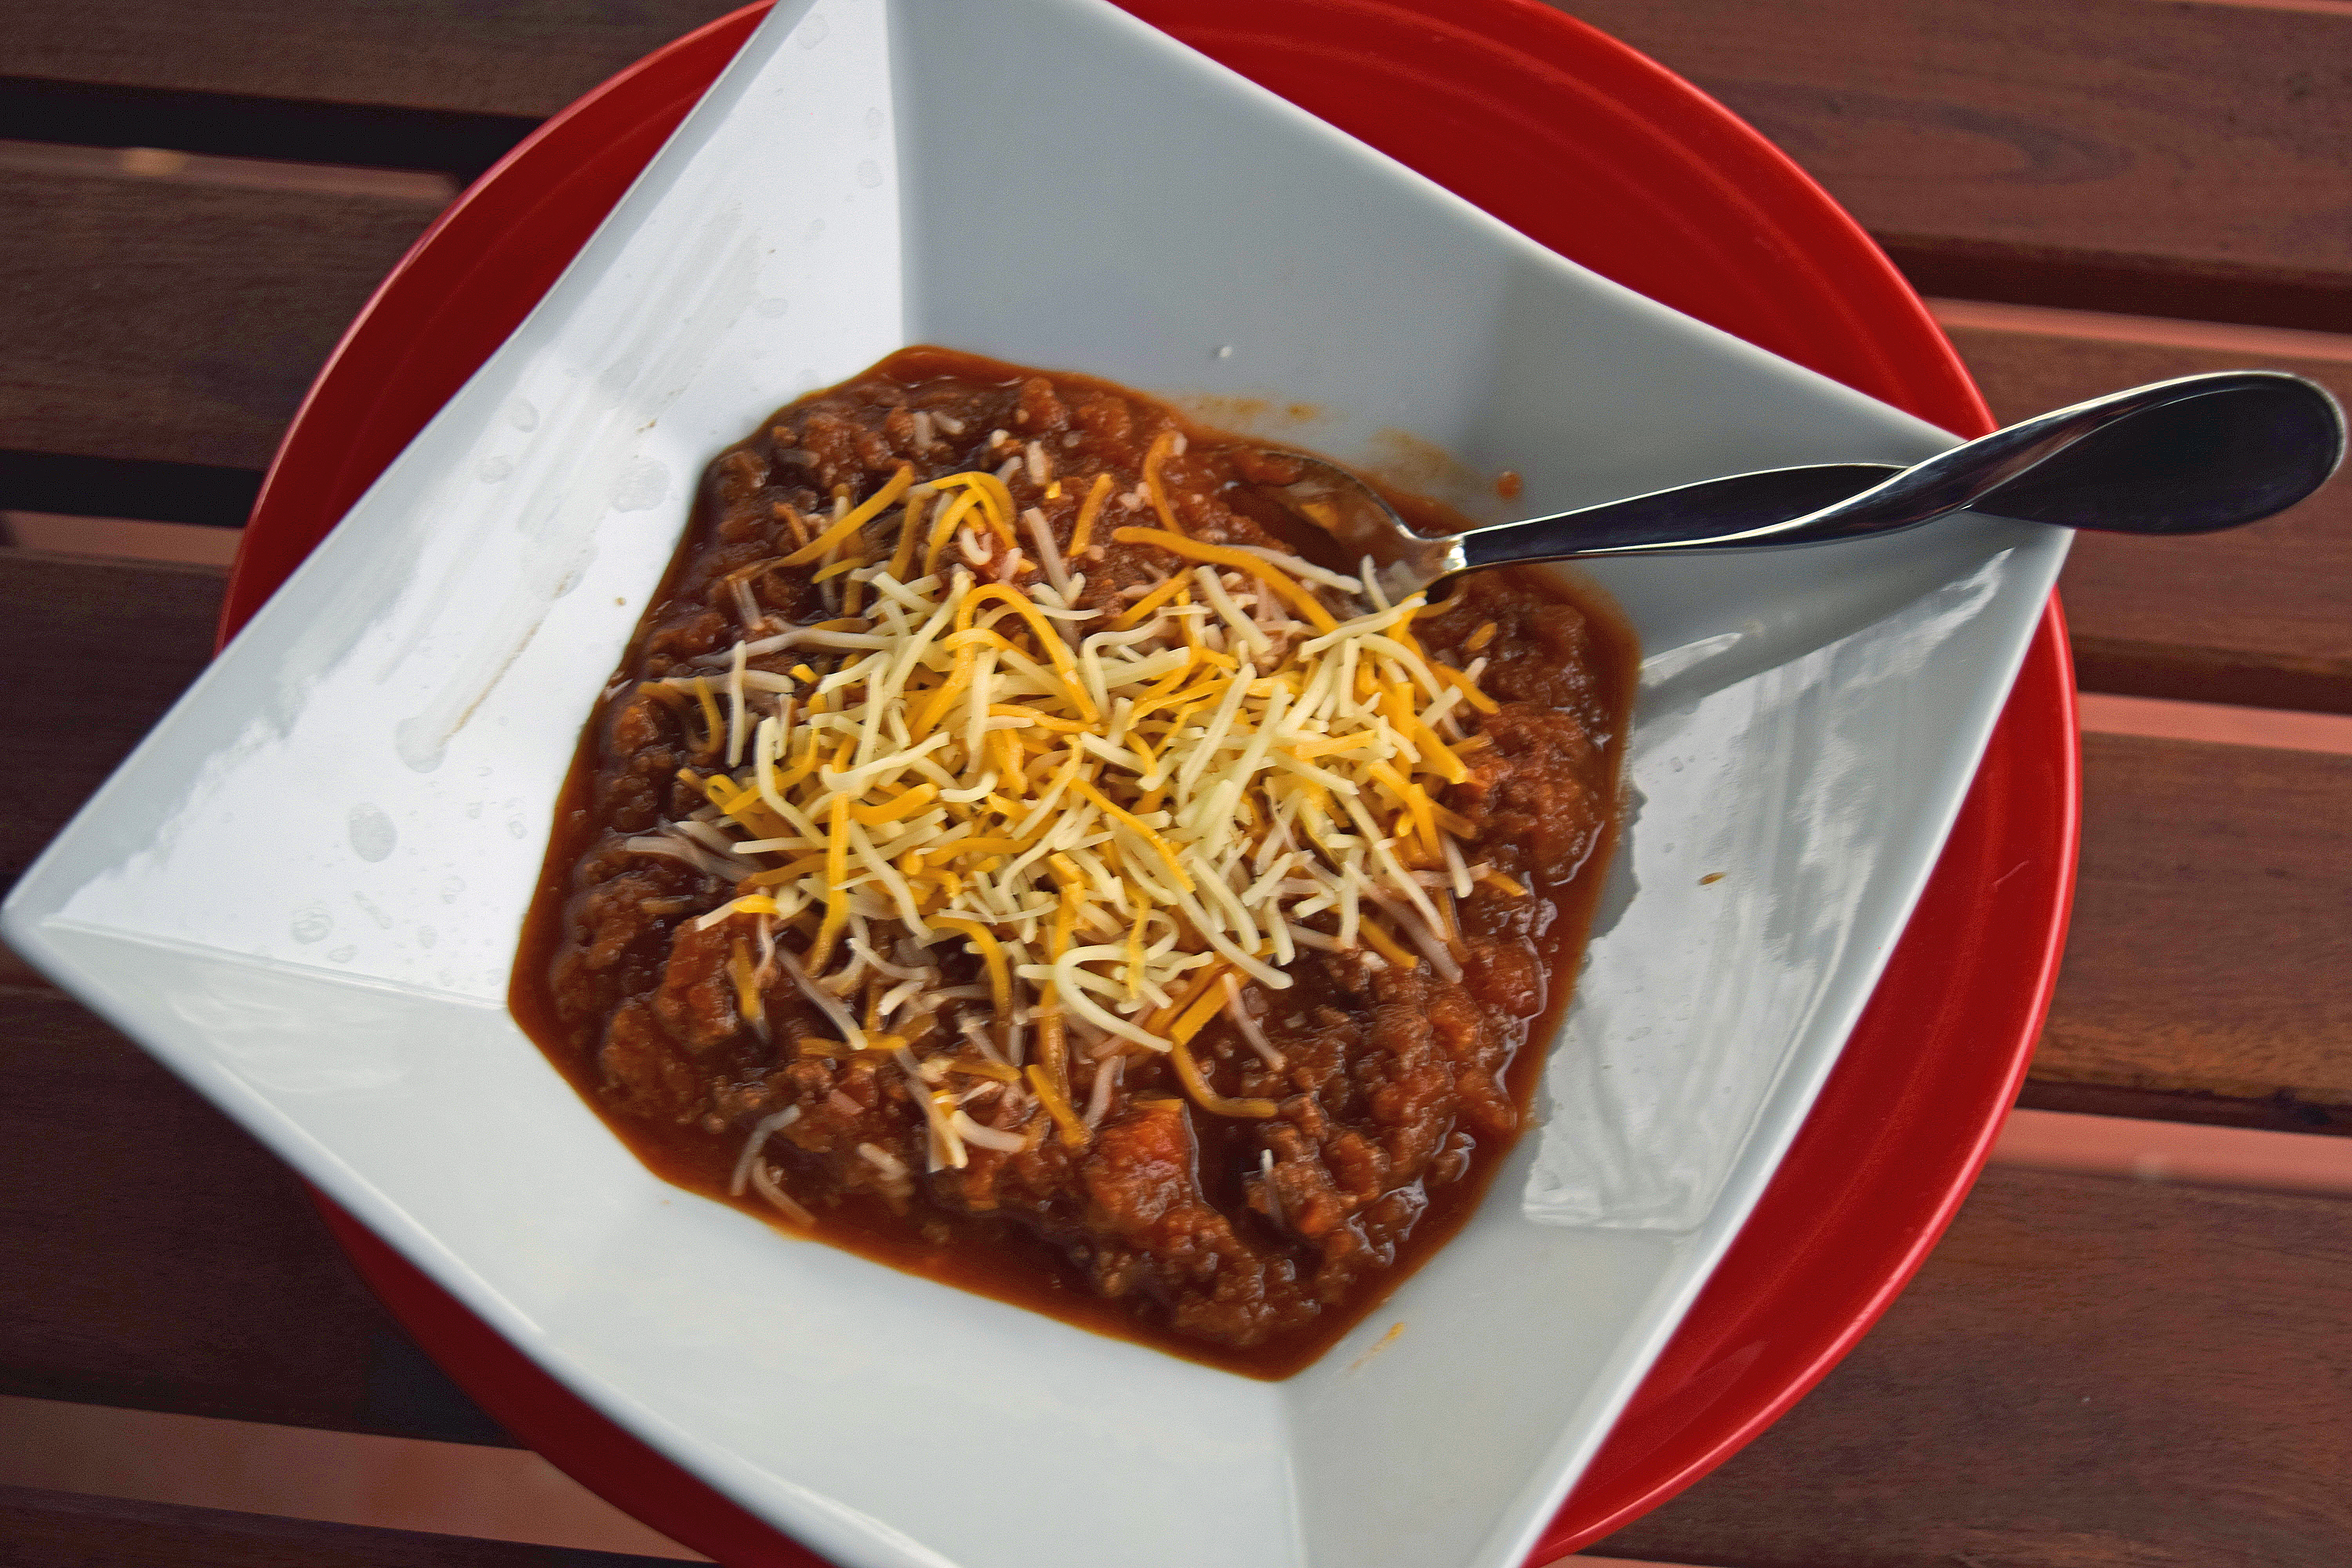
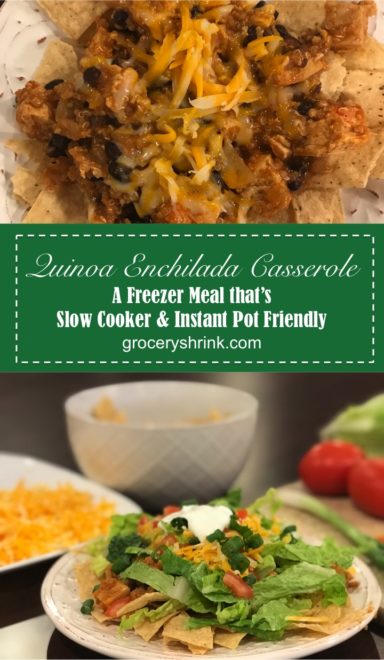
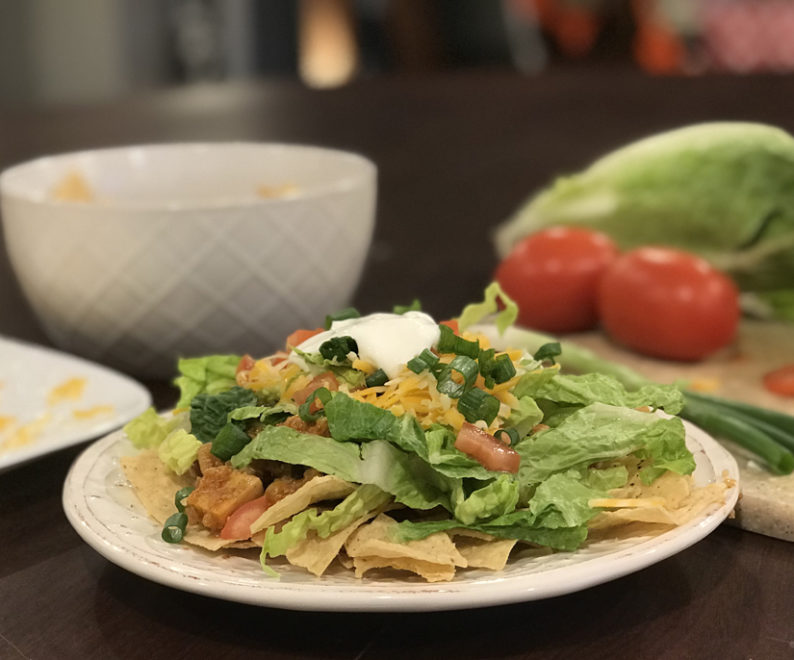
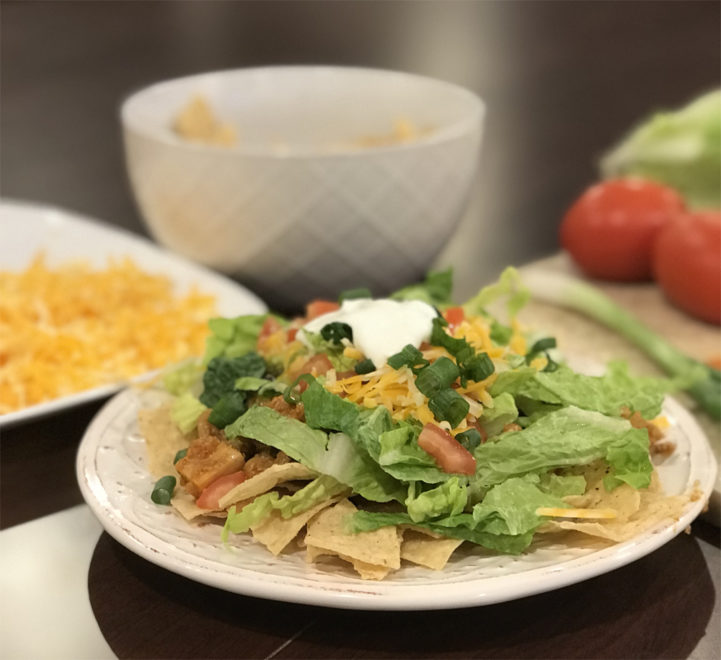
This recipe is both fitness and family friendly.  To add calories and filling power, my growing kids serve theirs over a plate of tortilla chips, then top with sour cream and extra cheese.  I skip that part, then we all top it with shredded lettuce and chopped fresh tomatoes and salsa.

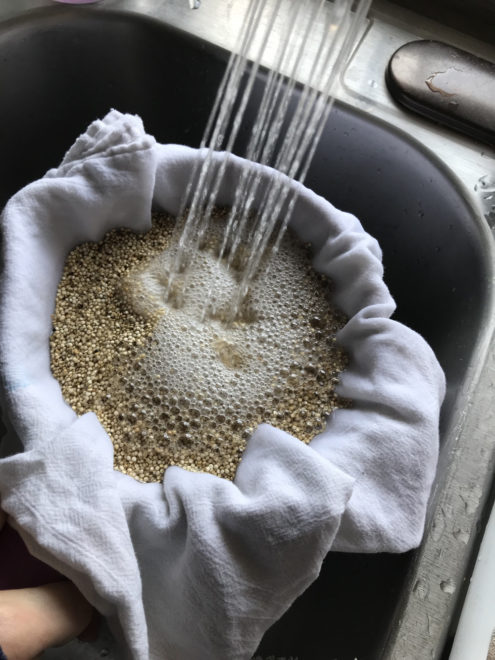
Be sure to rinse your quinoa before throwing it into your mix.  It removes the saponins that can taste bitter.  Since the grains are so small, I line my colander with a tea towel.

Dump and Go Quinoa Enchilada Casserole

1 lb boneless Chicken Breasts (If you bought it frozen, keep it frozen.  Thawing and refreezing raw meats changes the texture in an unappetizing way.)

1 Tbs taco seasoning mix

2 cans black beans, 15 oz each, drained and rinsed

1 chopped onion

1 cup dry quinoa, rinsed

1 can red enchilada sauce, 20 oz

1/2 cup water

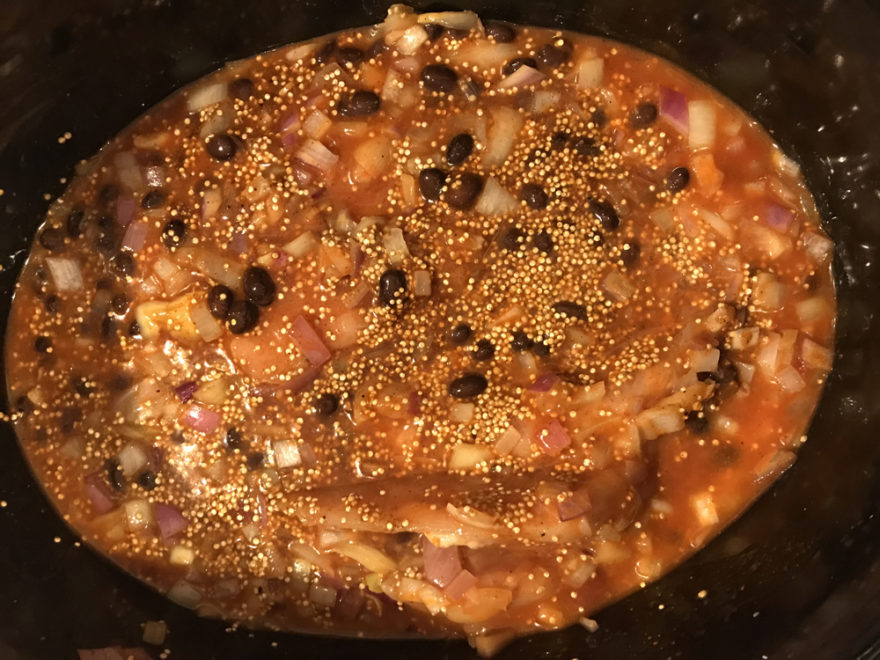
Place all ingredients in a gallon baggie and freeze.  To cook, thaw just enough to be able to get everything out of the bag.  Pour into a slow cooker and cook on high for 3-4 hours, or on low for 6 hours. Shred the chicken with two forks and stir into the dish.  Top with shredded cheese, then replace the lid for a few minutes to allow it to melt.   Serve with a toppings bar.

To make in the pressure cooker, follow the directions above, except cook at high pressure for 10 minutes, following the manufacturers directions for pressure release before opening the lid.

Toppings suggestion:  Tortilla chips, shredded lettuce, fresh diced tomatoes, green onion, cilantro, sour cream, cheese, salsa, diced olives.

The leftovers reheat pack well in a thermos for hot lunch on the go.

Nutrition facts:  1/6 of the recipe without cheese or toppings yields: 381 Calories; 7g fat; 37g net carbs; 30g protein


Philly Pepper Steak Sheet Pan Freezer Meal

This delicious meal is fast to put together and cooks with hands off time.  Letting you pop it in the oven in the evening and unwind from the day’s tasks while it cooks.

You’ll use two 1 gallon freezer bags for the assembly.  The meat will marinate in the freezer, then cook up tender and flavorful.  It’s easier to slice cooked meat than raw meat, so I prefer to slice it after cooking.  If you know you’ll be too stressed to slice it at the time of cooking, slice it now, then reduce the cooking time in step 1 to 12 minutes.

If your family is on a regular diet, grab some sandwich rolls to make these into sandwiches. If you are gluten free you can serve it over brown rice, or low carb eaters can dish theirs over spaghetti squash or cauliflower rice.

This recipe is for 4 people, adjust as needed for your family:

Bag #1:

1 lb Flank Steak, or any boneless lean roast 3/4 inch thick.

2 Tbs cup Apple Cider Vinegar

1 Tbs Worcestershire Sauce

1 tsp Onion powder

1 tsp Garlic powder

1/2 tsp Salt

1/4 tsp Pepper

1/4 tsp cloves

Bag #2

2 Green Bell Peppers,Sliced

1 Onion (red or yellow), Sliced

8 oz Sliced Mushrooms

1/2 tsp Salt

1/4 tsp Pepper

Seal both bags, pressing out all the air first. Then label with the recipe name, today’s date, and the bag #.  Freeze.

Additional Ingredients: Provolone Cheese Slices and Sandwich Buns or Rice.

Cooking Instructions:

  1. Preheat oven to 400 degrees.  Line a rimmed sheet pan with parchment paper for easy clean up.  Place the steak in the middle and bake for 20 minutes (30 if it is still frozen.)

2. Spread the contents of bag #2 evenly around the outside of the steak. I doubled my recipe so I had to put veggies on top of the steak too.  Bake 15-20 minutes longer or until veggies reach desired tenderness.  Remove steak to a cutting board and cut into slices.  Return to the baking sheet and use tongs to stir it into the veggie mixture.

3. Top all with Cheese slices and bake for another 10 minutes or until cheese is gooey.  Serve on buns or over rice.

Picky Eater Ideas: Not everyone is a fan of peppers, onions and mushrooms.  You can substitute any vegetable for them including broccoli florets, zucchini strips, or Long green beans.

Do you have tips for helping kids eat their veggies?


Makeover Strawberry Pretzel Salad

Strawberry Pretzel Salad is more dessert than salad, and it’s one of my favorites.

The original recipe is packed full of sugar, excess butter, artificial coloring, and hydrogenated fats.

I saw some opportunities for nutritional improvement without sacrificing much flavor.  I started by reducing the amount of butter by half…and honestly it still was plenty.  I also cut the sweetener amounts way down and then substituted Truvia or Erythritol for the sugar.  I got rid of the hydrogenated fats by swapping out the whipped topping for protein rich Greek yogurt. And ditched a pile of sugar and artificial food coloring by using homemade gelatin from light cranberry juice that was colored with vegetable powder instead of box gelatin colored with food dye. This healthier version is worthy of potluck suppers.

Healthier Strawberry Pretzel Salad

2 cups (about 5 oz) roughly chopped pretzels (gluten free work too)

6 Tbs butter, melted

3 Tbs Erythritol or Truvia

8 oz Neufchatel Cream Cheese

8 oz Unsweetened Greek Yogurt

1/2 cup Erythritol or Truvia

1 lb fresh strawberries, hulled and sliced

2 cups Low Calorie Cranberry Juice, look for an aspartame free variety.  I got mine from Aldi and it has 5 calories per cup.

1 Tbs plain Gelatin

  1.  Sprinkle gelatin over 1 cup of cranberry juice.  Let stand for 1 minute.  Microwave on high for 1 minute or until dissolved.  Stir in the remaining cup of cold juice and chill until thickened.  (About 30 minutes to an hour.)
  2. Meanwhile, preheat oven to 350 degrees. Stir together pretzels, melted butter and 3 Tbs sweetener. Press evenly into the bottom of a glass 9×13 pan.  Bake for 12-15 minutes or until golden.  Cool to room temperature.
  3. Beat together cream cheese, Greek Yogurt and sweetener until smooth.  Spread over cooled crust.
  4. Top cream layer with sliced strawberries, then pour thickened gelatin over all.  Chill for 3 hours or until set.Note: If you don’t let the gelatin thicken before pouring, it will sink to the bottom and make your crust soggy. I learned from experience

It makes 8 generous servings each with 262 calories; 16g fat; 20g net carbs and 8g protein.  I enjoy a piece for breakfast, or a snack, or both.

For the same size serving, the original recipe has 510 calories; 29g fat; 57g net carbs and 4g protein.

Have you given a favorite recipe a healthier makeover?  I’d love to hear about it.

This post contains amazon affiliate links.  Linking to the products that I personally use in my home. If you choose to purchase anything through one of these links, I will receive a small commission.

Grab and Go Muesli Breakfast Cookies

I’m constantly on the lookout for ways to simplify our lives, and if it makes us healthier too, it’s a double win.  Breakfast cookies are one of those double wins and are easy to grab and eat for a healthy breakfast on the go or an after school snack on the way to music lessons or sports practice.

I made these Muesli breakfast cookies last week for the Fit Mama meal plan and it was instant love. I had three the first day, one at breakfast and at each of my snack times. Inspiration for the recipe came from Sweet as Honey and I tweaked it to simplify the number of ingredients and to fit into the macro nutrition profile I needed for the Fit Mama plan.
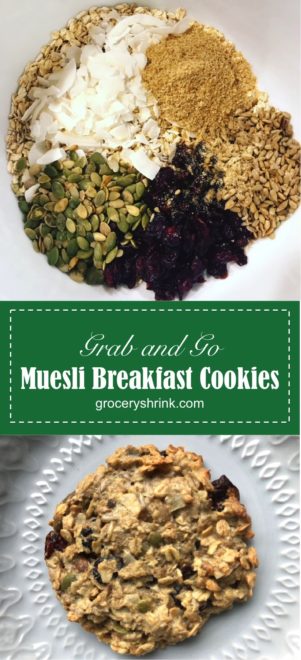
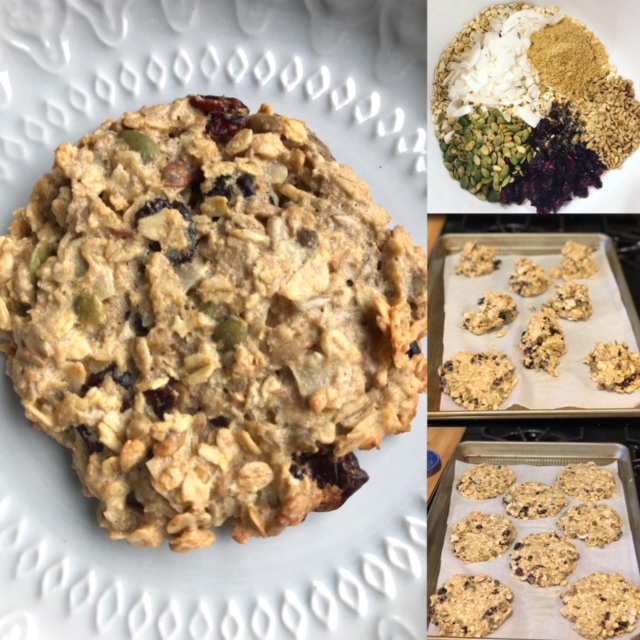
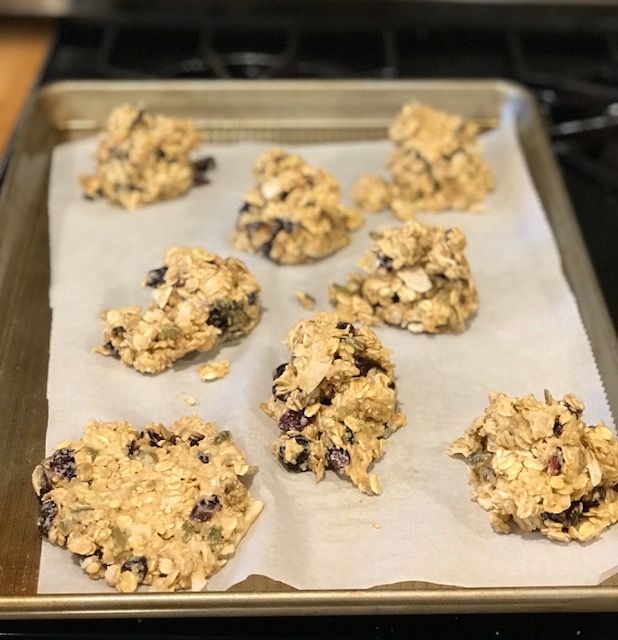
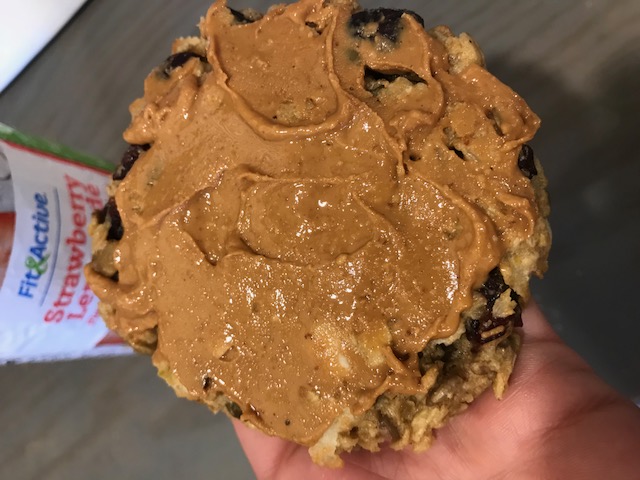
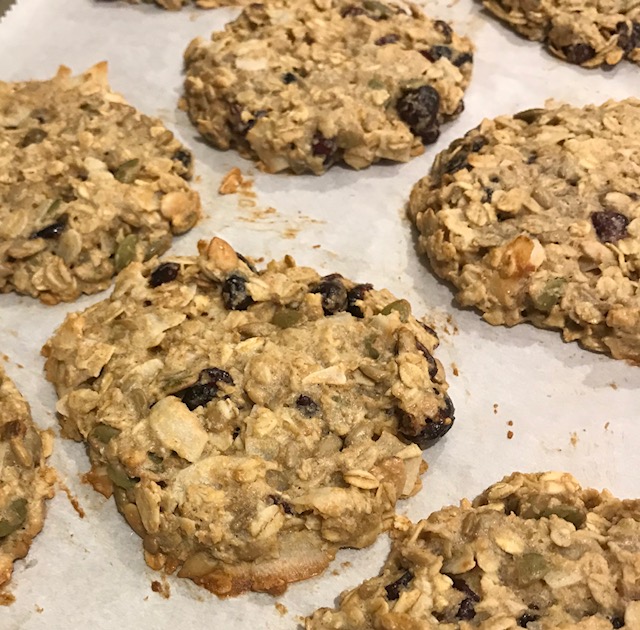
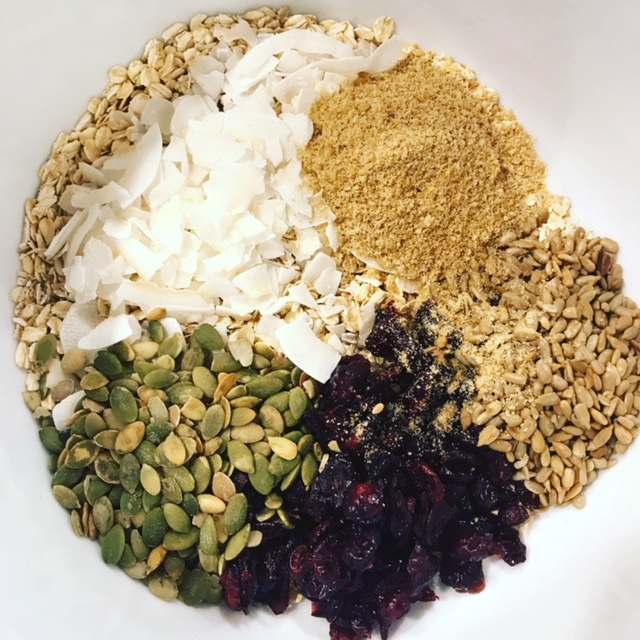
I can imagine all sorts of different variations just by changing the type of dried fruit and seeds or nuts added.  Different fruit options include: dried blueberries, golden raisins, apricots, cherries, strawberries, apples, dates, bananas, mango, papaya, pineapple, prunes. Prunes are shockingly delicious despite their old person stereotype and taste sweeter than dates without as many active carbs . Nuts and seeds might also include macadamia nuts, almonds, pecans, walnuts, pistachios, cashews, filberts, or cacao nibs.

I love dried fruits and nuts so much that it’s easy for me to overdo it and gain weight on them even though they are healthy foods.  By baking them into these cookies, there’s instant portion control.

After dropping the dough onto the sheets, you’ll want to use a silicone spatula to flatten and shape them into cookies.

Something you need to know about these is that they are HEALTHY and they taste like it.  They aren’t super sweet, just sweet enough to be pleasant.  More the sweetness of a piece of honey wheat bread instead of the sweetness of a chocolate chip cookie.

For that reason, I’m going to share the small recipe first.  It makes 4 large single serving cookies, enough for your family to taste them before you waste large amounts of ingredients.

I found everything except the unsweetened coconut at Aldi.  I also chose to use Great Value Sugar Free Syrup from Wal-mart instead of honey to keep the macros in fat burning zone. If I were making these for kids, I would use honey or real maple syrup as listed.

Muesli Breakfast Cookies, Small Recipe

3/4 cup Old Fashioned Rolled Oats

1/4 cup Unsweetened Coconut Flakes

1/4 cup Whole Wheat Flour or Almond Meal

1/4 cup Craisins

2 Tbs Pepitas (Shelled pumpkin seeds)

2 Tbs Sunflower Seeds

2 Tbs Fresh Ground Flax Meal

1 Egg

1/4 cup honey or real maple syrup

2 tbs melted coconut oil

Preheat oven to 350 degrees and line a baking sheet with parchment paper. Combine all ingredients in the order given and shape by 1/3 cupfuls into 4 large cookies onto prepared baking sheets. Bake for 20 minutes, or until golden brown. Cool completely before moving so they don’t fall apart. Enjoy with your favorite warm beverage.

They are also really good frosted with Natural Peanut Butter.

Muesli Breakfast Cookies, Family Size Recipe

3 cups Old Fashioned Oats

1 cup Unsweetened Coconut Flakes

1 cup Whole Wheat Flour or Almond Meal

1 cup Craisins

1/2 cup Pepitas

1/2 cup Sunflower Seeds

1/2 cup Ground Flax Meal

4 eggs

1 cup Honey or Maple Syrup

1/2 cup Coconut Oil, melted

Preheat oven to 350 degrees and line a baking sheet with parchment paper. Combine all ingredients in the order given and shape by 1/3 cupfuls into 16 large cookies onto prepared baking sheets. Bake for 20 minutes, or until golden brown. Cool completely before moving so they don’t fall apart. Enjoy with your favorite warm beverage.

Made with Sugar Free Syrup instead of honey, each cookie contains: 270 calories; 16g fat; 24g net carbs; 7g protein.

The batter is moist enough that I think I could stir in some vanilla protein powder for extra sweetness plus protein.  If I try it out, I’ll update with the results.

Do you ever have call for grab and go breakfasts? What’s your favorite?


Butternut Squash Chili

I love Chili and all things beans, but sometimes they don’t love me.  And beans never love my teenage son.

With butternut squash we can have a nice thick beanless chili without spending a fortune on extra meat. Originally I planned to cut the squash into bite sized squares for a nice texture similar to beans.  Then I remembered my kids aren’t big fans of squash…yet.   I have all sorts of secret plans to turn them into squash fans, mmmmmwwwwahahahahahaha.  It’s a work in progress.

I sauteed the squash in a skillet with a little coconut oil and chopped onion, then pureed it in a blender with a can of broth.  When I stirred it into the crushed tomatoes, the squash and onion disappeared.  Chili powder’s dark color made the camouflage complete.  You could totally save a step and use canned pumpkin puree instead.

Butternut quash’s mildly sweet flavor complements the spicy seasonings perfectly.  The kids gobbled this up.  It’s a hearty, comforting autumn meal that is lower carb and won’t cause bloating or other gastric distress.

Butternut Chili Con Carne

1 medium butternut squash, peeled and cubed

1 onion, diced

1 can, 15 oz beef or chicken broth  (or 2 cups homemade, cool in temperature)

2 lbs ground beef or turkey, browned and drained

1 can, 28 oz crushed tomatoes

3 Tbs chili powder

1 Tbs cumin

1 tsp salt

1 tsp garlic powder

1/2 tsp black pepper

Saute squash with onion in a little bit of coconut oil until fork tender, about 15 minutes.  Add to a blender or food processor with broth.  Puree.  (You can leave it whole if you like the texture.)  Combine everything in a stock pot and warm through.  The longer it simmers the better the flavors will meld.  This can be stirred together in the morning and held in a slow cooker on low until dinner.

Topping ideas: shredded cheese, sour cream, chopped chives, chopped tomatoes, olives, crushed tortilla chips, oyster crackers….

1/8th of the recipe prepared with 93% lean ground beef = 318 calories, 9g fat, 19 net carbs, and 34 grams of protein

This is day 11 of 31 Days of Pumpkin Recipes

1 Pumpkin spice mix

2 Homemade pumpkin puree

3 Pumpkin Sugar Cookies

4 Pumpkin Dinner Rolls

5 Pumpkin Cinnamon Rolls

6 Pumpkin Bagels

7 Butternut Chicken Stew

8 Healthy Pumpkin Pecan Scones

9 Pumpkin Waffles

10 Pumpkin Snickerdoodles

11 Butternut Squash Chili

12 Pumpkin French Toast Casserole

13 Pumpkin Muffin/Drop Cookie Mix

14 Easy Pumpkin Cake

15 Pumpkin Dump Cake

16 Baked Pumpkin Oatmeal

17 Pumpkin Mousse

18 Pumpkin Cheesecake

19 Pumpkin Latte

20 Pumpkin Pie Smoothie

21 Pumpkin Breakfast Cookies

22 Pumpkin Biscuits

23 Maple Pumpkin Butter

24 Stuffed Sugar Baby Pumpkins

25 Pumpkin Pancakes

26 Pumpkin English Muffins

27 Roasted Pumpkin Seeds

28 Baked Pumpkin Doughnuts

29 Pumpkin Biscotti

30 Pumpkin Caramel Monkey Bread

31 Impossible Pumpkin Pie

Coconut Crepes with Blueberries

Oh, my.  That’s all I could say after one bite of these.


You will never believe they are dairy free, sugar, free, and gluten free, and pack a decent punch of protein.  Usually you have to follow up a list like that with “taste free.”  Oh, not these.  Oh did I say fast?  They are fast to make and easy.

If you are a Trim Healthy Mama these are an S.  If you are a Fit Yummy Mummy, these are supportive. Very.

I don’t have a stove right now, or much of a kitchen.  If you are a new blog reader, click on the “kitchen remodel” tag on the right and catch up with our drama.

It’s hard to make crepes without a little non-stick pan and a stove.  But I’ve just proven it can be done…..in the microwave.

Oh don’t throw things.  Usually microwaved food is gross and some of you are convinced it’s poison.  (I’m aware.) But a girl’s gotta do what she can to survive.

This is survival food?  Really?

Coconut Whipped Cream

First you are going to make your coconut whipped cream.  Refrigerate a can of full fat coconut milk overnight.  (I just store mine in the fridge straight from the store so I’m always ready.) Open the can and carefully pour off the coconut water into a measuring cup, and scoop the thick cream into your electric mixing bowl.

Add a few dashes of nunaturals pure stevia extract or a few drops of liquid stevia sweetener.  And a tsp of vanilla extra.  Beat for 5-7 minutes or until peaks form.  I scooped mine into an old cool whip tub (Shhh–I know, but I don’t buy it anymore--as of today.)  Then chill until ready to use. Heat will make the whipped cream deteriorate so keep it cold.   Once you taste this stuff you are going to want to eat the entire batch with a spoon right then.  Let me just warn you that it has about 500 calories in the whole bowl–so save half for later.

Coconut Crepes

Next mix up your crepe batter:  You’ll need 3 eggs, 1/2 cup milk (Use the coconut water that you drained off the cream and add enough almond milk to make up the difference.); and 2 Tbs of coconut flour.  That’s it!  Beat it all together and press out any lumps with your fingers.  Make it smooth. A blender works even better.

Place a scant 1/3 cup of batter onto a large well-greased plate and microwave on high for 90 seconds.  Boom.

Gently loosen it from the plate with a thin silicone spatula. And flip it over (the ugly side is on the bottom.) Let it cool a bit then top with whipped coconut cream and 1 cup of blueberries.  Fresh are awesome, but previously frozen (now thawed) are good too.)  Wrap up so the pretty side shows.

Add FULL FAT canned coconut milk to your shopping list right now.  Go ahead, I’ll wait.  Dirty Don’s had some last week for $.75 a can.  I’m kicking myself.  I’m going to go back and see if they still have it, because  someone ate all my cream.


Coconut Crepes with Blueberries

Ingredients

  • 1 can full fat coconut milk, chilled
  • A dash of Nunaturals pure stevia extract
  • 1 tsp vanilla extract
  • 1 lb blueberries
  • 3 eggs
  • 1/2 cup milk (coconut or almond)
  • 2 Tbs coconut flour

Instructions

  1. Drain off coconut water and place coconut cream in an electric mixing bowl. Beat in stevia and vanilla and then beat for 5-7 minutes or until peaks form. Chill.
  2. Meanwhile, blend together 3 eggs, 1/2 cup milk (use reserved coconut water for part of the milk) and 2 Tbs coconut flour until very smooth.
  3. Cook either in a crepe pan, or pour a scant 1/3 cup of batter onto a greased plate. Microwave on high for 90 seconds.
  4. Loosen crepe from plate and flip over so the ugly side is up. Fill with coconut whipped cream and bleuberries. Fold crepe over and enjoy right away.
http://www.groceryshrink.com/coconut-crepes-with-blueberries/

This post was inspired by the blueberry contest.  I was not compensated to write the post, I just really hope to win one of the prizes :).  For more blueberry inspiration go here.

Creamy Southwest Soup: A slow cooked masterpiece

I ♥ pinterest.  From homemade Valentines, to kitchen remodel, to new healthy recipes–the inspiration is all there.  Tonight’s dinner is no exception.

Mondays and Wednesdays I play Mama Taxi and arrive home at dinner time.  By then blood sugars are low and tempers are high, so using the Slow Cooker is a must.

The original recipe for this dish came from Jenna at Held Scraptive.  I modified it to fit my pantry stash and to enlarge it for our family.

Creamy Southwest Soup

2 lbs of boneless skinless chicken breasts

1 can tomates and green chilies, undrained

2 cans whole kernel corn, undrained

1 can black beans, drained and rinsed (we used 2 cups of black beans cooked from dry)

1 brick, 8 oz,  1/3 less fat cream cheese

1 envelope ranch dressing mix (I had some of JPs Bacon Ranch Mix that was a gift that I used, but next time I’ll use a homemade ranch mix recipe.)

1 tsp cumin

1 tsp chili powder

1 tsp garlic salt

1/4 cup cilantro chopped

1 cup brown rice, cooked (we had some leftover from Sunday so I threw it in to make the soup stretch.) (I also threw in half a can of leftover enchilada sauce, just to use it up.)

In a 4-5 quart slow cooker, combine tomatoes, corn, and beans.  Place the brick of cream cheese on top, in the center away from the sides. Place chicken in a single layer over the top, sprinkle with spices.  Cover and cook on high for 3-4 hours.  Turn off the heat.  Shred the chicken with two forks, and stir in the cream cheese, brown rice, and cilantro.   We served ours with cornbread muffins.

How it went over with the family:  I thought it was delicious (but I will eat anything….). It fit in well with my FYM healthy eating plan.  1 Cup has 255 calories; 22g carbs, 7g fat, and 22 g protein.  Darren said, “Wow, this has great flavor but it’s going to be spicy for the kids.”  Heidi drank 3 tall glasses of water but ate her whole bowl.  She declared it tasty but HOT.  Caleb, Heather and Brandon ate it all without a word (but I had to feed Brandon’s to him).  Dub didn’t mind the spiciness but hated the look of it, especially the tomatoes.  Darren had to feed him every bite and hid the tomatoes under stuff.  All in all for as picky as my family is, this is a recipe that I would try again.

I am just about sold on boneless skinless chicken.  It has been going on sale around here between $1-$1.39 a lb and to come home and just shred with 2 forks and eat was a huge mind reliever.  If DH was out of work, I would have used a $.69/lb whole chickens and not complain, but wowza was this easy and delicious.

Gluten Free English Muffins

I don’t normally eat gluten free, but I agreed to try an acceleration diet with Fit Yummy Mummy for 12 days. Part of the diet is gluten free and uncultured diary free, so I’m experimenting. These English Muffins turned out good, but next time I will roll them thinner (about 1/2 inch instead of 1 inch thick so they can cook all the way through.) I used what I had on hand, but you can make substitutions as you wish.

I get frustrated when searching for gluten free recipes because many of them contain ingredients such as tapioca starch, potato flour, and corn flour. These are non-nutritive starches that congeal well, but are basically garbage for your body. So you won’t find any of those things in my recipes.

Xanthan gum is the odd ingredient here.  It is an investment to start with (about $21 for a  1lb bag) but is essential to helping the dough hold together in the absence of gluten.

Gluten Free English Muffins

1 cup whey (leftover from Greek yogurt making–or substitute milk, or buttermilk)
1 cup warm water
3 Tablespoons butter (or coconut oil), melted
1 teaspoon salt
2 Tablespoons honey (or brown sugar)
1 Tablespoon yeast (or 1 packet which is slightly less)
2 cups brown rice flour (I ground long grain brown rice in my grain mill)
1 cup teff flour
1 cup quinoa flour
2 Tablespoons xanthan gum (I bought mine at Amazon.com)

I didn’t want to heat my whey because it’s full of probiotics that will work for good on the flours while the dough rests.  It would be nice to bring it to room temperature naturally if yo have time for that.  Mix the whey, warm water, butter, salt and honey (or sugar) in a bowl.  In your mixer bowl combine the flours, xanthan gum, and yeast.  While the mixer runs slowly, pour the liquid ingredients in with the flours and stir until just combined.  Press into a ball and let rest covered with a towel for 1 hour or until doubled.

With moist hands, pat the dough 1/2 in thick (without punching dough down.)  Dough will feel more like biscuit dough than bread dough.  Cut with a 3 inch biscuit cutter and place on a cookie sheet sprinkled with cornmeal to rest. (About 18 rounds) Let the rounds rise for 30 minutes to an hour.  Place the rounds on a skillet or griddle preheated to 300 degrees.  Cook for 10 minutes on one side, then flip and cook for 10 minutes on the other side.  Split with a fork and eat with butter and jam.