I’ve been sitting on this post for a couple of months having a hard time waiting for the right time to share it. I hope you are in the mood for some home updates, because I have a bunch of them.
We moved into this house 4 years ago, not long after my husband killed the rats. The rats were just one of the many reasons the 5,000 square foot house was selling for $140,000. I vowed not to come back into the house until they were gone and told him I had to see the bodies before I would believe it. When the time came I was too chicken to look, but the kids verified their demise for me.
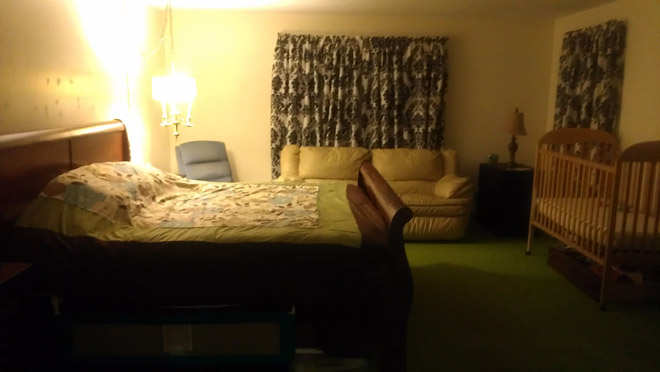
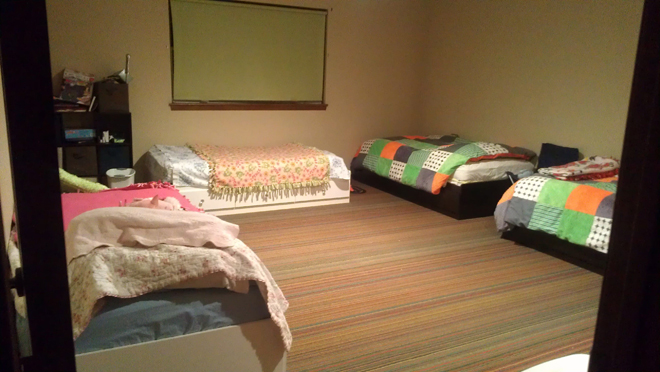
The house was such a disaster that Darren and I slept in the living room for the first few months. The only light source was the original hanging lamp and there were no doors for privacy. Most of the kids slept in the front bedroom upstairs. Four twin beds fit in there with room left to turn cartwheels. That sleeping arrangement gave us time to clean the other spaces more deeply and plan our remodel options while we sold our old house to raise the cash. The original plan was to do the master bedroom first, then move into that while we figured out what to do with the kitchen and living spaces.
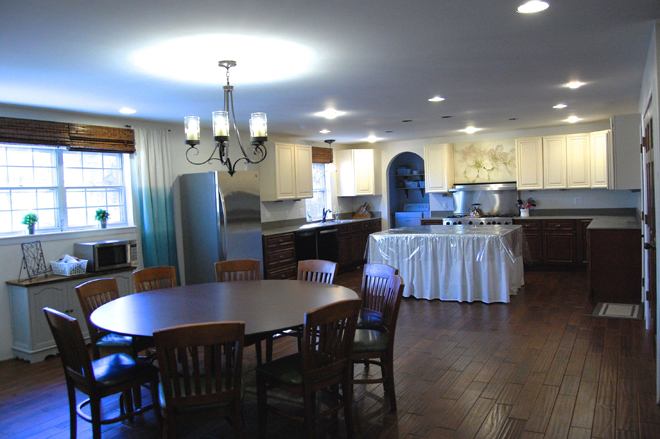
By the time our old house sold (a year later) I was so frustrated with our kitchen that we started there.
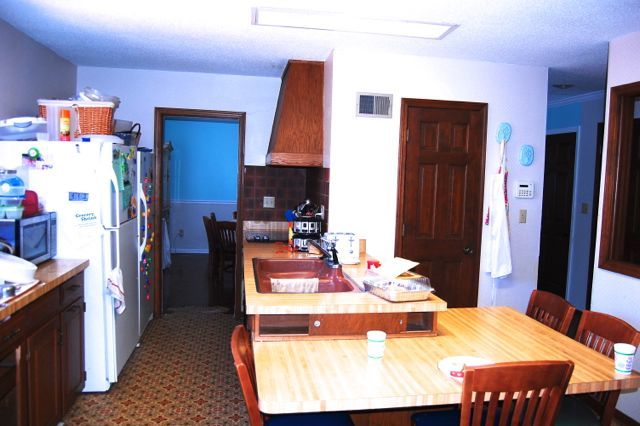
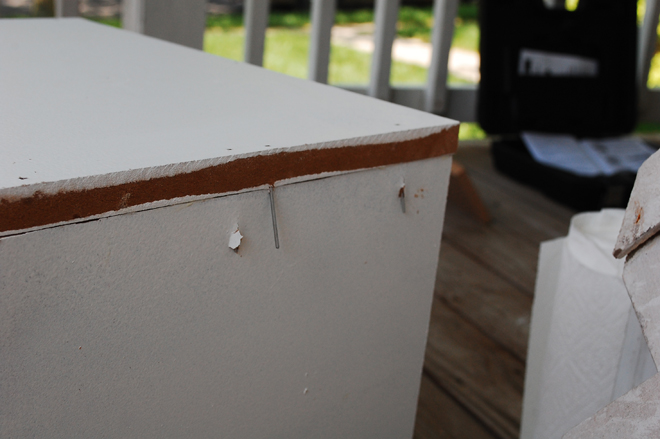
The cabinet doors had broken off and the layout made cooking and cleaning up afterwards a nightmare. During the kitchen remodel, we discovered foundation problems that took the rest of our remodel cash. Without enough to even finish the kitchen space, we slapped it back together with some quick fixes (plywood countertops and folding table island) to get functional again.
We’ve done a few things to improve other spaces while we work on changing our income situation. Most of the improvements are cheap temporary fixes that will need to be re-done further down the road.
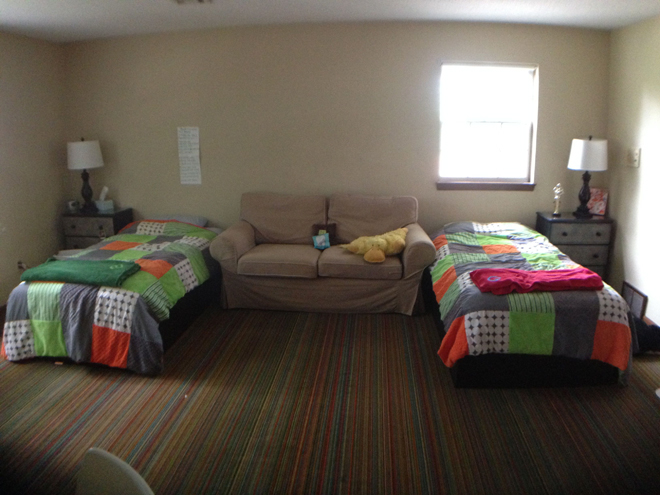
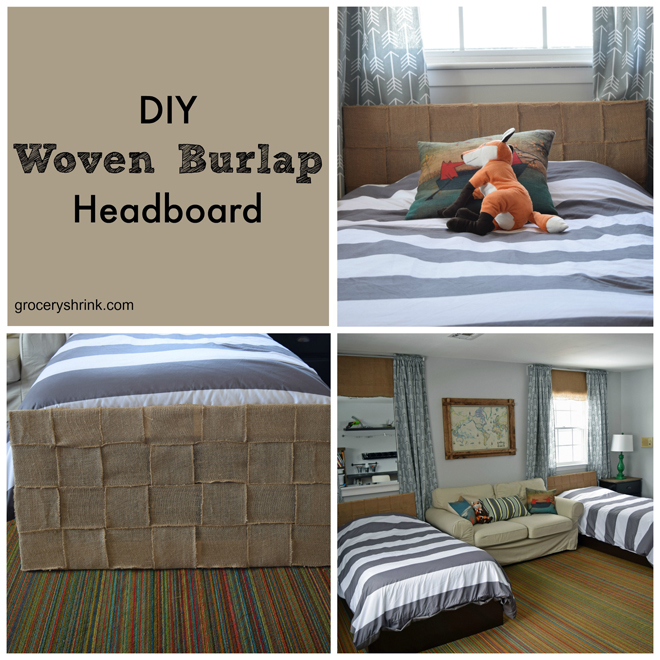
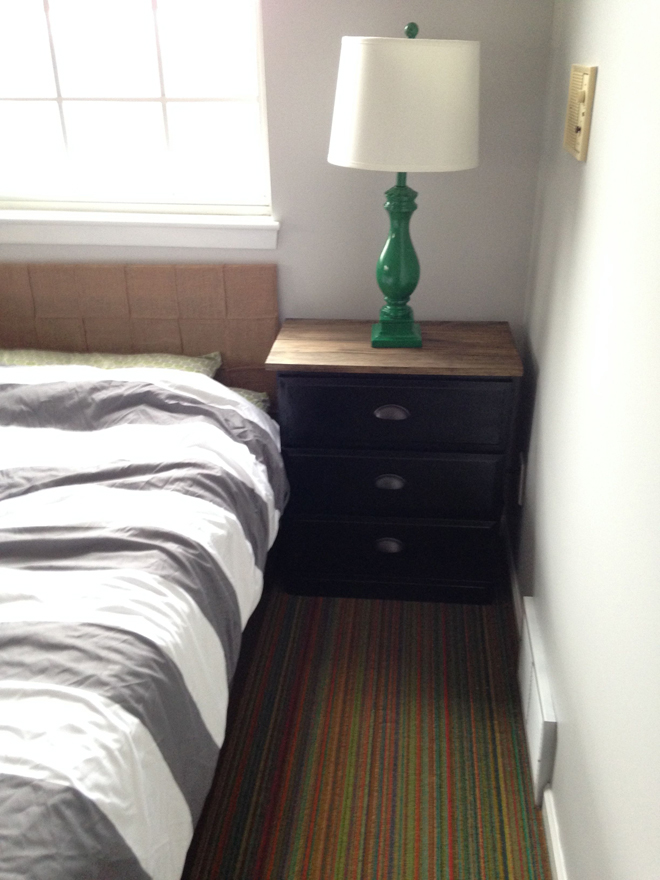
If you can Imagine the bedroom without the two white beds and you’ll see how the boys lived for the next 4 years. It was depressing for me to tuck them in at night. The room felt dark and empty, but we needed to focus our energy on other spaces.
After taking the Cozy Minimalist Course and working a miracle in my own bedroom, I tried a new furniture arrangement.
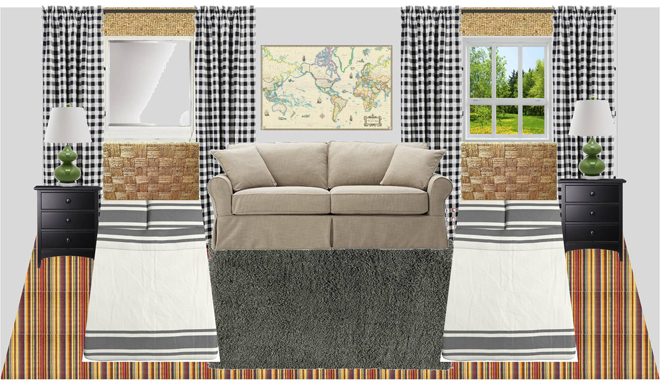
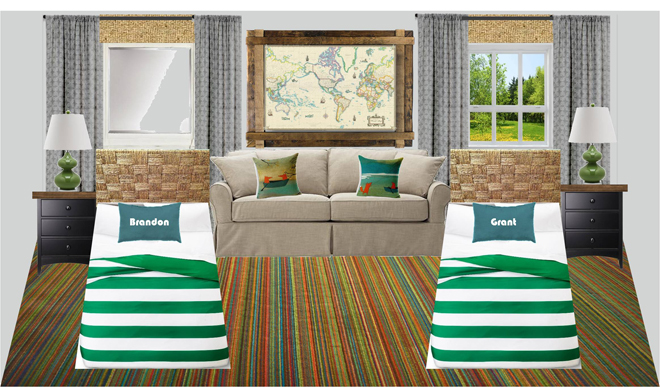
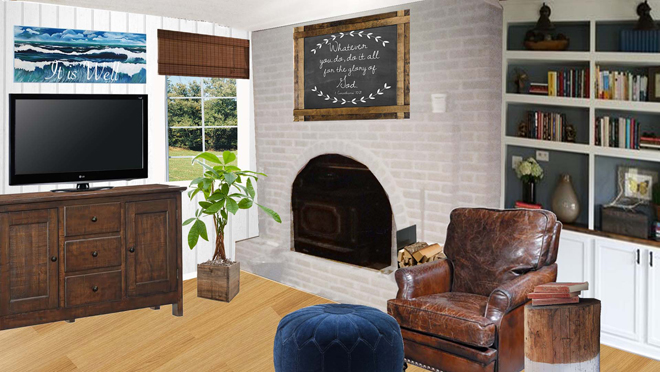
It was so inspiring, I drew up some plans in powerpoint to cozy up the space. The first plans used black buffalo check curtains from Ikea fabric, which I loved. I was the only one.
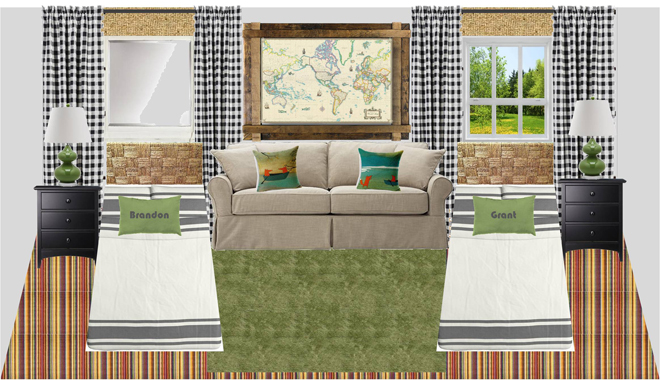
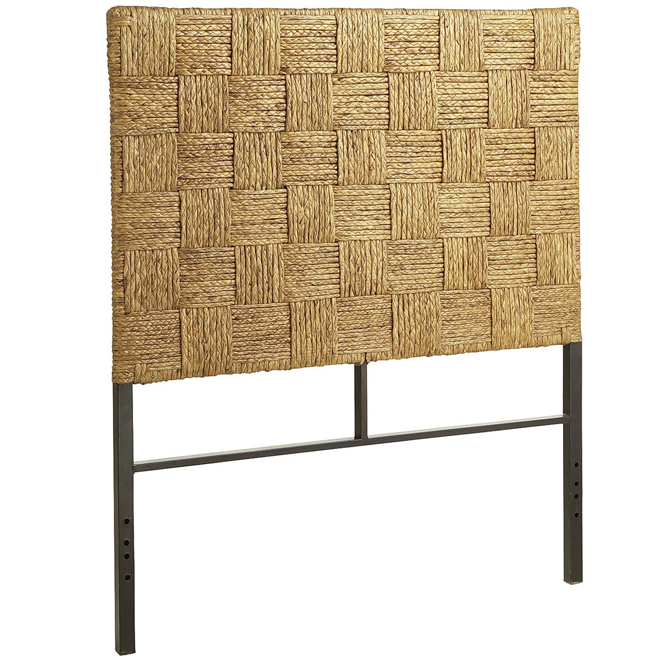
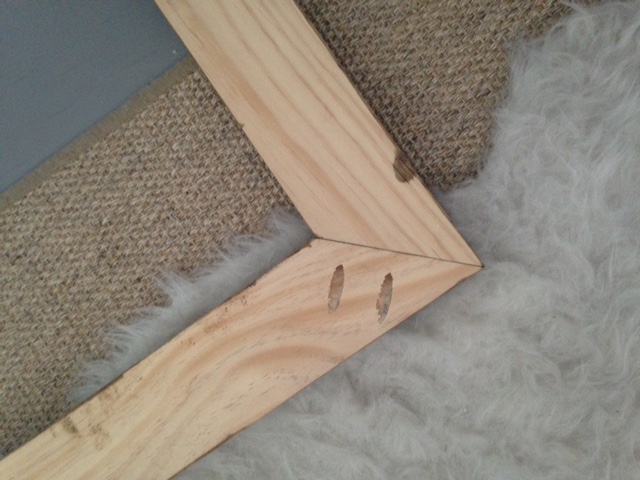
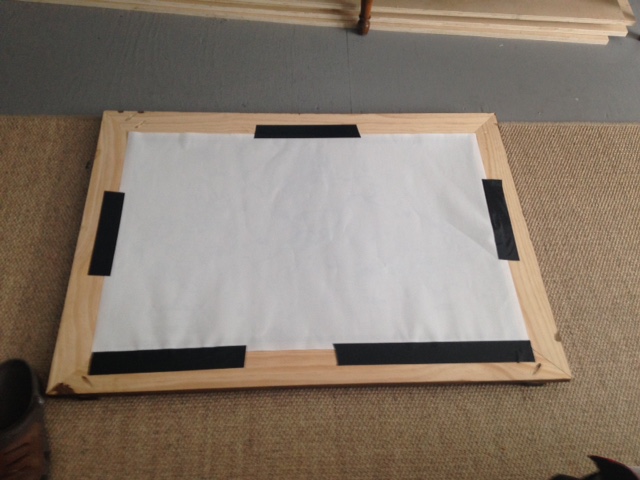
My facebook readers had suggestions to help develop the idea, including framing out the map to give it more definition.
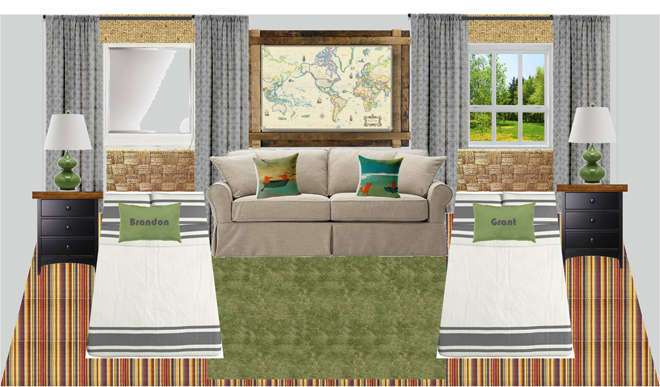
And changing the curtains so they weren’t such a strong pattern.
Another facebook reader suggested that the warm tans and cool grays didn’t belong together and wanted to see it all warm. I tried that.
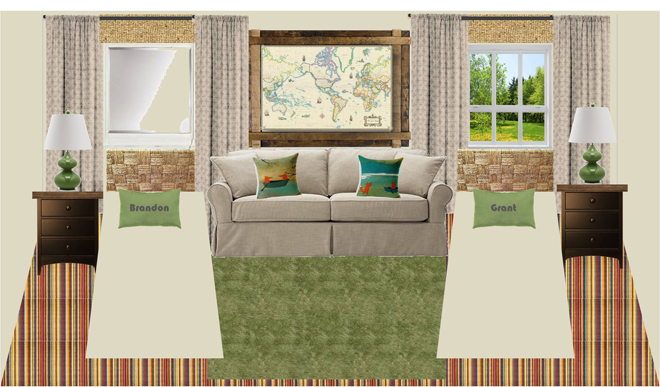
But it wasn’t for me. I like the depth that mixing warm and cool colors brings. Plus the actual carpet has a lot more cool blues and greens in it than this sample texture I found. (Eventually I figured out how to include the actual carpet into the drawings.)
I also tried out lots of different colors of area rugs.
green
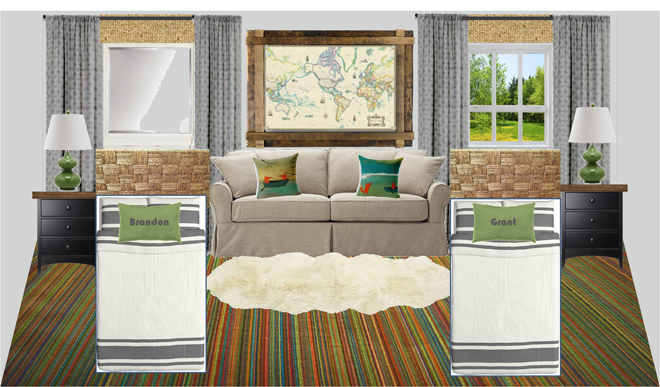
lambswool
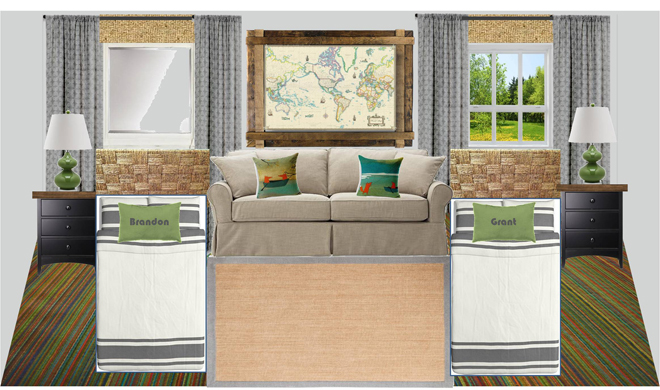
sisal
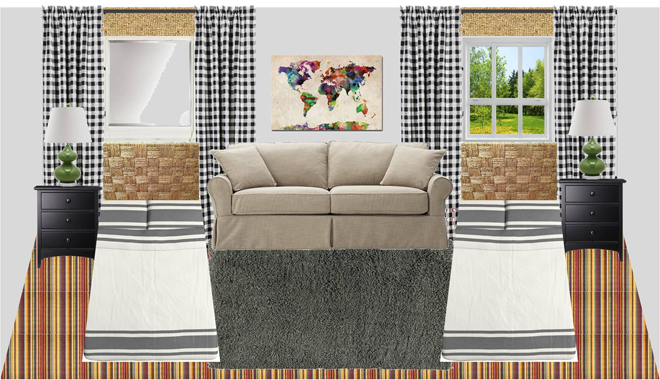
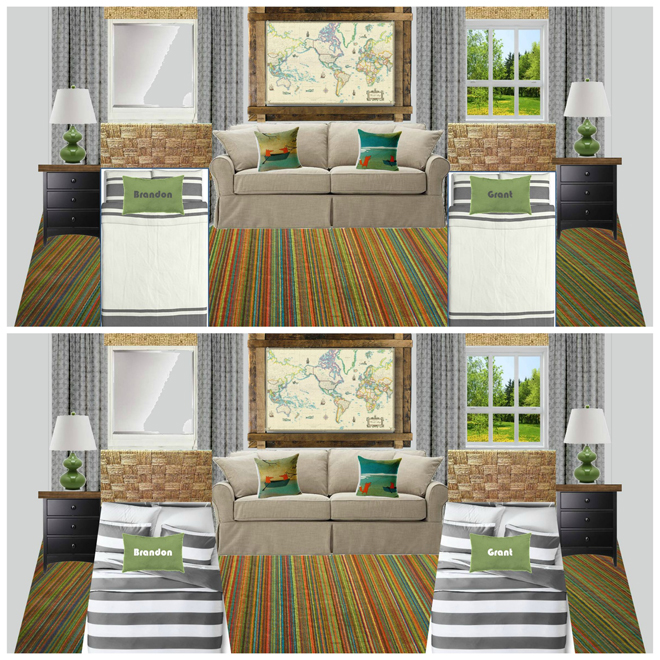
or gray (with a more colorful map.) A kind reader suggested that instead of trying to hide the crazy striped carpet, I should embrace it and just let it be. That worked best with our budget, and a rug could always be added later if I changed my mind :).
The Ikea bedding was more expensive than I hoped, so when I found duvet covers on clearance at Target, I tried out both color combinations.
or

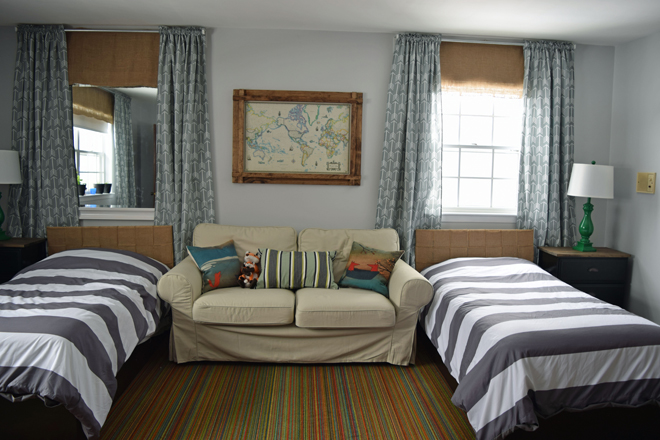
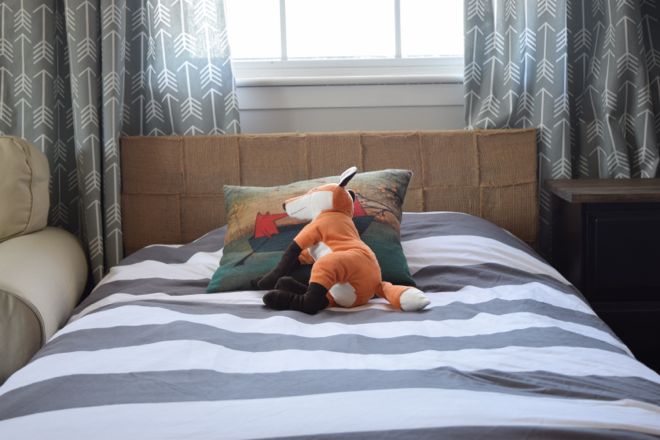
I went with the gray :). This was the final design for the room, and except for being completely off with the scale of the map, the reveal is amazingly similar.

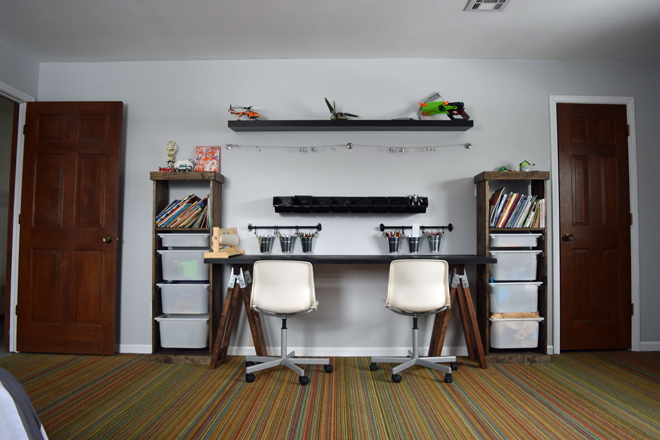
I’ll probably move the map closer to the couch later, add another piece of art (to cover the old intercom system on the right) and build a reading nook in the empty closet. Brandon really wants my mom to embroider name pillows too. For now we are resting and calling it a job well done. In the picture, I don’t love the color of the couch. In real life it looks better in the space. We did a few surprising things in here to come in under budget. I’ll share more of the details about those and the toy side of the room in the next post :).


 When I was searching for inspiration for our shared boy room, I found a photo of
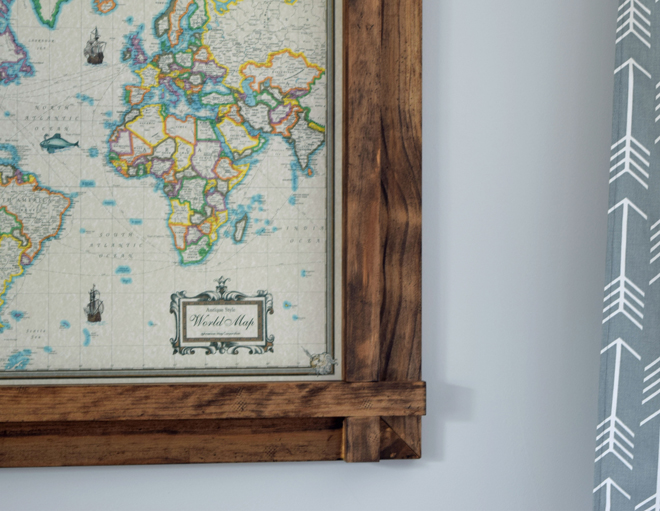


 I’m a big fan of Chip and Joanna Gaines. So big that I paid $10 on Amazon to watch Season 2 of Fixer Upper after I saw Season 1 three times. During the third round of season 1 Darren said, “Haven’t we seen this one before?” I just smiled and handed him some popcorn. Season 2 didn’t disappoint. Chip had me screaming, laughing, and cringing and Joanna made me want to appreciate my kids a little bit more.