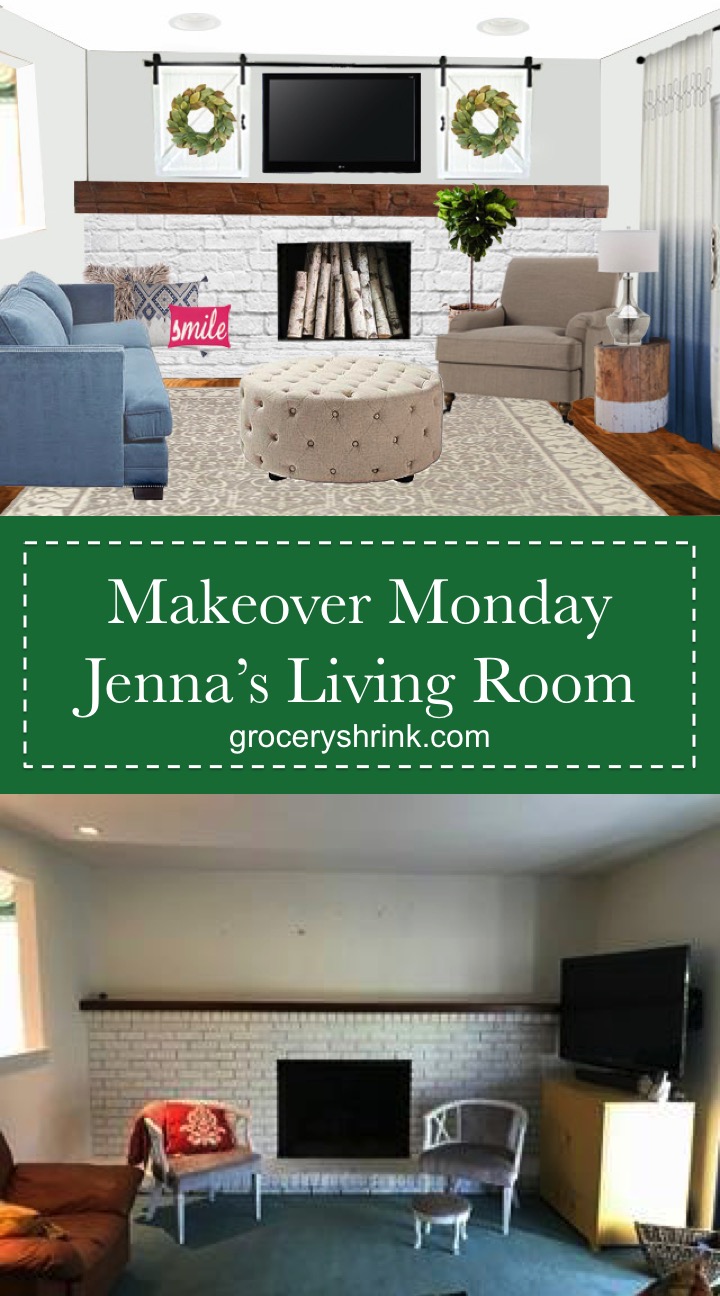
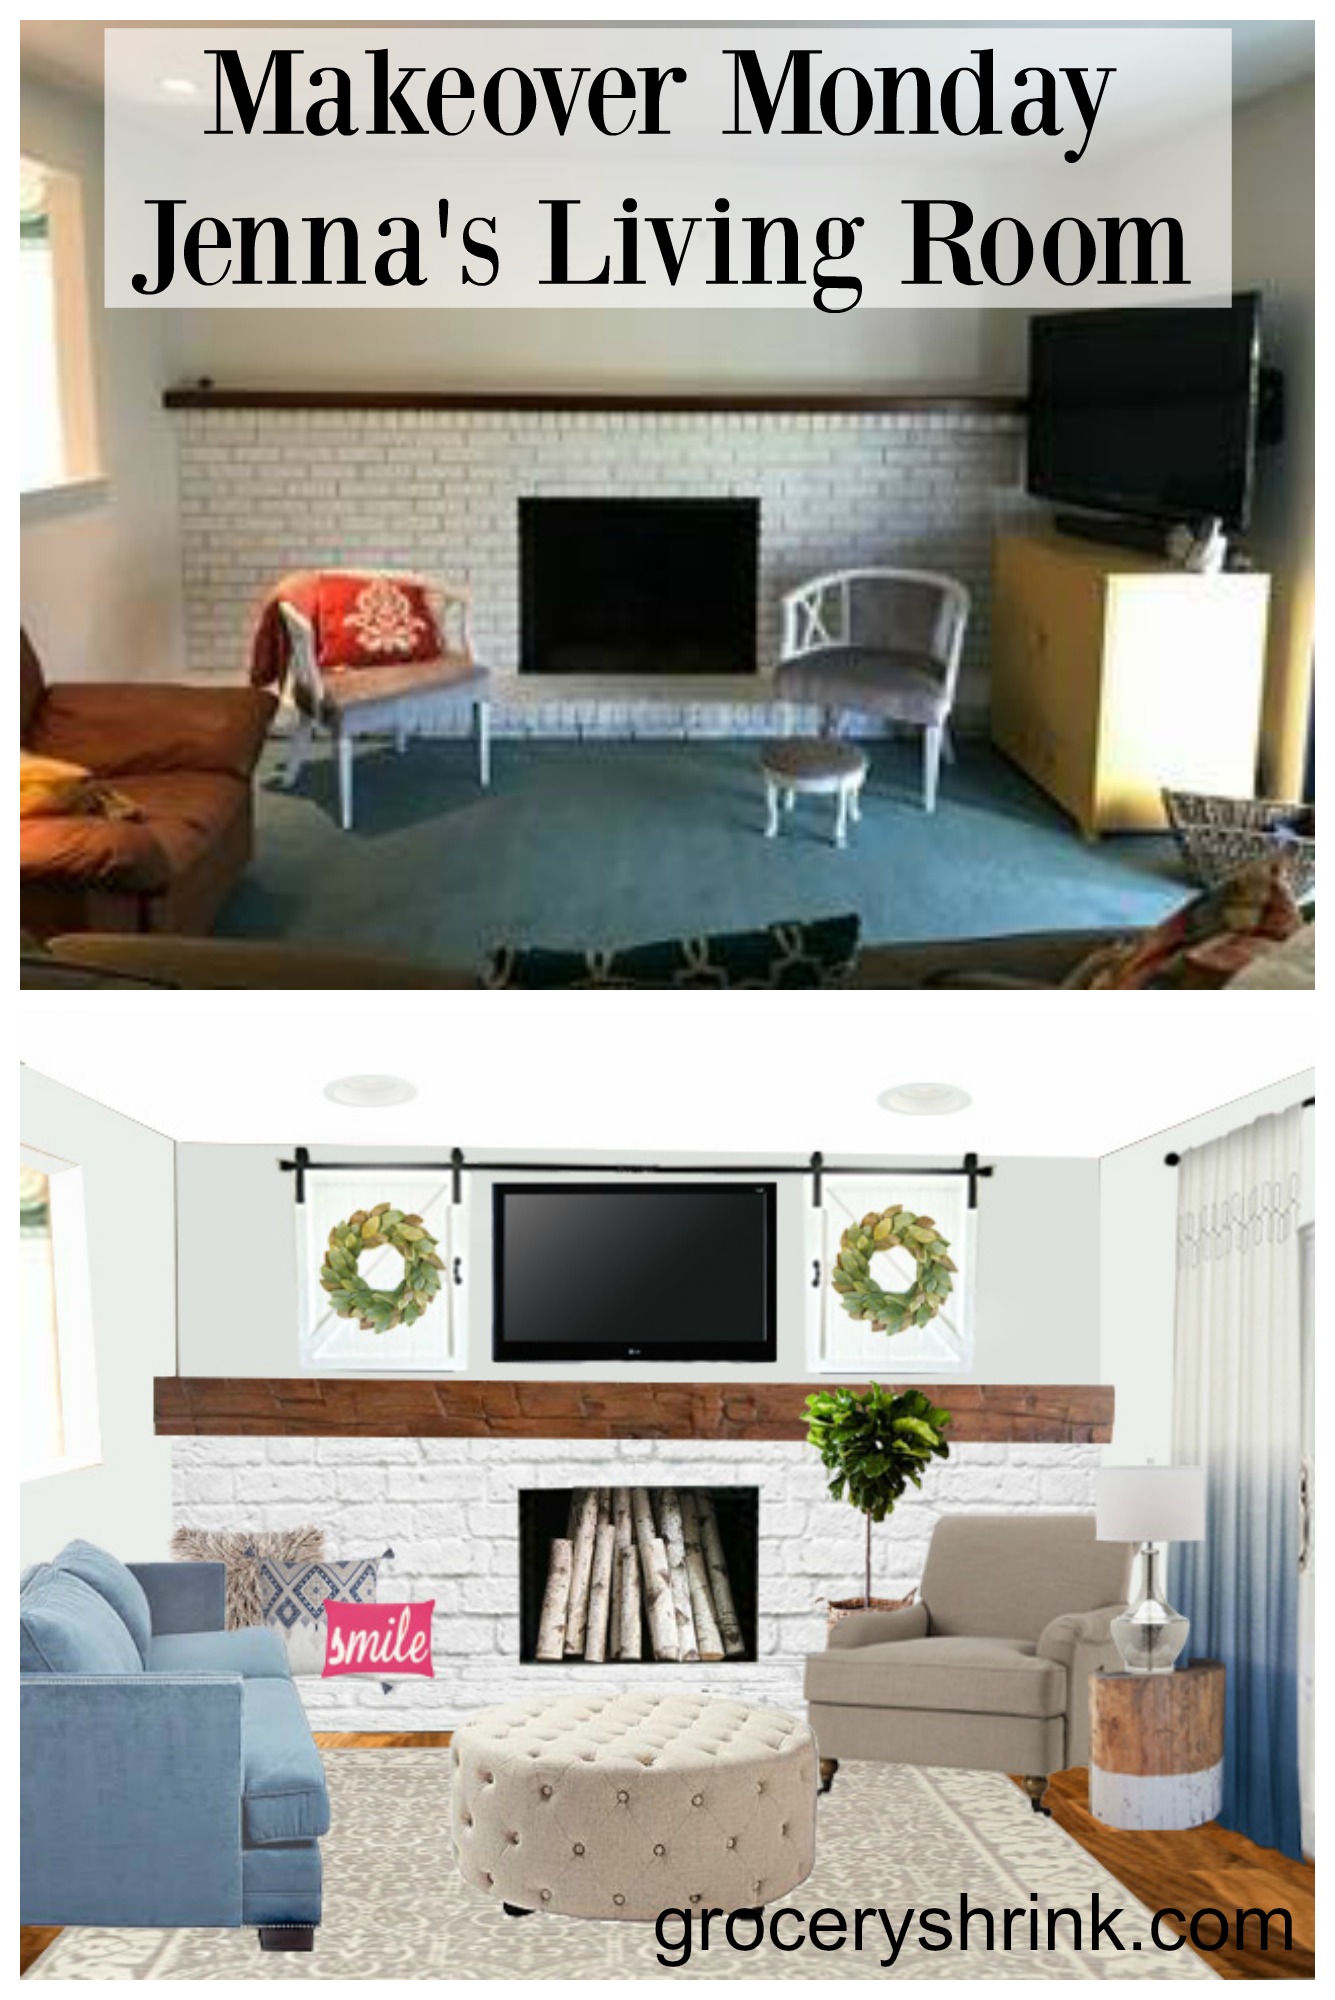
Happy Monday! I met Jenna in the Cozy Minimalist facebook support group and she offered to let me use her living room pictures for a post here. They are getting new wood flooring installed soon and she was excited to get a different perspective for her space.
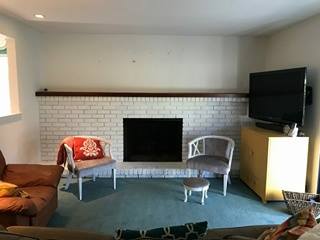
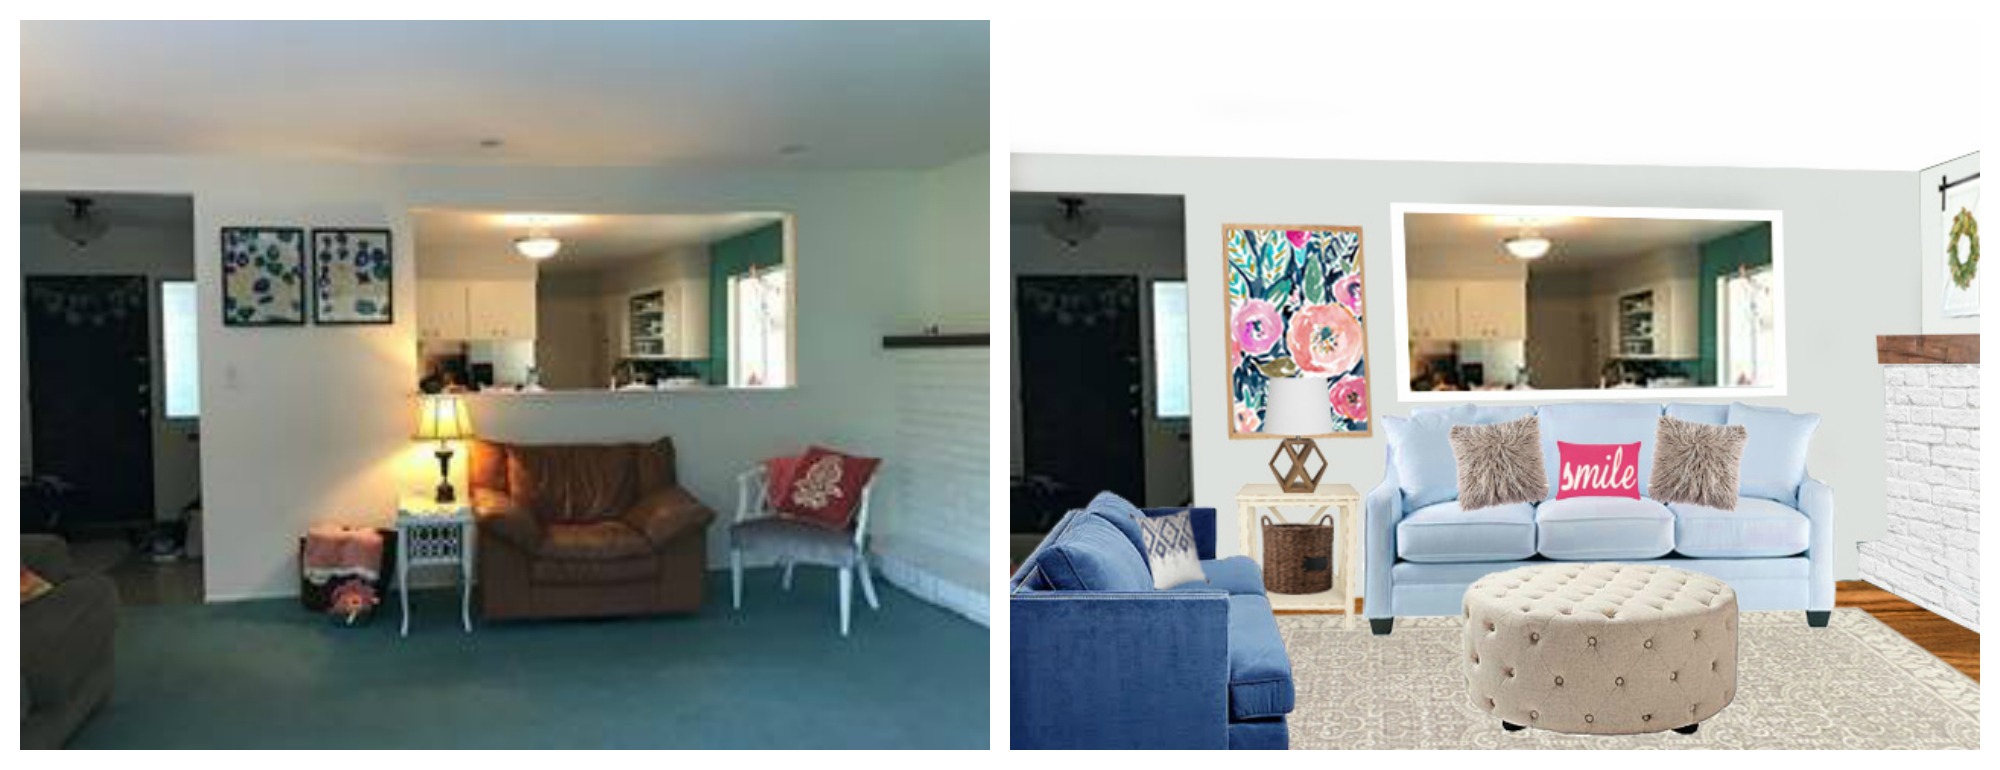
I love her fireplace and that the brick is already white! The window you see peeking on the left is a pass through to the kitchen.
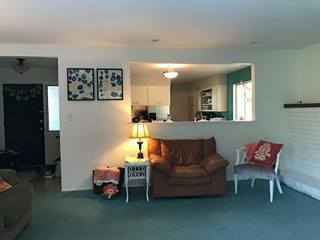
You can see it more clearly here.
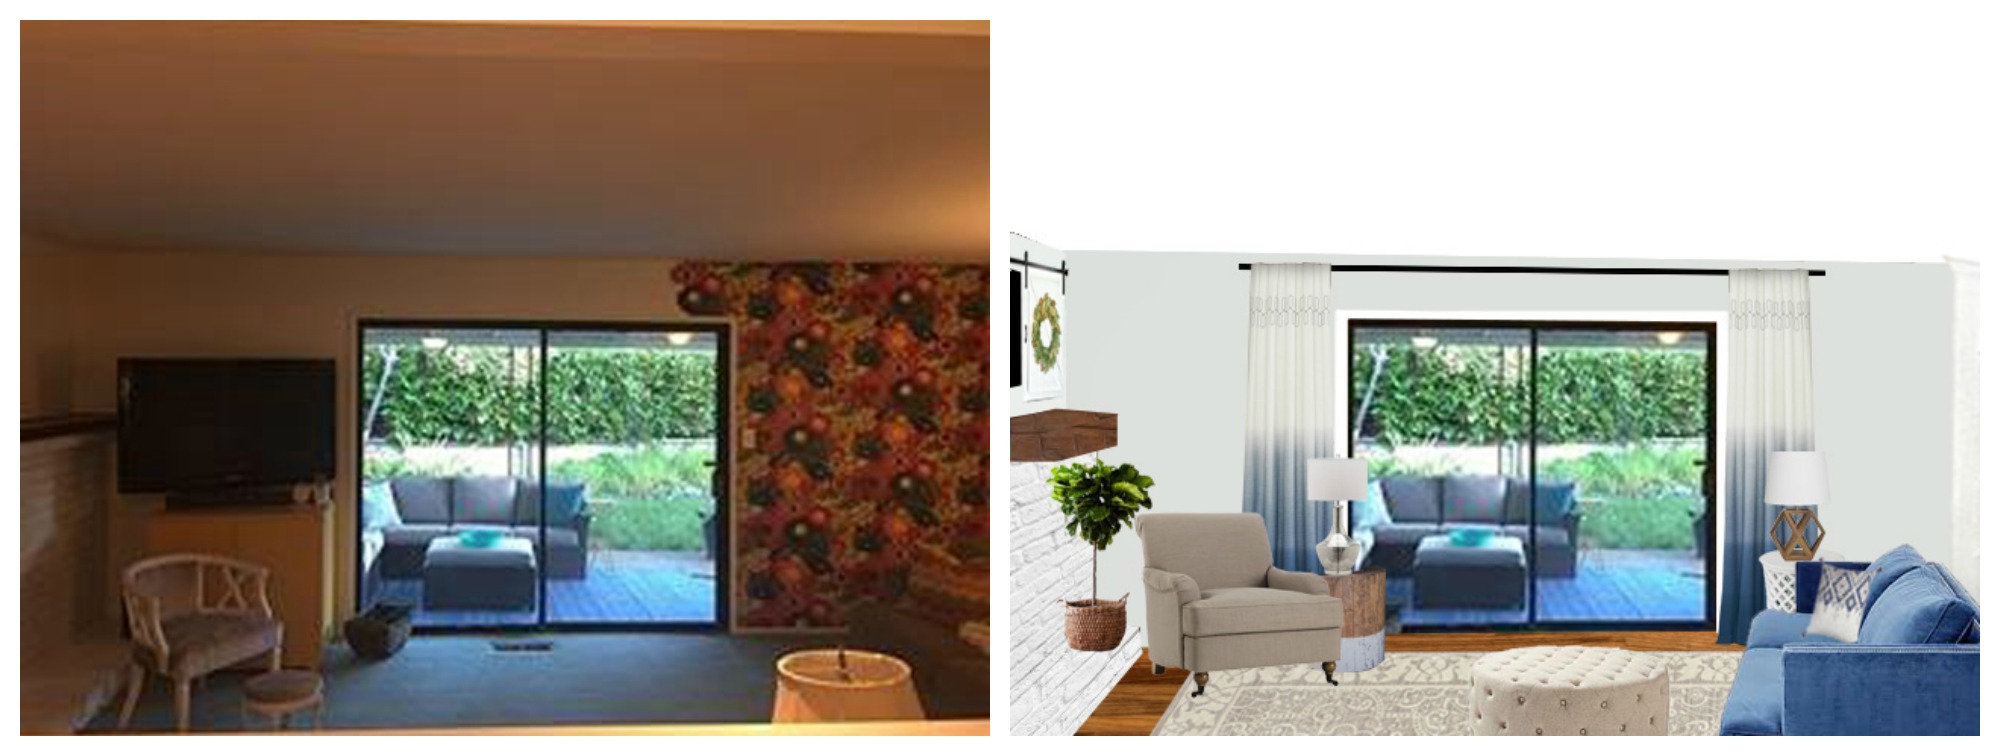
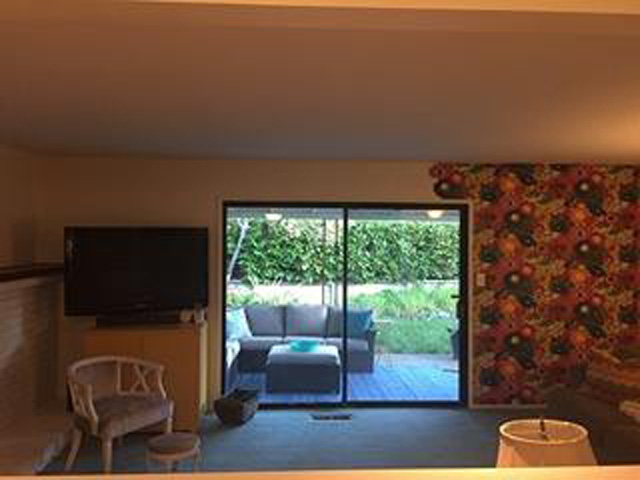 The opposite side has a beautiful glass slider to her outdoor living space.
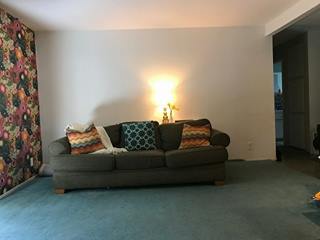
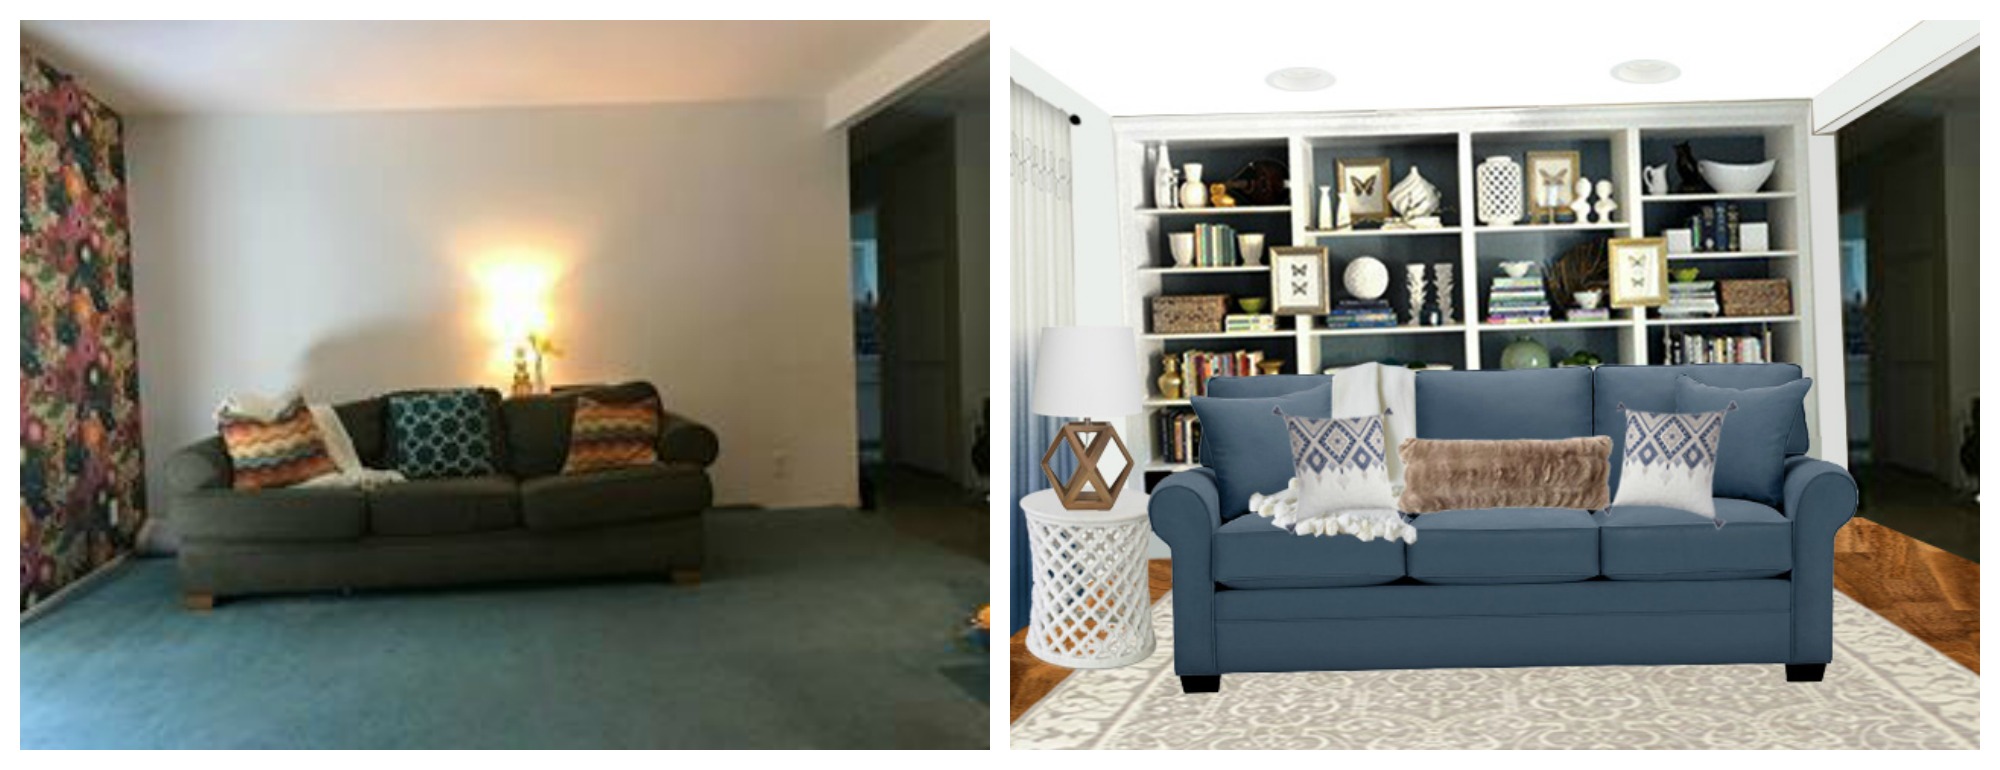
There’s a nice blank wall to the back of the room.
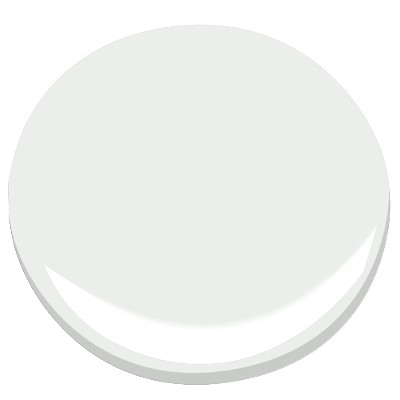
Jenna didn’t give me much direction for the room, except that she wanted it to be light and bright. That’s my favorite kind of room :). First off I gave everything a coat of fresh paint in Benjamin Moore’s Decorator’s White. It is very light with a slight gray/green undertone.
To keep it from feeling too cold or plain, I added texture and warmth with wood pieces, linens, and colored sofas. With a neutral sofa base and added color with fitted slip covers, she can enjoy the splash of color without committing long term on an expensive piece.
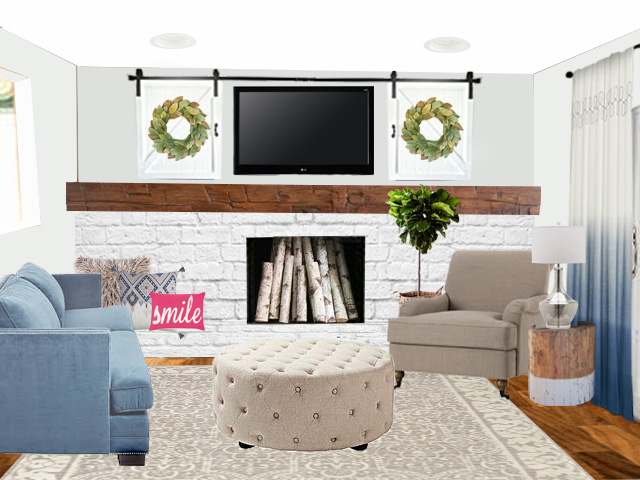
I moved her TV above the fireplace so she could add more seating. I recommend using a Pull-Down TV Wall Mountso it can still be viewed at eye level and pushed back and covered with the barn door sliders when company is over. The sliders have magnolia wreaths for a touch of green.
I added a thicker mantle from distressed wood to better balance the size of her beautiful fireplace. Here’s a tutorial to do it on the cheap. another similar tutorial And filled her fireplace with decorative birch logs. If birch isn’t plentiful in her area, she can mimic the look by dry brushing white chalk paint onto regular logs.
I used curtains on the doors to add softness to the room. Hanging them high and wide gives the illusion of taller ceilings. It also covers blank wall so Jenna won’t need as much art work. Throw pillows turn the hearth into additional seating, perfect for gatherings with lots of kids. And the ottoman can be used as a coffee table with the addition of a wooden tray to stabilize beverages or pulled to the side for even more seating. I’ve seen ottomans this style with a lift up top for blanket storage inside.
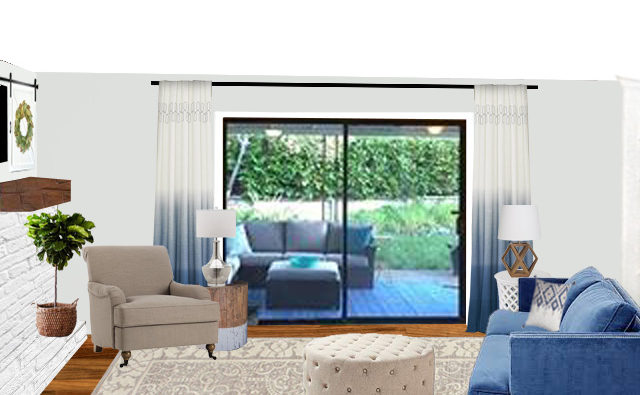
Here you can see the impact of the curtains on the doors a little better. They are hung all the way to the side, so they don’t interfere with door access. I had trouble finding a blue sofa at just the right angle, but I recommend she pull it closer than she had her sofa before. Just to the edge of the door area, for easier conversation and better TV viewing.
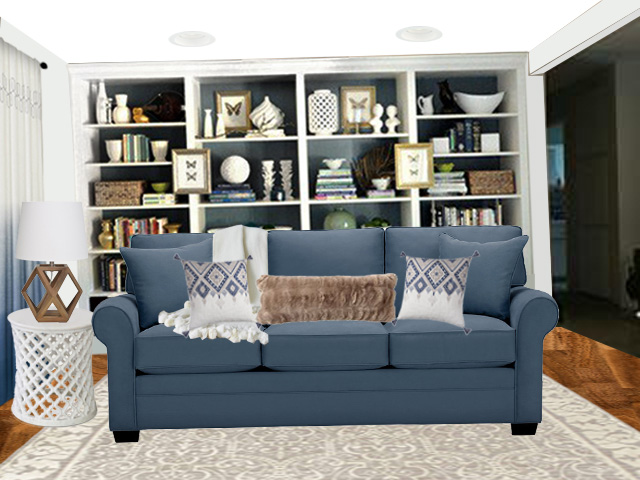
Since pulling the sofa closer will leave her blank wall with a gap (I’m guessing there will be 3-4 feet behind the sofa.) She will have room to install bookcases floor to ceiling with classic crown molding. This explodes her storage potential while still giving room for someone to walk behind the sofa and select a book for reading. Bookcase photo and tutorial from Centsational Girl.
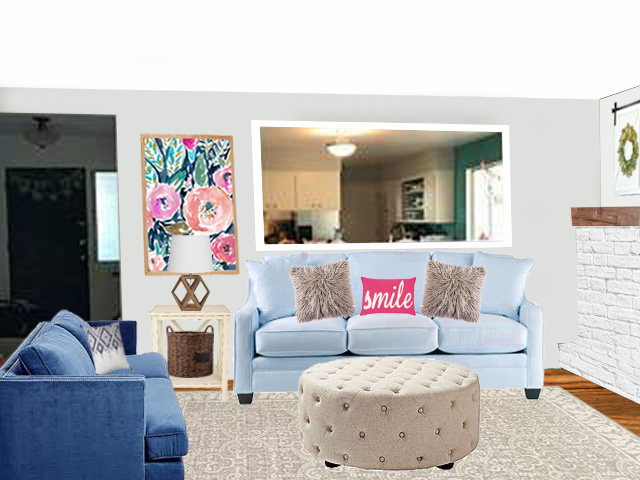
Finding the right angle of sofa in the right colors was a big challenge. That’s why all the blues are a little different, but you get the idea. I like having one in a lighter shade of blue than the other, to keep the space from feeling too matched. With the curtains, sliders, and bookcase, there’s only one place for artwork left. I think Jenna should make it ONE big piece that she loves. I put this watercolor piece in for an example, but she could do anything, even paint something abstract herself.
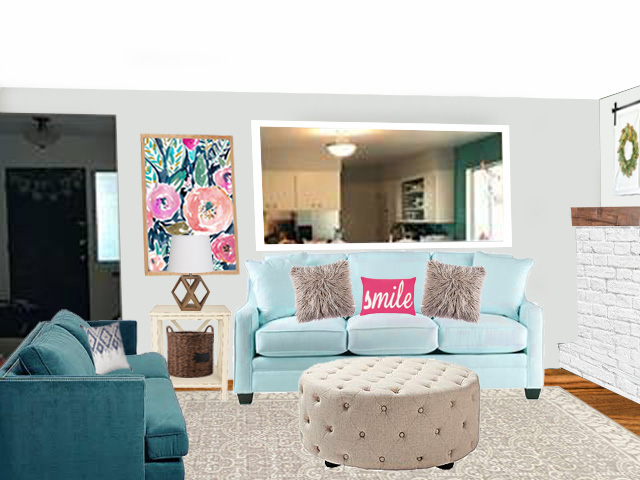
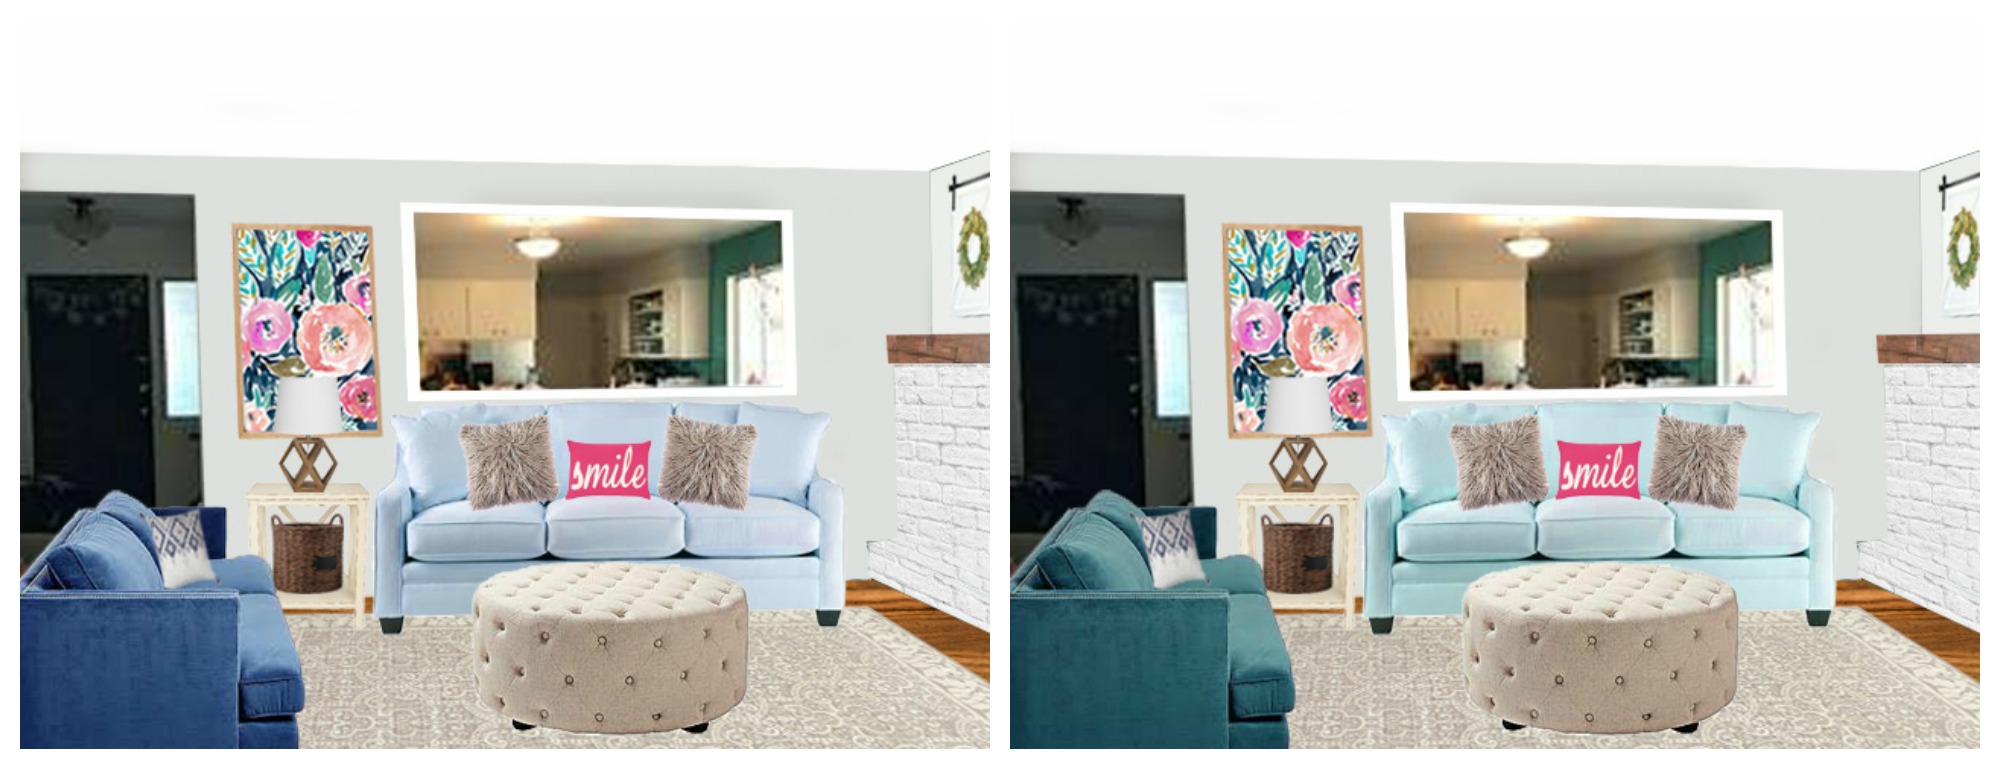
I noticed Jenna had a nice bold green in her kitchen, so wanted to show her what it would look like if she decided to go with Green instead of blue. (She’d have to pick out different curtains.)
Just for giggles, here are some side by side photos for you.

Additional Sources:
Would you like your room photoshopped and featured on Makeover Monday? Send a few photos from your space to angela@groceryshrink.com and tell me your hopes and dreams for the room. It’s free 🙂
Get a full service virtual makeover complete with 3D room layout plan, 2 photoshop views, step by step work list, and source list–all in your budget. Find out more.

Learn how to use Photoshop your own designs with the Room Makeover class.
Post contains affiliate links.
IT’S BEAUTIFUL!!!!!
I want you to do mine!!! Just so I can invision what bookcases would look like flanking my fireplace and how high I should have them built.
You do such a nice job building visions!!!
Nicole, I’d love to do your space. Send the pictures :). Cell phone pictures are fine, just try to line up the ceiling straight with the camera frame. And if you have a choice of more ceiling or more floor, do more floor.
It’s so beautiful!! I love seeing these – inspiring!
Thank you, Ashley 🙂 It’s my favorite way to spend some down time.
THANK YOU SO MUCH. I love your ideas. I even got my husband to give up his need to have the TV in its very awkward current location once he saw the pictures! I had some clear ideas about what I wanted (along with a bunch of unclear ideas…), but it was really fun to see how your ideas differed. For instance, I was really planning on getting two matching sofas, but now I’m thinking about maybe getting some complementary ones. I love that you included the tutorials, too. I could build that mantle! It will be a few more months, I’m sure, but you will definitely see some of these ideas in the finished room. Thank you!
And a question… I moved the couch up to be perpendicular to the slider, and now there is 27″ between the big white wall and the back of the sofa. Do you think it’s too narrow to put in a bookcase? I really want to now!
Most bookcases are just under 12 inches deep. that would leave you 15 inches between the bookcase and the back of the sofa. I think it would look ok, visually, but might be hard to access stuff on the lower shelves. If you could push the sofa forward another 9 inches, it would be perfect.
Wow. That looks good! How did you edit the photos? That a great way to plan on where and how to place and decorate the pieces! Awesome job Angela!
Thank you, Emmerey <3 I used photoshop elements to edit the photos. I learned how to do it from an online class. There's a link to the class at the end of the post if you'd like to try it yourself :).
Wow. That’s cool! Thanks Angela! Will check it out.