Homemade Silly Sludge aka GAK

Gak rainbow

Happy President’s Day!  We love our founding presidents for sure. We celebrate their day by working on the house and trying to keep the kids from watching movies or playing video games ALL day.   Day time clothes are optional.  Bathrobes and fuzzy pajamas are acceptable for the dress code.  (We talk about patriotism nearly every day, so I imagine it will come up today as well.)

Last night I knew I needed a plan if I wanted this to be a happy day.  Hubs and I each wrote out a “would be nice to accomplish” list.  Knowing that we would probably only get one thing done.  Then I did a quick search for an idea to keep the kids occupied so I could work.  Schedule for the kids: clean rooms; waffles with mom; special activity; play in the snow; board games; electronics after 3pm.

DSC_2501

1/4 cup Elmer’s white glue, 1/4 cup cold water and 2 drops of food coloring.

I found a pin from Sugar Bee Crafts written by guest blogger Love and Laundry on making Silly Sludge or Gak. All the ingredients were on my basement shelf, minimal mess, short time involvement for me.  Long time involvement for kids.  Perfection.

DSC_2505

After they mixed the glue,water and coloring together.  We dissolved 1/2 tsp borax into 1/4 cup hot water.  And poured that into the glue.  It immediately started a chemical reaction creating a smooth polymer.

DSC_2506

Aaak! Mom, I cannot touch this!

Not all of the water absorbed into the Gak right away.  I used a spoon to lift the polymer out of the remaining water and onto a piece of foil. (Wax paper would have worked too, but we were out.) The kids kneaded it and kneaded it until it was smooth ball. Some of the kids opted to work the remaining water into their sludge.  That worked out well.

DSC_2510

Their first reactions were mixed.  Heather didn’t want to touch it at all, but soon was enjoying herself with the rest.

DSC_2504

Dub’s reaction.

DSC_2517

Brandon’s reaction

DSC_2512

Grant’s reaction.

It’s kind of a rule around here, that we don’t laugh when someone else is crying.  (It’s only fun when everyone is having fun.)  I broke the rule.

DSC_2514

Grant didn’t take it well. The picture is fuzzy, because I’m laughing so hard.

Caleb is our sensitive one.  He went after Grant and brought him back to play on his shoulders.

DSC_2525

We’re sorry; want to try again?

DSC_2521

Eventually they all had fun. 2 hours of it.

DSC_2533

DSC_2509 DSC_2508 DSC_2518 DSC_2498 DSC_2500 DSC_2499
DSC_2530

DSC_2527

DSC_2526

The next two pictures show you a sneak peak of how our kitchen project is going :).  There’s my lovely craigslist range in the background and a few of our cabinets in place.  There’s still a lot left to do, but my heart is pretty happy right now.  Darren is working hard today and I may have a kitchen sink in a month or two.
DSC_2537

DSC_2538


Gak rainbow


One of the things I loved about this activity was experimenting with colors.  We used the cheap liquid food colors that come in red, yellow, green and blue.  In order from left to right these are the color combos:

1 drop yellow, 1 drop red (pale orange)

2 drops blue

1 drop blue, 1 drop green (bluegreen)

2 drops green

2 drops red, 1 drop blue (pinky lavender)

1 drop red, 2 drops blue (purple)

For the detailed recipe visit Sugar Bee Crafts.

Tea Towel Cafe apron


Ready for a super easy project that makes an adorable gift? (Get your Christmas done early. Teacher gifts? White elephant?) It’s so fast, you can make one for yourself too.

All you need is 1 tea towel, and 1 package (3 yards) of quilt binding in a coordinating color. Read more

Brandon’s Dinosaur Backpack

DSC_1045

Back before we started Heather’s room project, I stitched up Brandon a kindergarten sized backpack.  He loves green and dinosaurs so I dug through my stash to see what I could find.  I had already been to 3 stores and decided that it was hard to find a quality back pack that was affordable too.  (I needed it to be less than $15.)  After I was done sewing, my friend told me she snagged a really great quality bag at the thrift store for $2.  Smack.  (That’s me smacking my forehead because I didn’t think of looking at the thrift store.)

DSC_1050

My goal was to make the backpack entirely out of stash, but I ended up buying $1.50 plastic pieces for the straps.  I had the zipper on hand, because I took it out of a bag that had worn-out fabric before throwing the bag away, and put in my stash.  It pulled a little rough, so I put silicone lubricant on it (from my sewing machine repair box) and that fixed it right up.

I used this inspiration photo. And this tutorial (I skipped the pocket and used wool quilt batting in the straps because I didn’t have fleece in stash.)

 DSC_1047

If I had it to do over, I would have made the bag 2 inches shorter.  It would have still held a folder and fit his body a little better. I lined the inside with canvas from the rest of a drop cloth that I had cut up for a previous project.  Then any exposed seams got bound on the inside with blue bias tape.  It about killed me to use the smoky blue bias tape but it was the ONLY color I had in the right size and I was challenging myself not to buy anything.  The kids put it in perspective for me–“Mom, it’s on the INSIDE.”  They were right.


DSC_1059 DSC_1055 DSC_1054 DSC_1053

Wrist wallet for lunch money.  Tutorial here.
DSC_1063Happy Kindergarten Brandon!


Bulk Cooking: Slow Cooked Ground Beef

As the weeks drag on without a kitchen, I’m starting to loose it a little.  Our project was delayed in an unforeseen scheduling conflict with one of our professionals and our finish date is two months in the future…..sigh.  But when it’s all said and done it will be worth it.

Part of holding it together, is making sure my family still eats while sticking to our tiny food budget, which DH lovingly raised to $500 a month (for the 8 of us) at least while our kitchen project drags on.  This allows me to buy a few more convenience items to make meal prep in our alternative kitchen space a little easier.

“If only I had a bunch of cooked up ground beef in the freezer!” I thought to myself last week.  That would make life so much better.  So I did a search on all the ways to cook large batches of ground beef–only I don’t have a stove, so it can’t use a wok, lol.

Finally I decided to try it in the slow cooker.  And it worked, beautifully–though until the very end I was sure I had wasted 6 lbs of meat.  Here’s how it played out.

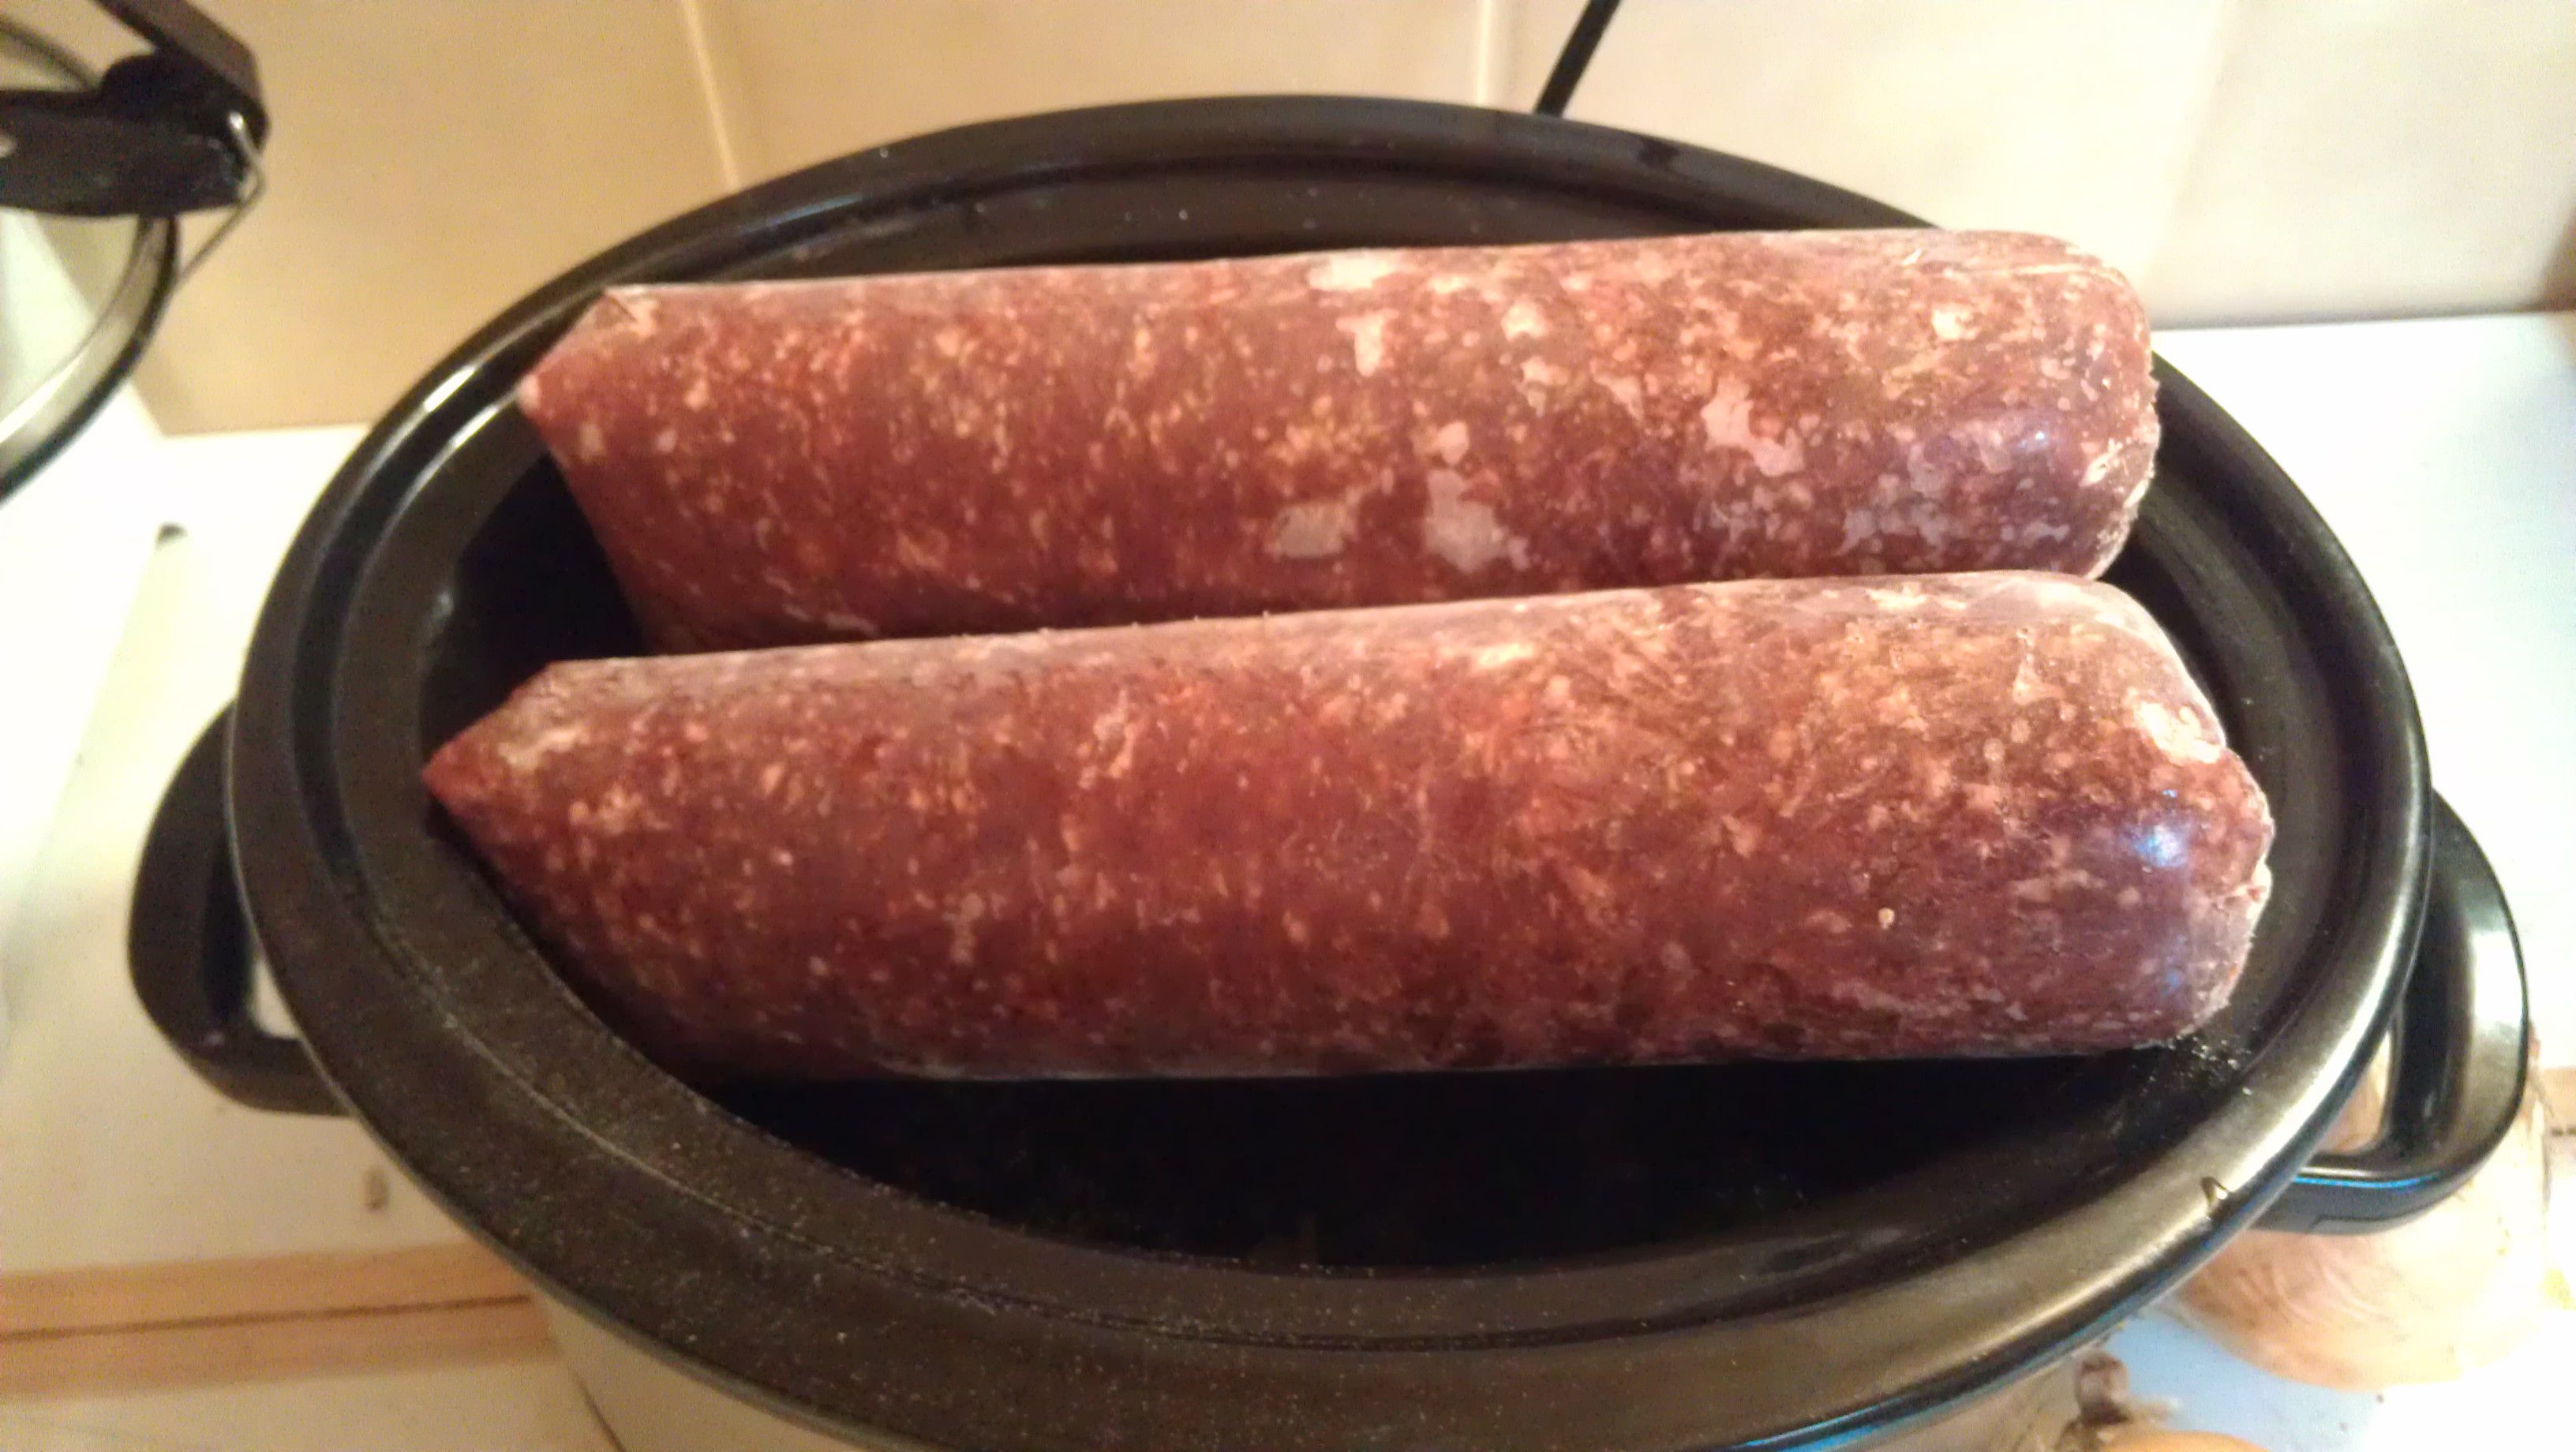
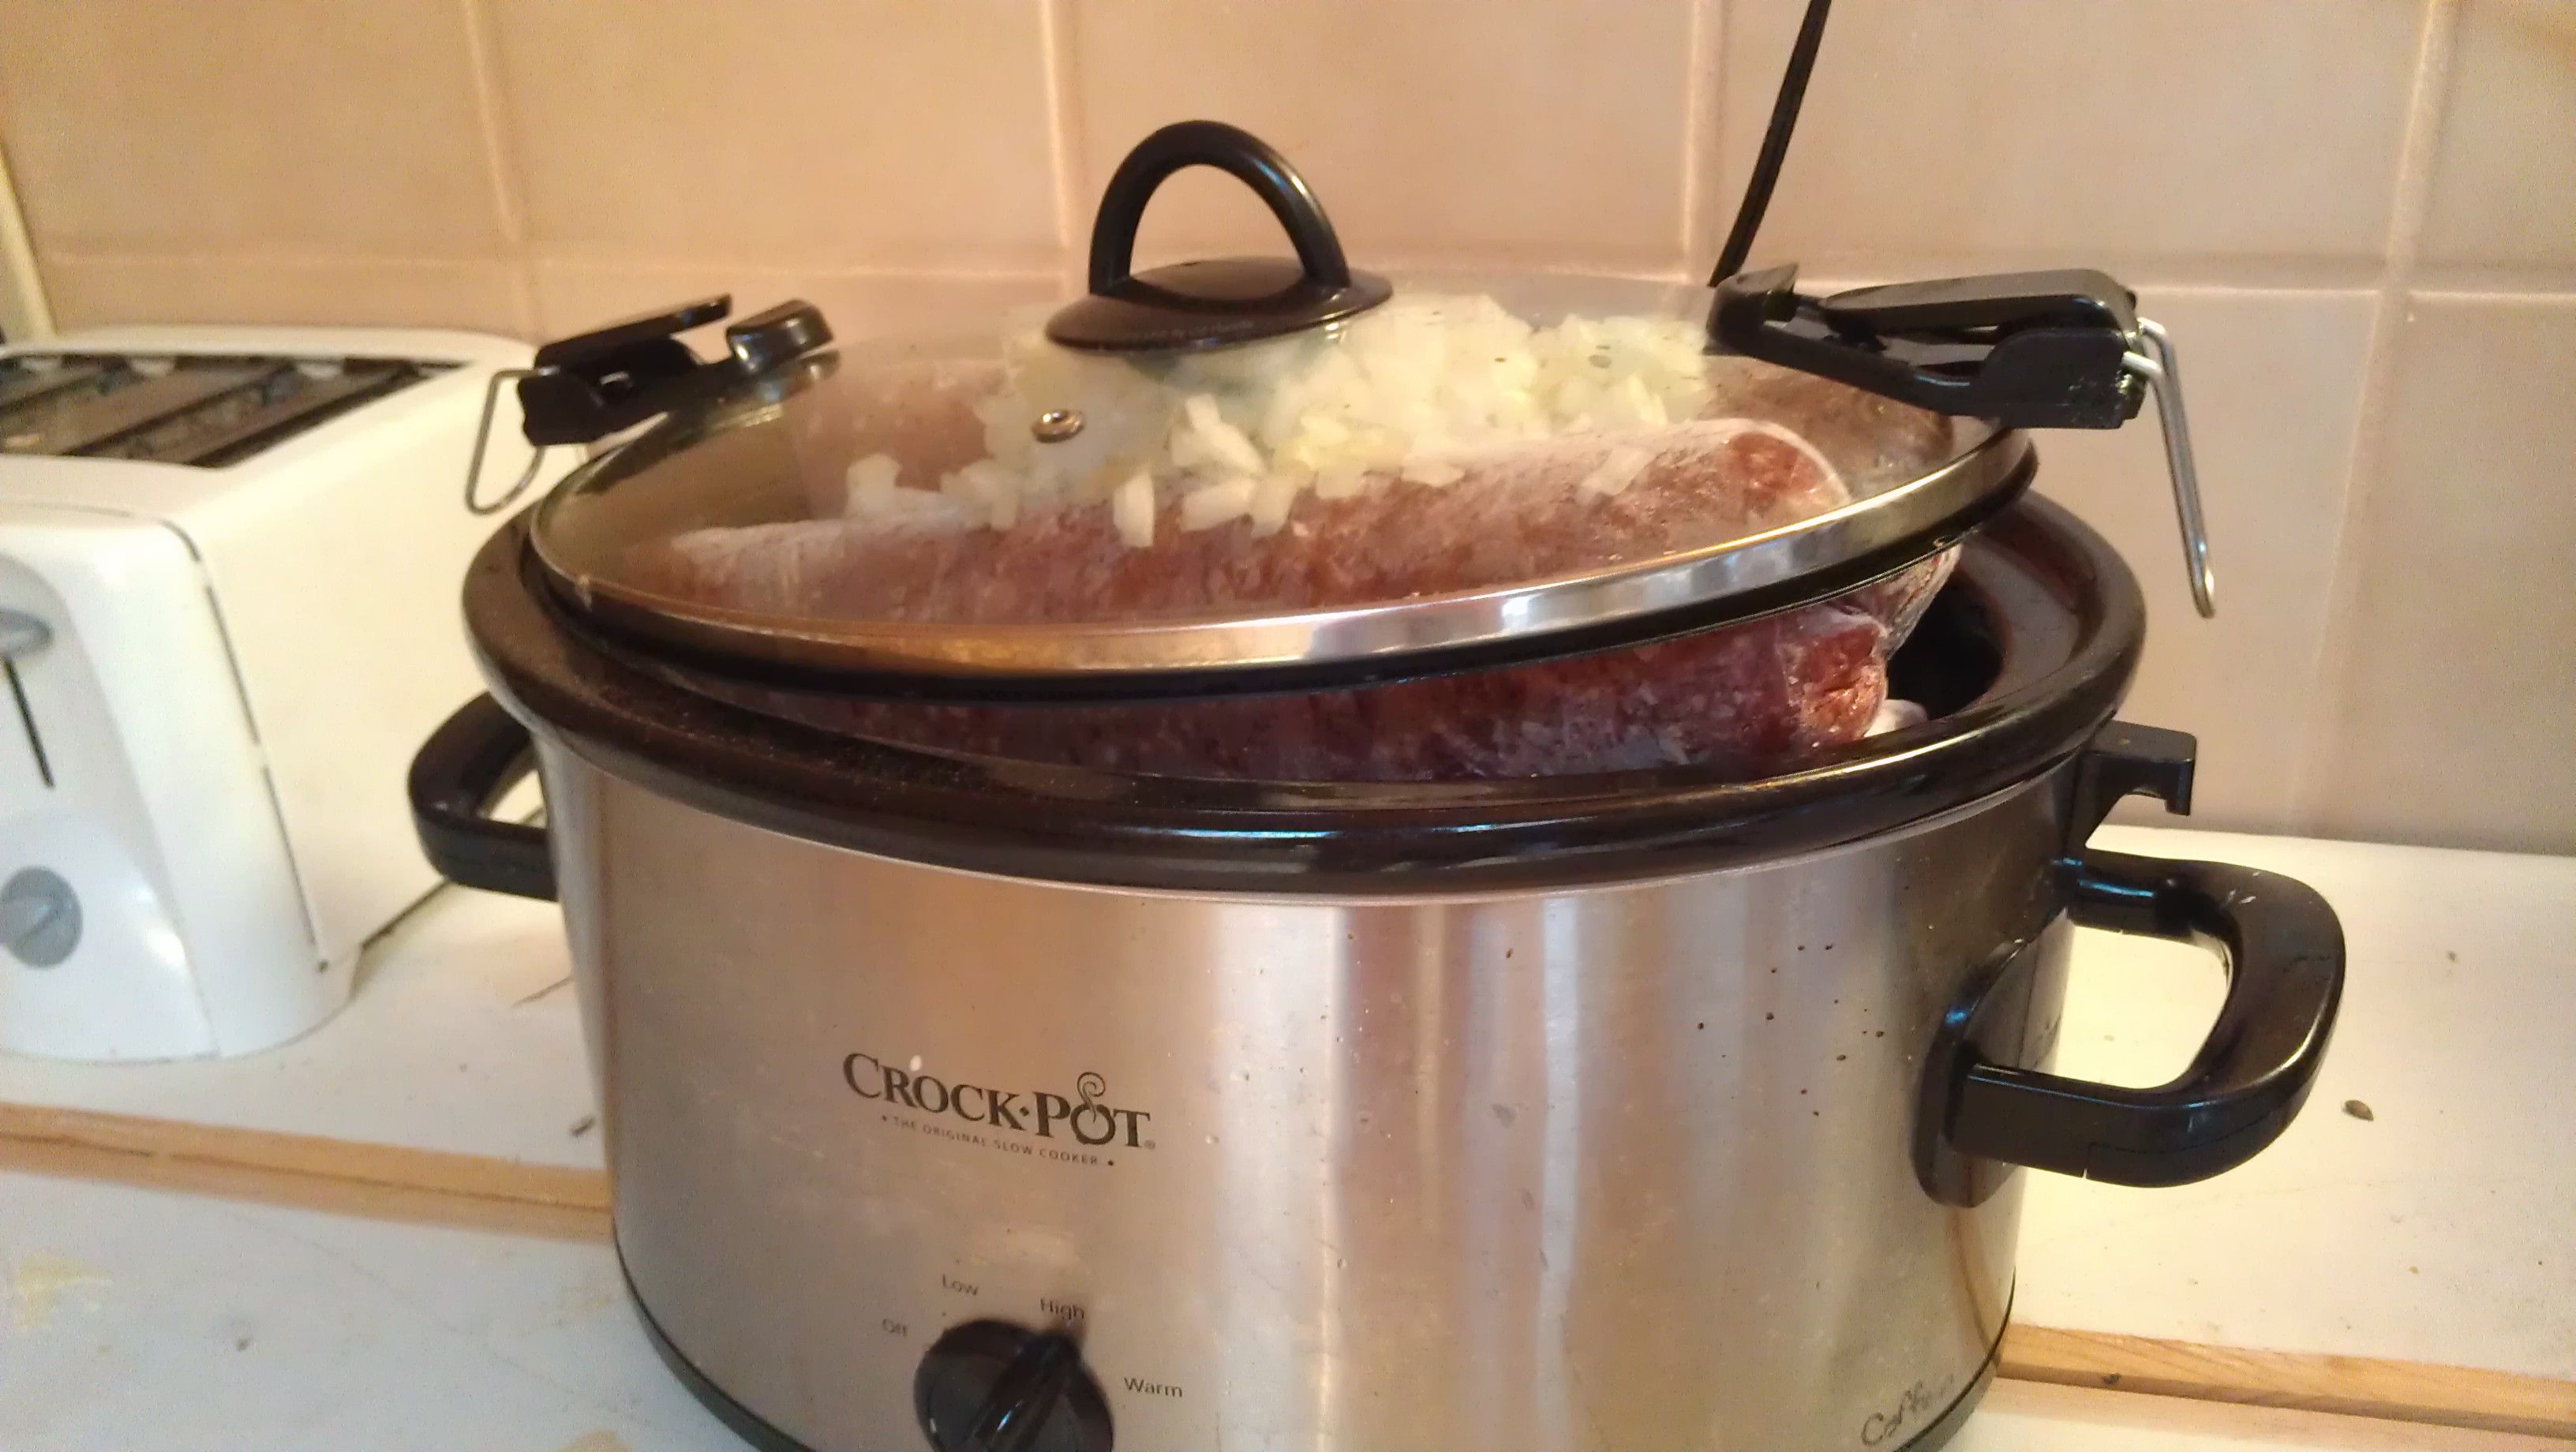
I unwrapped three 2 lb logs of frozen ground beef and stuck them into the slow cooker.  Then I added 6 cups of water, because I wanted beef broth.  To make the broth and hamburger taste good, I added 2 finely chopped onions; 1 Tbs of salt; 1 tsp of garlic salt; and 1/2 tsp black pepper.

The lid wouldn’t close.  No worries.  I covered it as well as I could and cooked in on low overnight.  After about an hour, I could push the lid down.  That made me feel better.

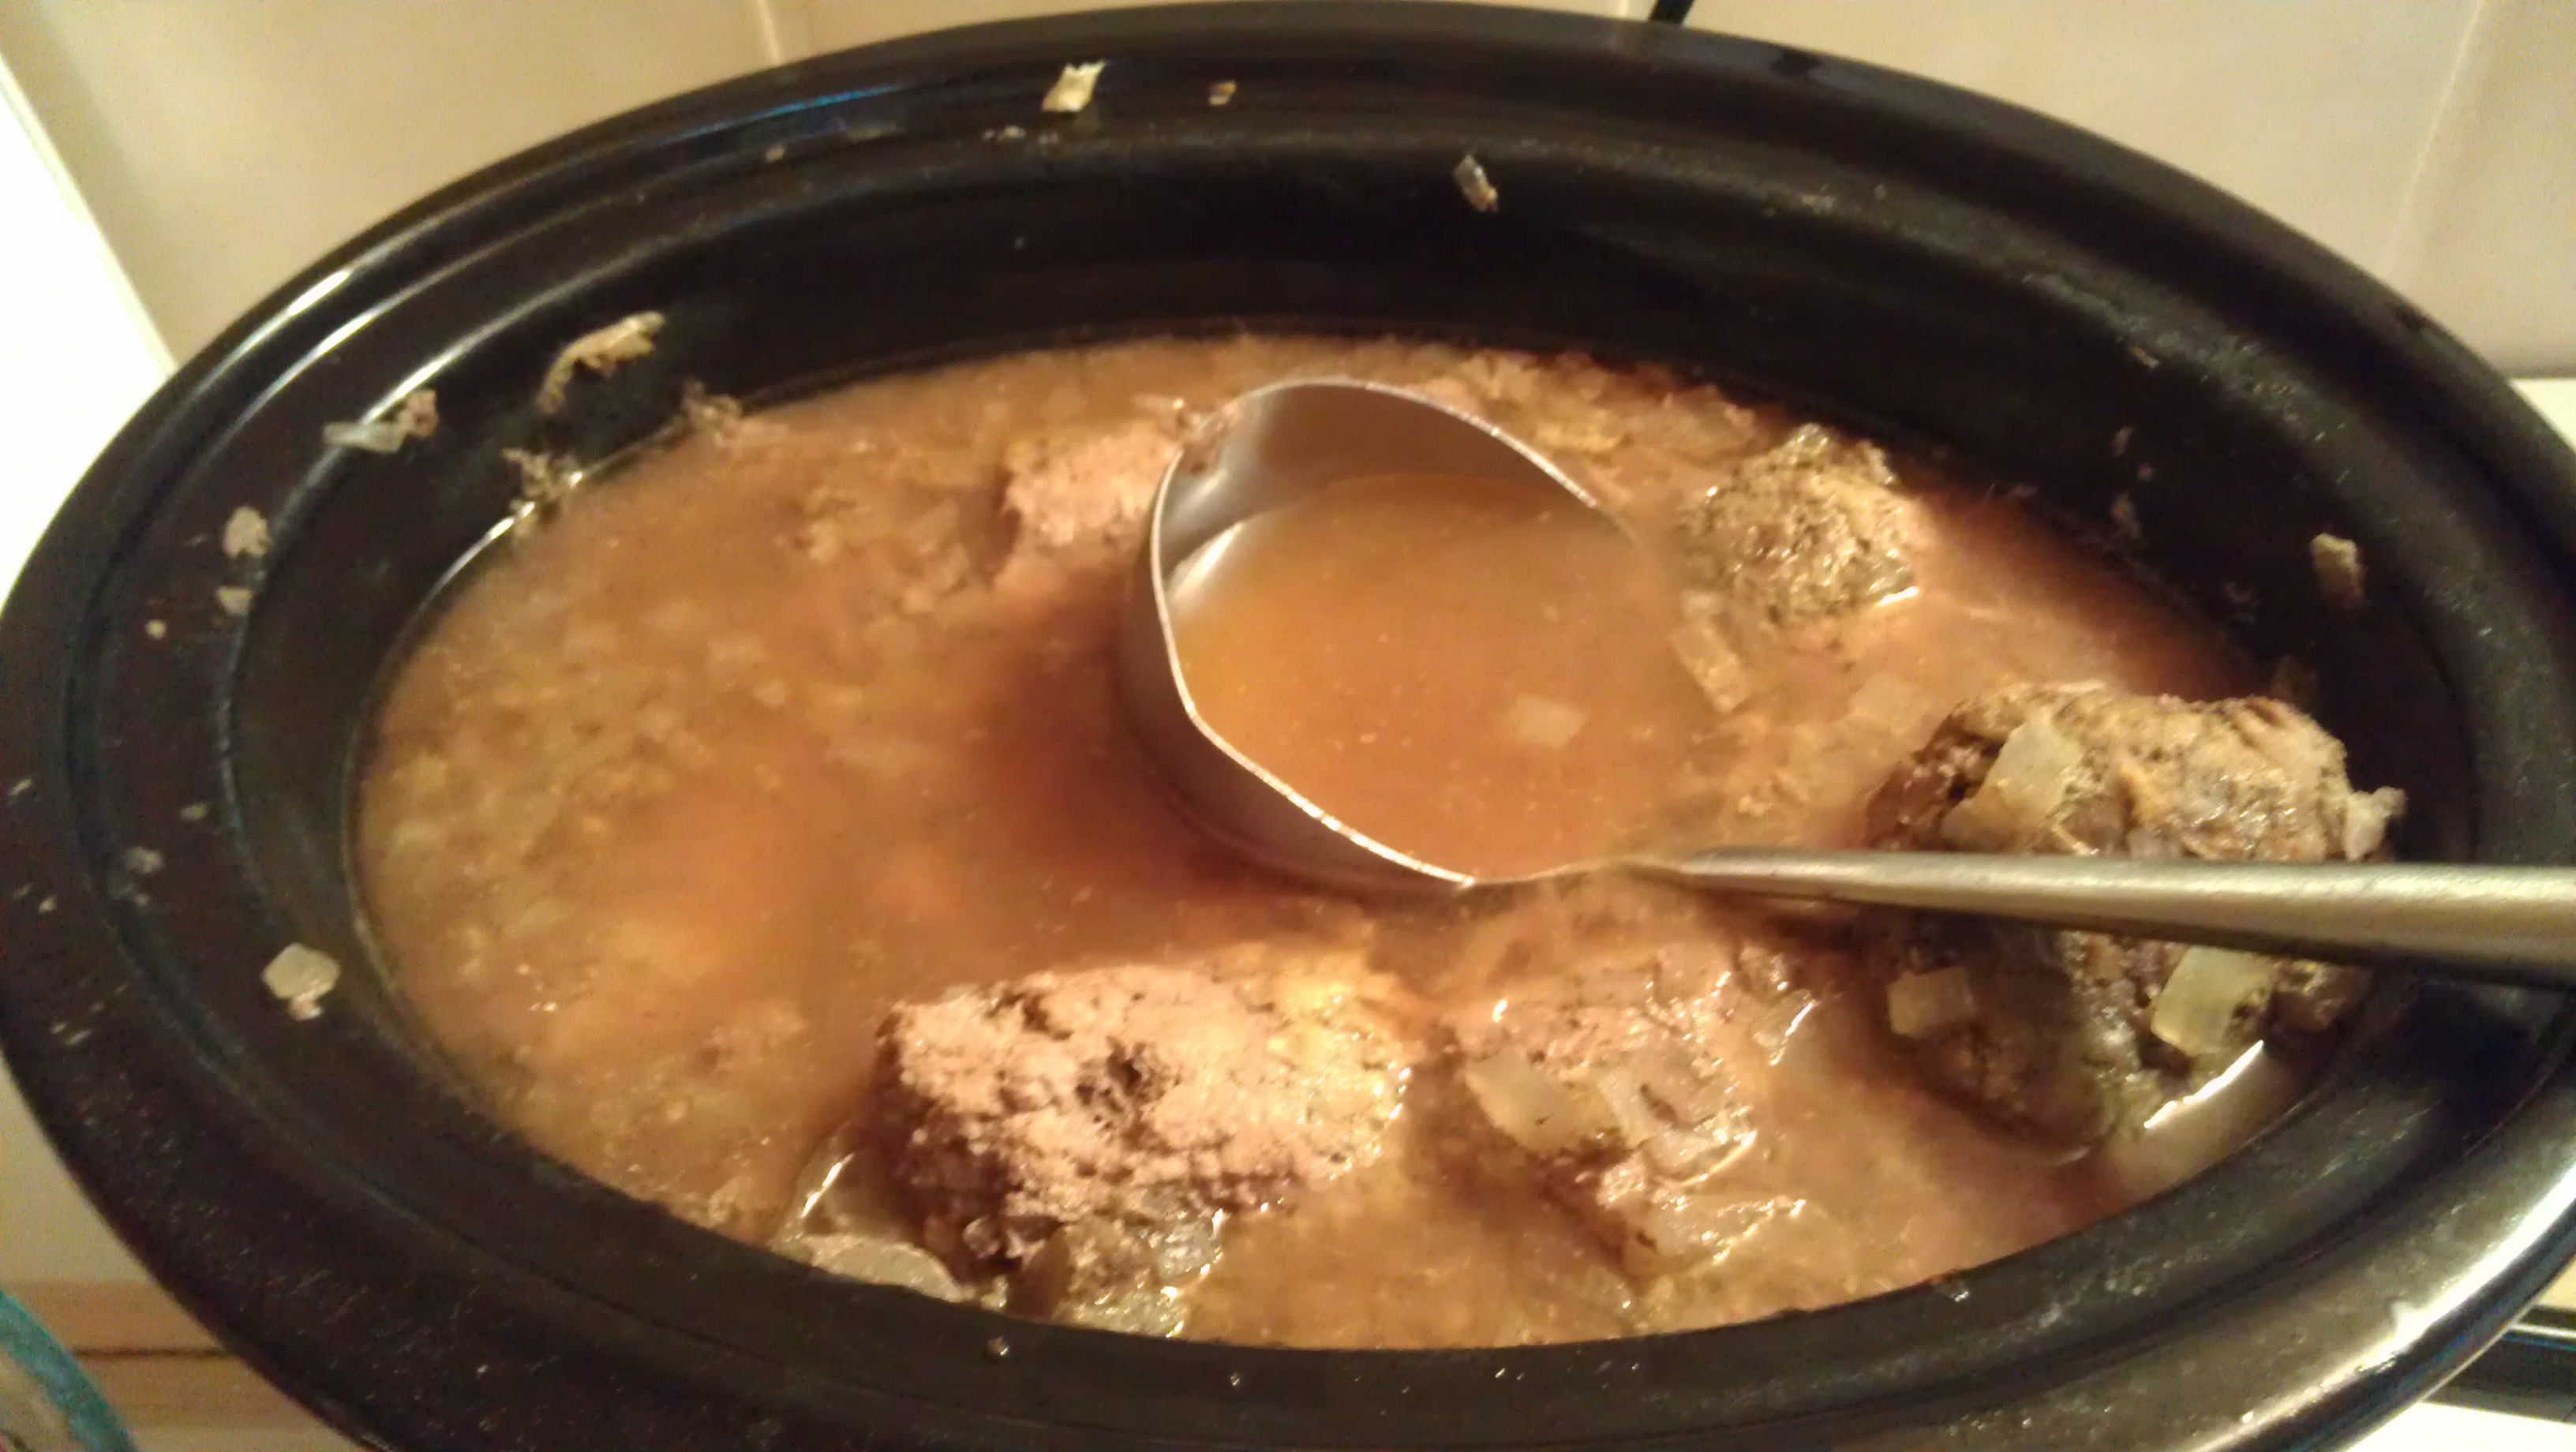
In the morning I had 3 logs of cooked hamburger–oh no!  I was hoping for it to form crumbles automatically while I slept. But the broth looked delicious.

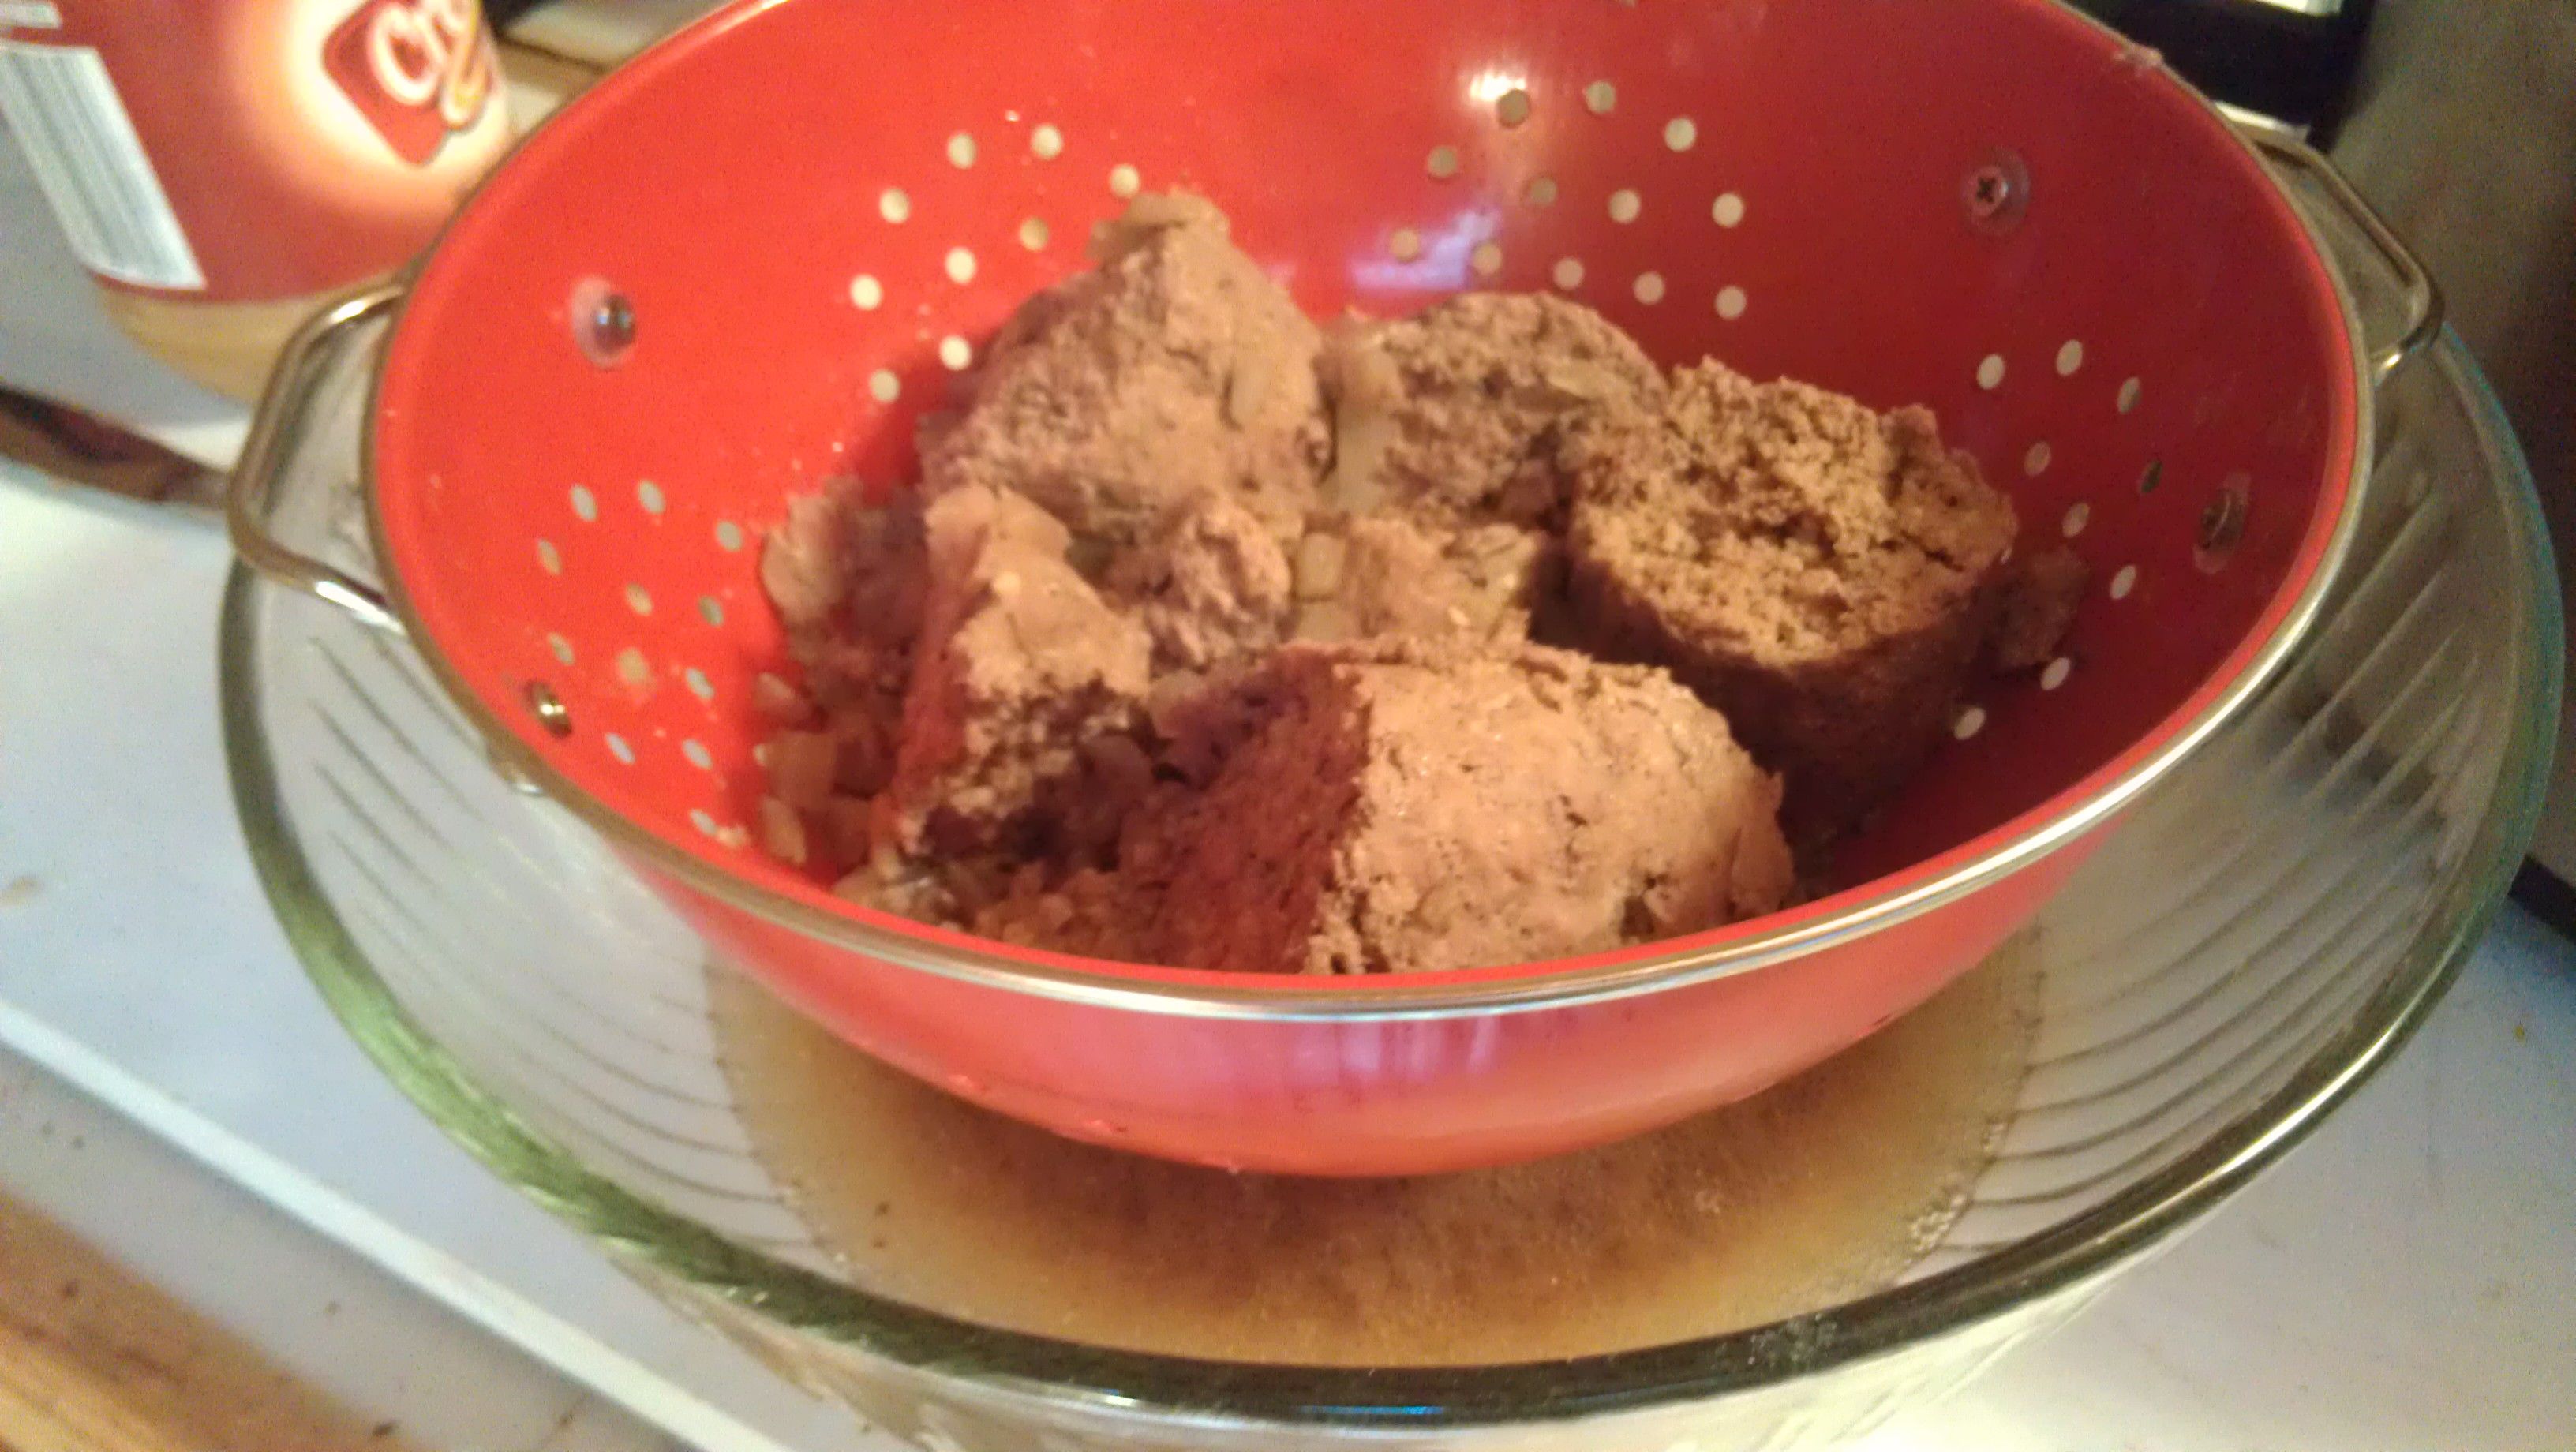
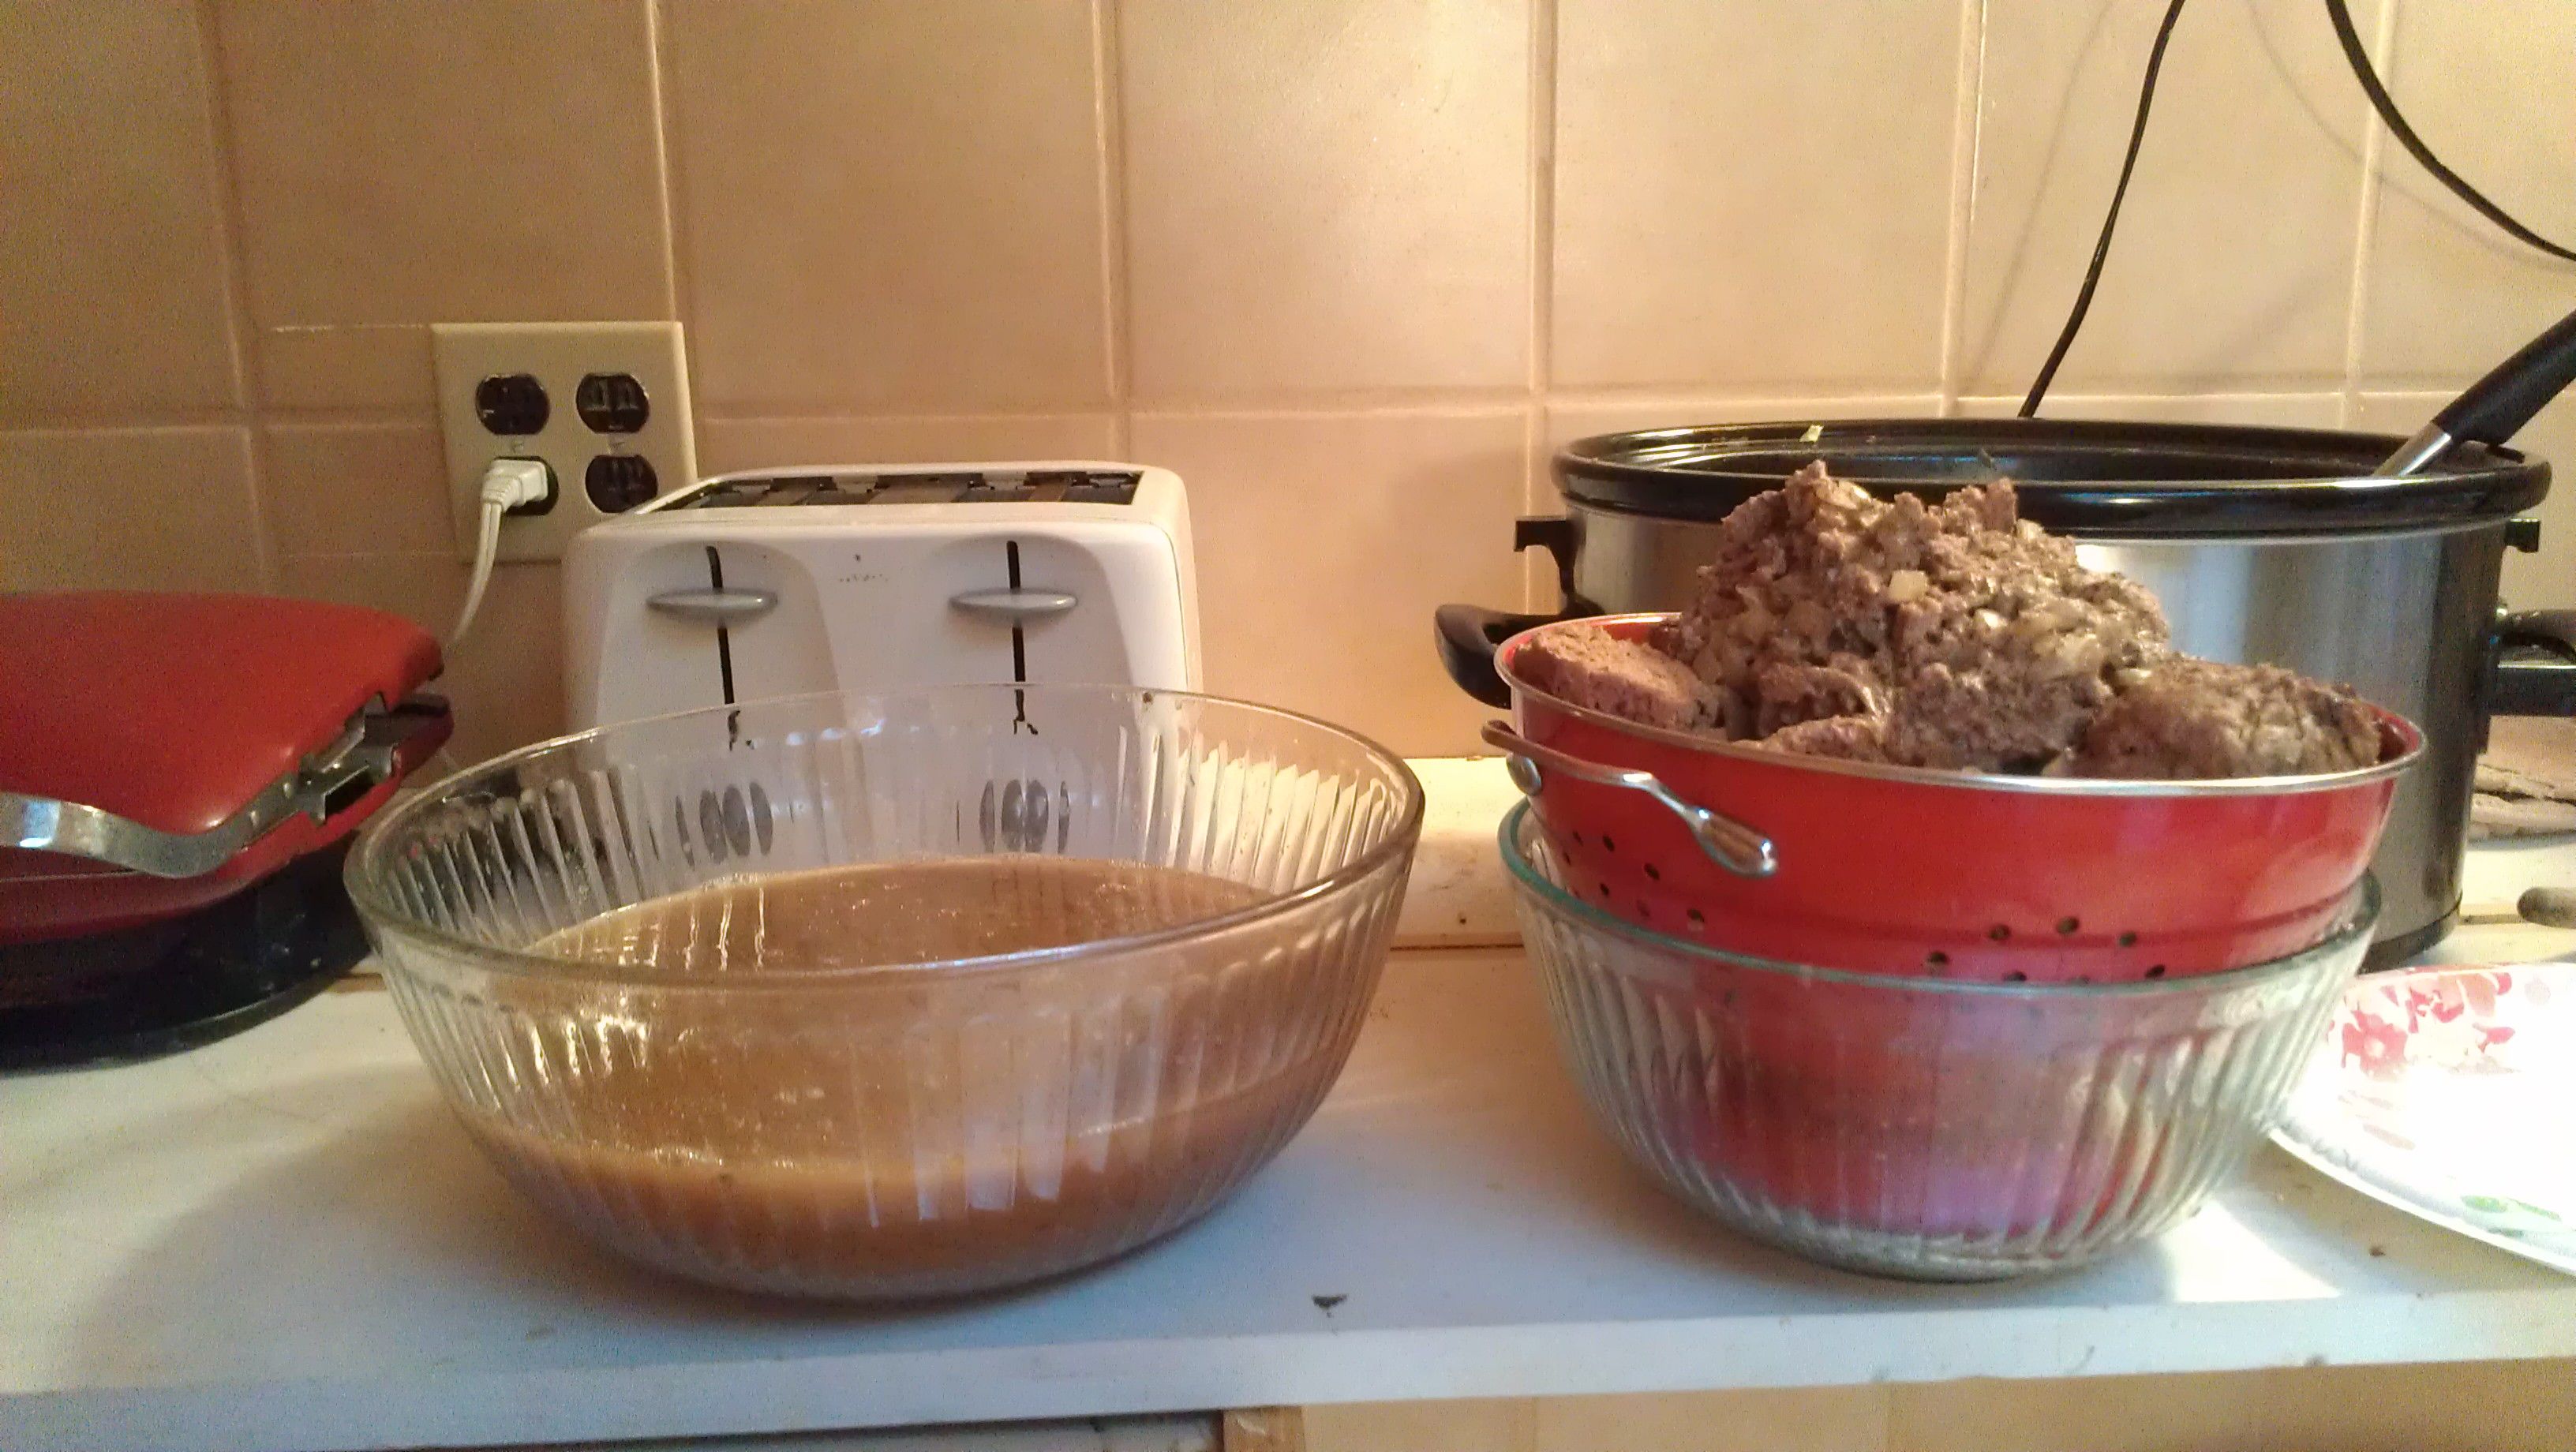
I chopped up the meat into huge chunks and then used a colander and bowl system to drain out the broth.

It had great color and smelled amazing.  I was surprised what little fat hardened on the top after it cooled.  This was grass fed beef direct from the farmer.  I could see the quality when cooked this way.

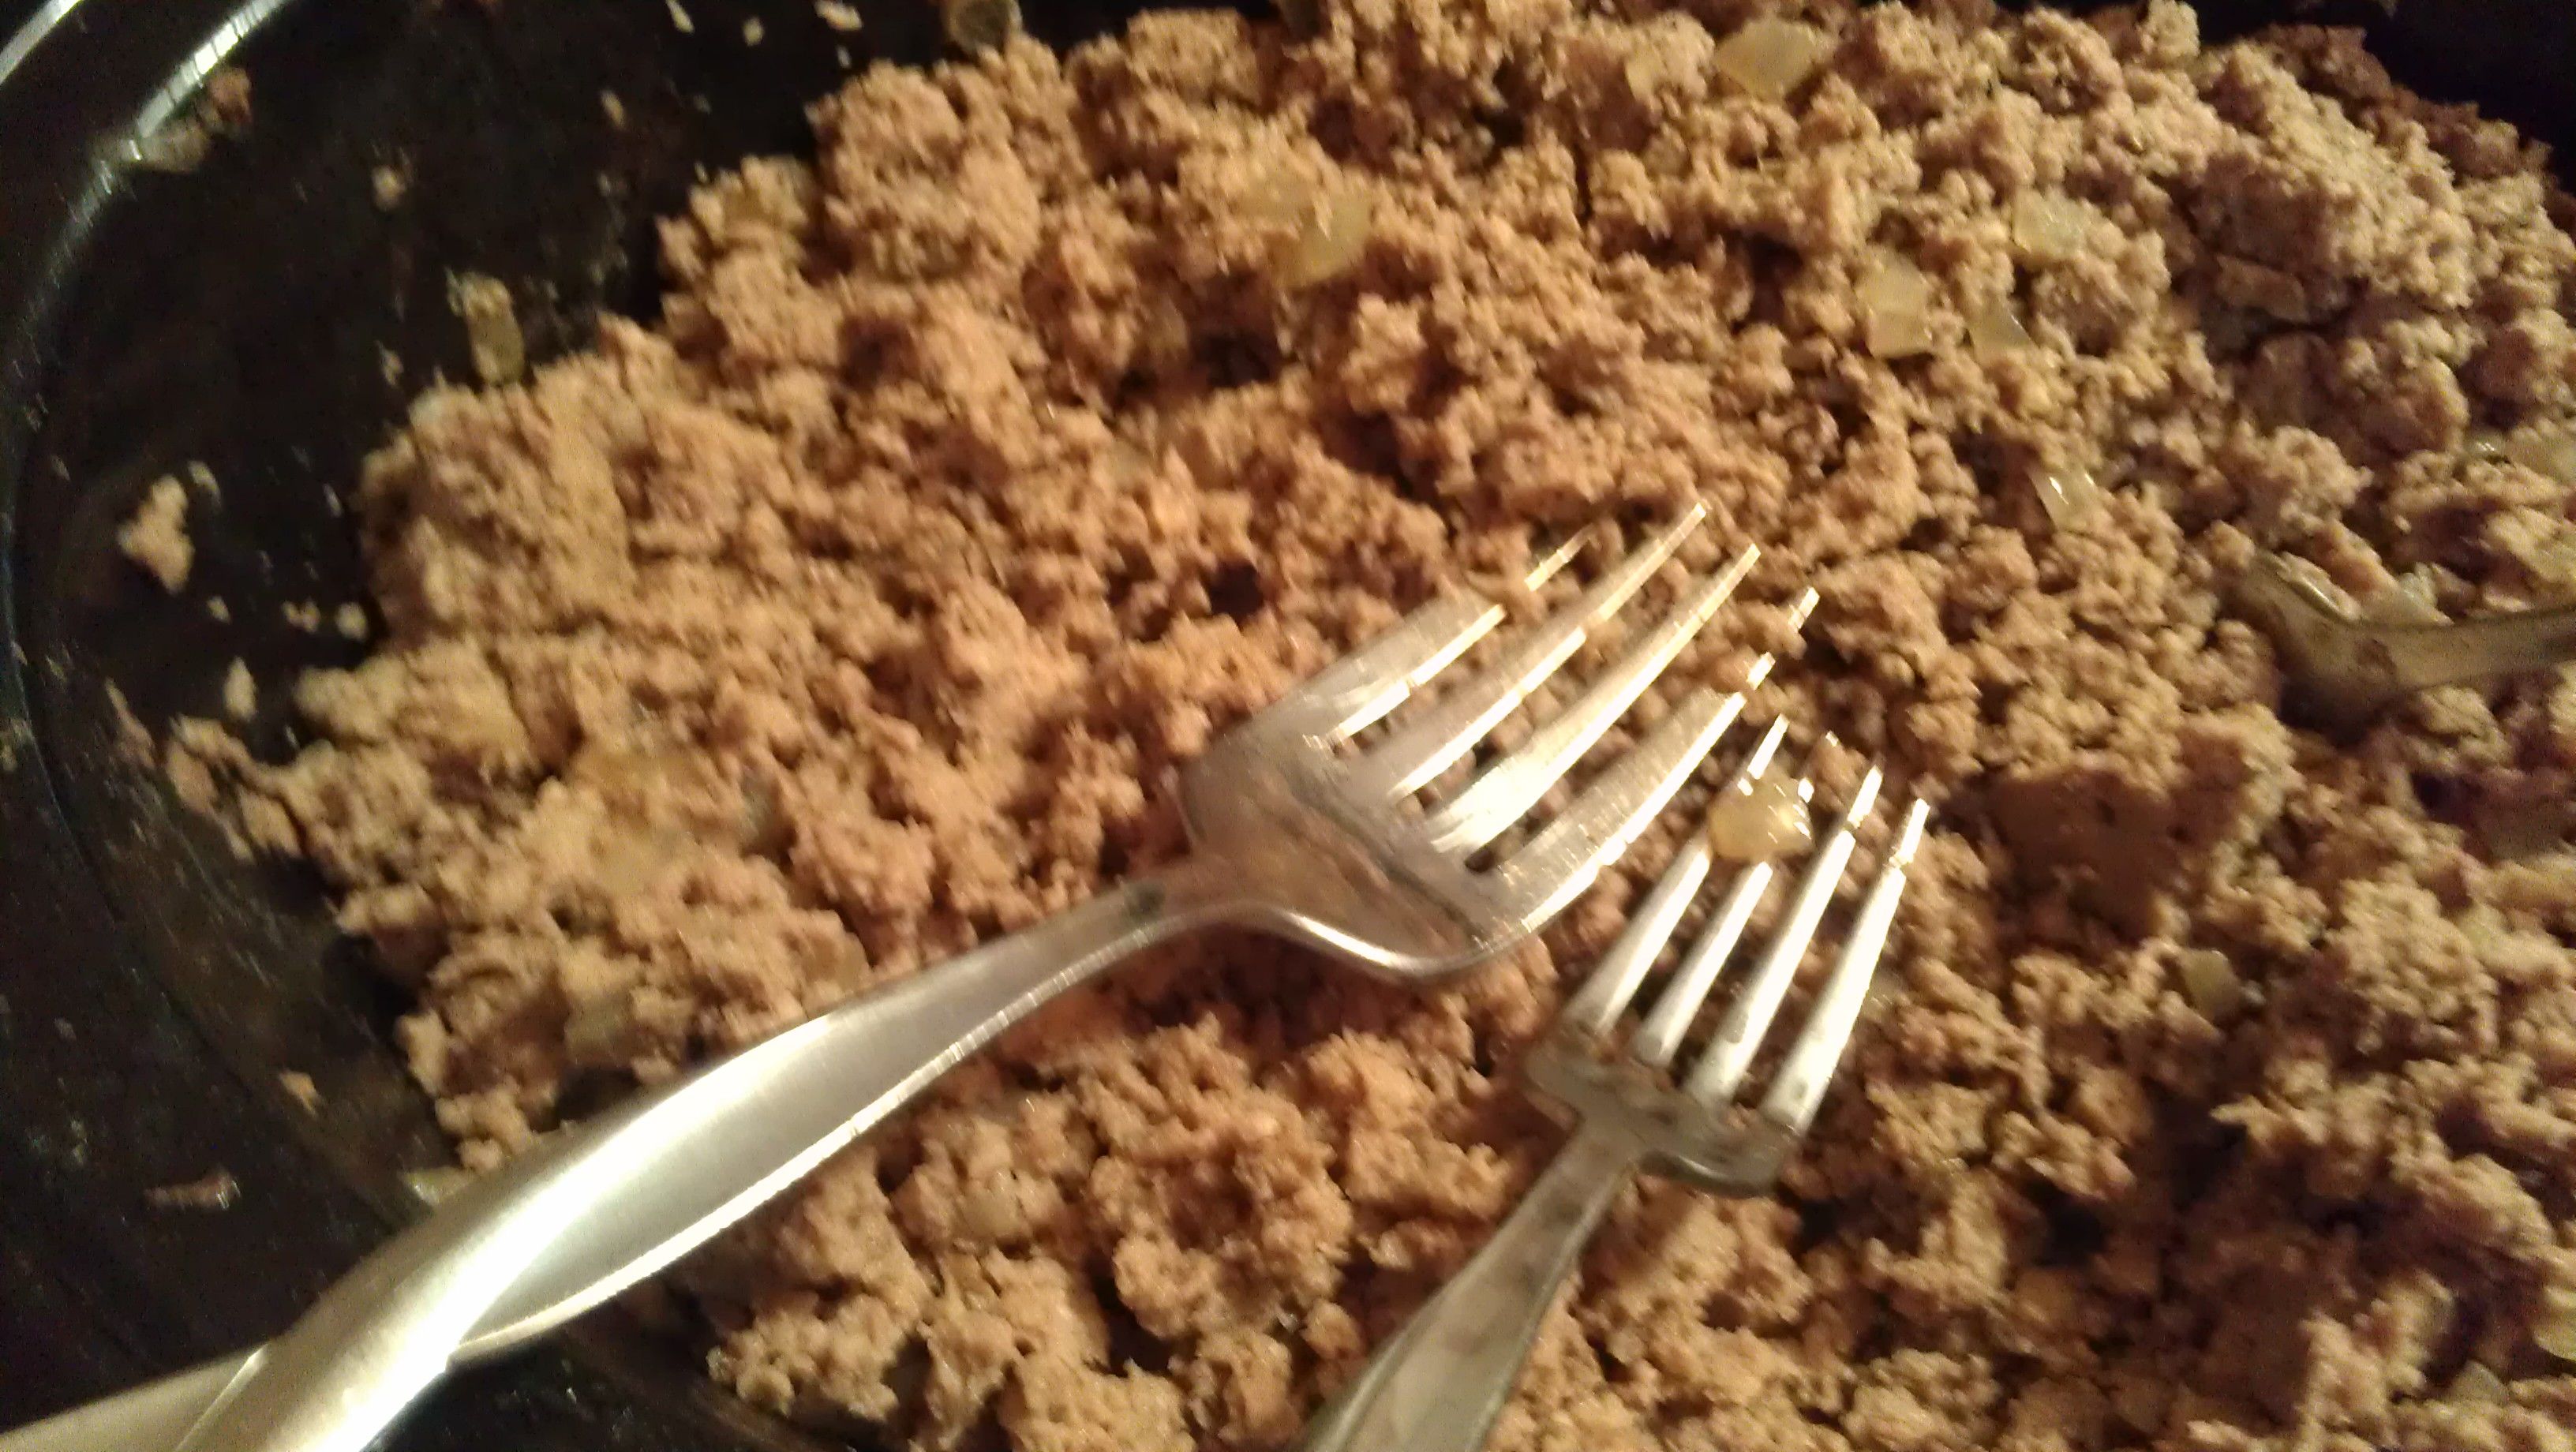
I was pretty sure at this point that it was all a waste.  But I decided to try the two fork shred method that I use on my pulled pork. I ended up mashing it with the back of a huge fork.  It worked beautifully–and fast. Perfect fine crumbles of ground beef!

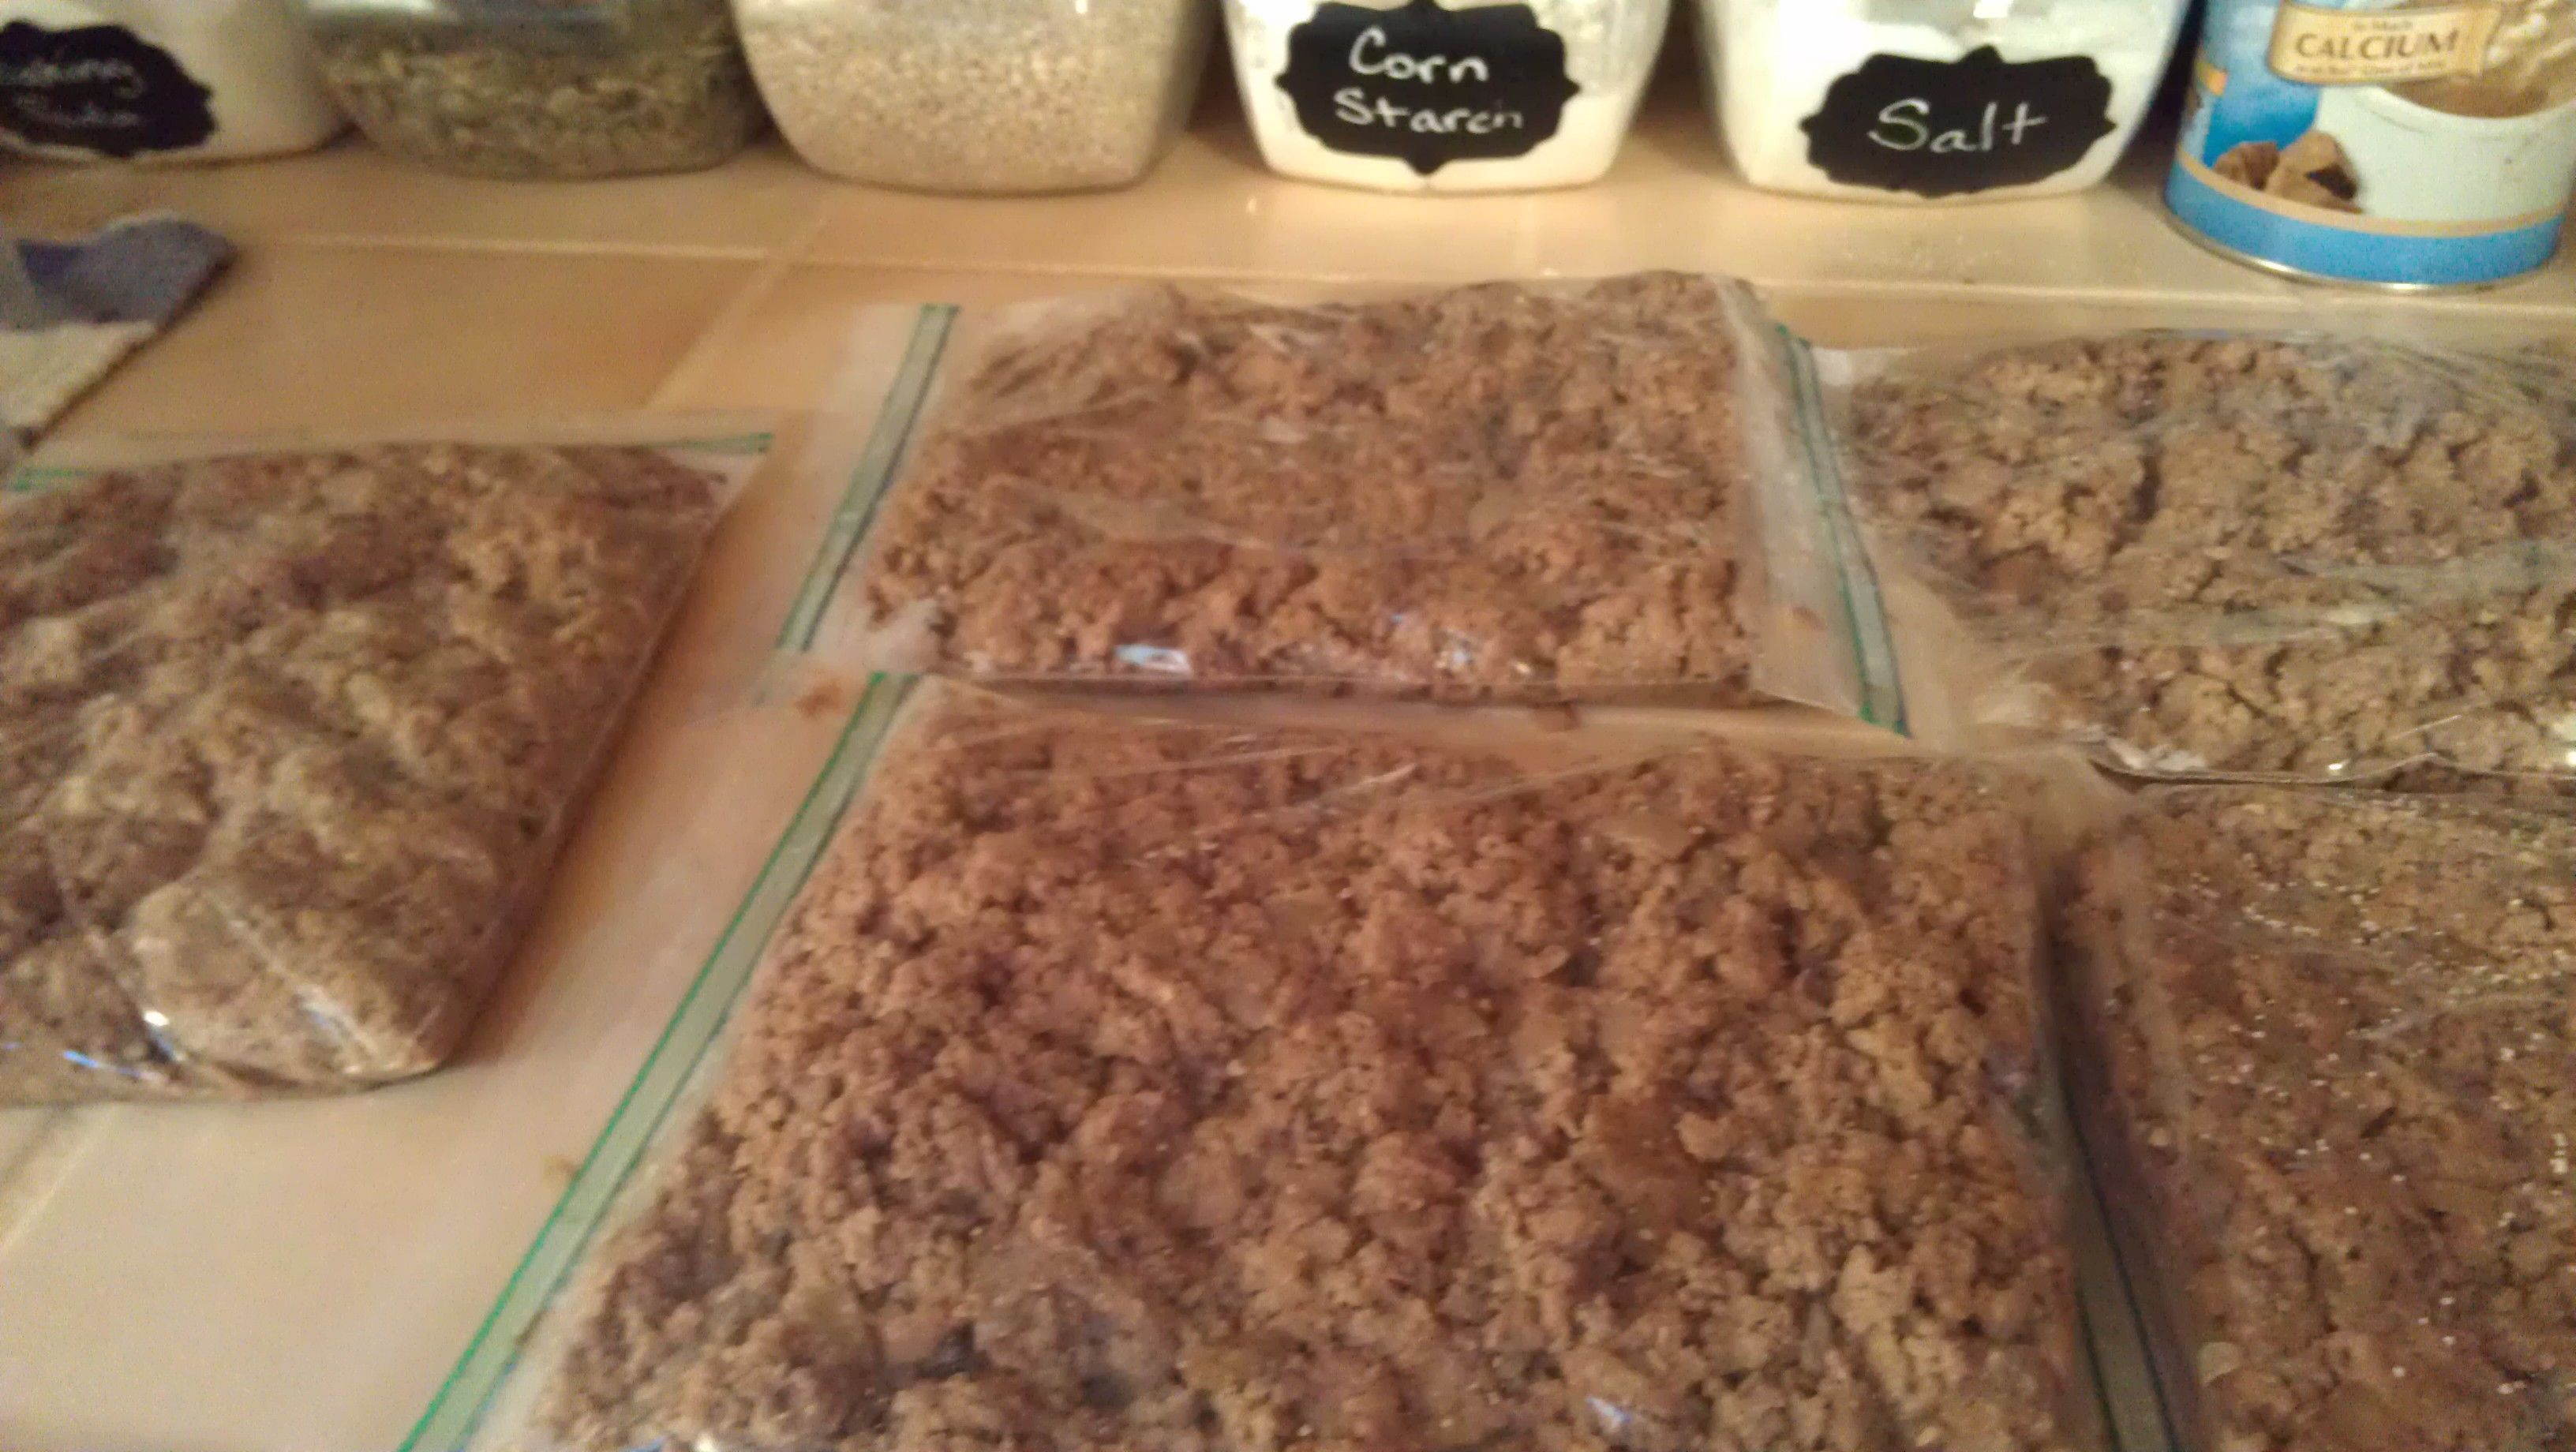
I divided up the meat into 5 freezer bags.  Each one weighed about 1.4 lbs. And pressed them flat.  Once they were cool, I put them in the freezer.  

I got about 2 quarts of broth also.  It smells and looks so yummy.  I’m definitely doing this again.  No more thawing meat, no more standing over a hot stove.  Win win win.


Sew a Child’s Painting Smock: Tutorial

In an effort to save money on school supplies, I’m stitching up a painting smock for Brandon, the Kindergartener.

IMAG2168

I started by following this tutorial.  It is excellent!  I made some changes since Brandon is too big for this size and I didn’t have any oil cloth in my stash.

I did a quick search at fabric.com for oil cloth–just to see if I could justify the cost.  They have adorable prints averaging $15 a yard.  You only need 1/2 yard of fabric to make this, so $7.50 for a cute paint smock isn’t too bad. (But you’ll need to order extra stuff so you can get free shipping :).) Hobby Lobby also has some cute laminated fabrics in their decorator aisle and 40% off coupons available.  If you bind the edges with bias tape, you can wash it (The glue holding the fabric to the vinyl will wash out and separate the two layers without stitching them together in advance.)

Since I’m trying to do this without spending, I put my thinking cap on and remembered I had some clear vinyl in my stash.  So I layered it with a cute cotton print for the same waterproof effect and no money out of pocket!

Materials Needed:

1/2 yard of printed cotton

1/2 yard clear vinyl

4 yards of double fold bias tape

2 inches of sew in hook and loop tape, cut into two 1 inch pieces

1.  Cut a rectangle 40-44″ (selvage to selvage) by 17-18 inches wide. (Straighten your half yard of fabric and see what you have left.)

2.  Fold it into fourths and use a t-shirt to trace a neck hole.  I used a pencil and traced following the seamline underneath.  And cut it out.  While it is still folded round the lower corner (on the opposite edge–none of the rounds should be over a fold–I messed this up the first time.)

image


image

3.  Open up the rectangle and place it face down on the vinyl and trim it–giving yourself about 1″ extra vinyl all the way around.  Pin it with hair clips to keep from making extra holes in the vinyl.

image

4.  Now baste the two pieces together on the machine.  It helps to sew with the vinyl side up and if you have a walking foot, definitely use it.  Mine is broken, so instead I reduced the pressure foot tension a little and reduced the upper thread tension from a 5 to a 2.  (This kept the lower fabric from gathering up as I sewed.  It also helps to have room to lay your stuff out flat to the left of the machine.

IMAG2157

5.  Don’t forget to baste around the neck hole too.  Then trim the vinyl to the same size as your fabric. It looks best if you trim very close to the basting stitches cutting both the vinyl and the cotton.  This makes sure your basting won’t show after you bind it.

IMAG2161

6.  Bind everything with bias tape.  I used a triple zigzag stitch to make sure I caught everything well. I only had narrow bias tape in my stash, but would have preferred wider stuff.  Mine was super vintage–$.45 a package!  And I’m not sure, but I bet they don’t come with 4 yards in a package any more.

IMAG2160

Stitch #8 is the triple zigzag

Stitch #8 is the triple zigzag

7.  Measure 9″ down from the shoulder fold and place velcro or a button on each side to hold it together. I zigzagged all the way around the velcro outside edges.

IMAG2163IMAG2166

All tucked in his school supply bin ready for the first day of school.


Homemade Canvas Wall Art

This is not a new idea.  It’s been floating around Pinterest for awhile.  But I tried it and thought I’d tell you what I thought.

I purchased pdf printable files from etsy here. They were $3.50 for each design and I purchased 5 different designs.

DSC_0301

This one is for my girls:  I chose the gray one for Heidi and the brown for Heather.

il_fullxfull.427557840_6l69

I also got this one for free.  There are lots of different color options over at her site.

16x20LOVEABOUTHOMEweb-1

After I got all the prints I wanted I uploaded them to the Costco online photo printer.  I chose the 16×20 poster print option (not the poster board option) for $5.99 each. I made a big mistake.  It’s automatically set to color correct which does NOT correct colors.  It makes them all wonky.  You have to un-click that before completing the order or it won’t print right.  They were kind and reprinted my order for free, but it was a hassle since I didn’t look at the prints until I got home and had to go back and stress about it.

Once I got the prints correct I headed out to Hobby Lobby.   I bought their bargain priced 16×20 stretched canvas that come 2 to a package.  I can’t remember the exact price but I think it is $6 before coupon. (But if you were planning ahead you could just grab a pack each time you went in and use a 40% off coupon on each.  Since these are already so low priced, they aren’t included when the other stretched canvases go on sale.)  I also grabbed a small bottle of craft paint to match each poster; and a bottle of matte modge podge.  Matt makes it look more like canvas.

So here’s a quick list of what you’ll need:

Drop cloth

Paint brush

Modge Podge

Stretched Canvas

Art Print

1.  First paint the edges of the canvas to match your print and let it dry.
DSC_0297

DSC_0298

DSC_0303

2.  Then spread a thin layer of modge podge evenly over the front of the canvas.

Center your print on top and smooth it down so there are no bubbles.  Start in the center and work out. Let it dry. The print will look shiny and not at all like canvas.  You will wonder if you should have just spent the extra money to get your poster printed on canvas in the first place.  Hold on–it gets better.

3.  Use a bristle brush to brush modge podge over the whole top of the print.  At this point you will think you messed up. The white of the modge podge will look splotchy and the brush marks will show.  But the print won’t smear.

DSC_0317

4.  Let it dry and cover with a second coat.  Let this one dry too.  The brush marks will give texture to the top of the print and stay after drying.  This makes it look more authentic like canvas, though the texture is not the same.

Then they are ready to hang:

DSC_0346
DSC_0341

DSC_0348 DSC_0327

The colors came out wonky in the above picture but I wanted to show you that I picked prints to coordinate with the Boy’s bath rug.  Each boy has his own color and a towel to match.  It’s a tiny room, but big enough for the boys :).

Heather’s print isn’t up yet.  She doesn’t read my blog, so I can tell you that we are planning a HUGE surprise for her 10th birthday.  Her room is still original 1972 green and orange shag carpet with walls to match.  No art, no window treatments….You  get the idea.  In August and we are sending her to the farm for the week while we surprise her by redoing every inch of her room.  I’m planning the project while we work on the kitchen, so it feels a little crazy and I’m hoping that we get the kitchen done on time so it will all work out.  Heidi is helping me pull everything together.  We have been buying things all year and saving them in a corner of my office ready to put it all together.  It will be one of the fastest room redos. I’ve done and I’m afraid we will feel like we are trying to pull off a HGTV style remodel without any staff.


Chevron Chrocheted Throw Tutorial

Crochet throw 290

Crochet throw 292

Crochet throw 304

My husband called me a yarn hoarder.  That’s how it began.  He quickly repented since hoarding isn’t something you joke about in my family.  It’s a real possibility–and it runs deep.  I have rules to follow to make sure I’m not hoarding, like 1.  Don’t buy more than 6 months worth of something and 2.  It doesn’t matter how good a deal it is, don’t buy it unless we NEED it.  But hoarding still scares me.  My grandmother had an entire bedroom filled with yarn–we think there was a bed in there, but we can’t be sure, since you opened the door to a wall of yarn.  There was a small head space to the room so you could climb up on the pile of yarn and go inside and pick out something to work with.  If I show any signs of that kind of behavior, drive me to Mr. Neubauer’s office (the best therapist in town). If I refuse to go, just tie me up and throw me in the car. He’ll know what to do.

So when I was cleaning out my office and found two large  packages of cotton yarn that I purchased 10 years ago, I knew something had to happen.  Either that yarn was going into the yard sale, or it was going to BE something.  I made a statement about a month ago that I don’t make afghans.  They take too long.  So I decided an afghan would be the best thing to make–makes perfect sense right?  I say things like NEVER right before I do that exact thing.  Like two weeks ago when I said I’d never be in a flash mob dance…but I digress.


(Scrappy would be cute too!  My heather would love all sorts of bright colors on a throw for her room.)

I had the yarn for 10 years because it was beautiful–100% cotton.  I purchased 1-10 pack of white and 1 of ecru when it was super cheap at Cargo Largo. It was too special to use on just anything so I was saving it for the perfect thing.  The perfect thing will never come, because it doesn’t exist on this side of Heaven.  Thanks to the Nester I’m embracing imperfect beauty.


Source: r.ebay.com via Annslee on Pinterest


I enjoy chevrons right now too, so a simple chevron pattern was easy to decide on.  If I were buying exactly the yarn I wanted, I’d buy navy and white so the chevron’s would really pop.  But remember, this isn’t about perfection, It’s about not being a hoarder and using up what I have.  So I have a very subtle white and ecru throw that looks amazing on my chocolate leather sectional instead.

The Pattern:

Any worsted weight yarn (I used cotton–alpaca would be my second choice–soooo soft!) Approximately 20 oz of each (This is the weight of cotton–other yarns weigh less per yard—not sure how to advise you on them since my balls of cotton did not have a yard amount on them. I’ll bet an internet search would show how many yards of worsted cotton per ounce–if you find out leave it in the comments part.)

Size F hook or any size to achieve gauge. (Gauge doesn’t really matter–it’s a throw, but if you crochet super tight you’ll use up too much yarn and make your throw too small and heavy, so might as well check and go up a hook size or two if you need to.)

Gauge:  4 rows is approximately 2 3/8″ tall; 26 stitches is approximately 6 3/4 inches wide.

Finished dimensions: 43″ x 60″

Foundation : Ch 169 (or any multiple of 13–39 chains would make a perfect scarf :).)

Row 1: Dc in 4th ch from hook. Dc in next 3 st; 3dc in next st; *dc in next 5 st;  sk next 2 st; dc in next 5 st; 3dc in next st* rep from * to* 12 times. dc in last 5 st.

Row 2: Ch 2; turn. Sk next st; dc in next 5 st; 3dc in next st; * dc in next 5 st; sk next 2 st; dc in next 5 st; 3dc in next st. * Rep from *to* 12 times. Dc in next 4 st; dc 2 tog.

Repeat row 2 until throw is as long as you like. I switched colors every 2 rows and twisted the yarns together at the ends so I didn’t have to cut the yarn at every color change.  Bind off and weave in ends.


image

Here’s a tip on switching colors from row to row, so you don’t have to cut and weave in ends all the time.  Twist the color you aren’t using around the color you are at the end of the row, so that it carries up with you as you go.  It will barely be noticeable and saves yarn and time.  (Photographed above.)  The very last yarn pull through on the last row before the color change should be with the new color.

image

When You are at the end of the ball of yarn (see above) save the very last pull through and use the new yarn.  (Below)
image

Then tie the two ends of yarn together in a single knot (this is an extra step that makes extra sure nothing will unravel.)

image

Then as you finish the row, crochet over the two short ends to hide them in the stitching.  Then you won’t have to go back and weave them in later.  This saves soooo much time!
image

Here’s a close up on the pattern (above).  Notice the 3dc section always happens in the center dc of the 3dc section from the row before it.  Sometimes I would be watching TV or talking while I worked and lose count, but as long as I got that 3dc in the center of the row below it, it all worked out.

Valnetine Wreath Tutorials

I have 2 front doors now and as much as I love store wreaths when the price is times 2–DIY looks even better.  I’m still trying to decide which to make, but here are some that have my heart a flutter.

1.  Burlap tied around a Pool noodle via A Little Crafting

I’m still exclaiming–pool noodle!  I mean how awesome is that!  If only I saw this when Dollar Tree was all noodled up. This one looks doable within my time limits and still super cute. I wonder how hard it would be to make a heart shaped pool noodle?

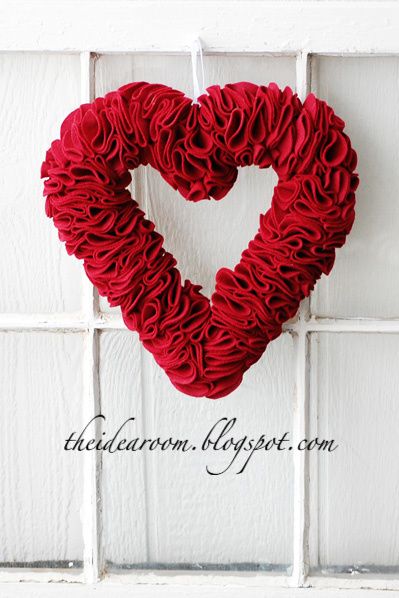
2.  This little number is by The Idea Room. It is made from felt circles, pins and a purchased foam heart wreath form. (Hobby Lobby coupons anyone?)

I loved that it is a little more refined and that the circles look a lot like roses.  I also happen to have a ton of red polar fleece that would work well–but the thought of cutting out all those circles makes me cautious.  Definitely would need a lot of Netflix to get through this project.

3.  This one is from Ms Smartie Pants.

I love that it is made from a hanger and the squares can be cut with a rotary cutter.  Also the white flowers are a lovely contrast.  I wonder if I could just poke the hanger through the fabric instead of hole punching each piece!  I imagine Ms Smartie pants already tried that.

I may just adapt some of these ideas and make an X for the right door and an O for the left.  That would be fun!

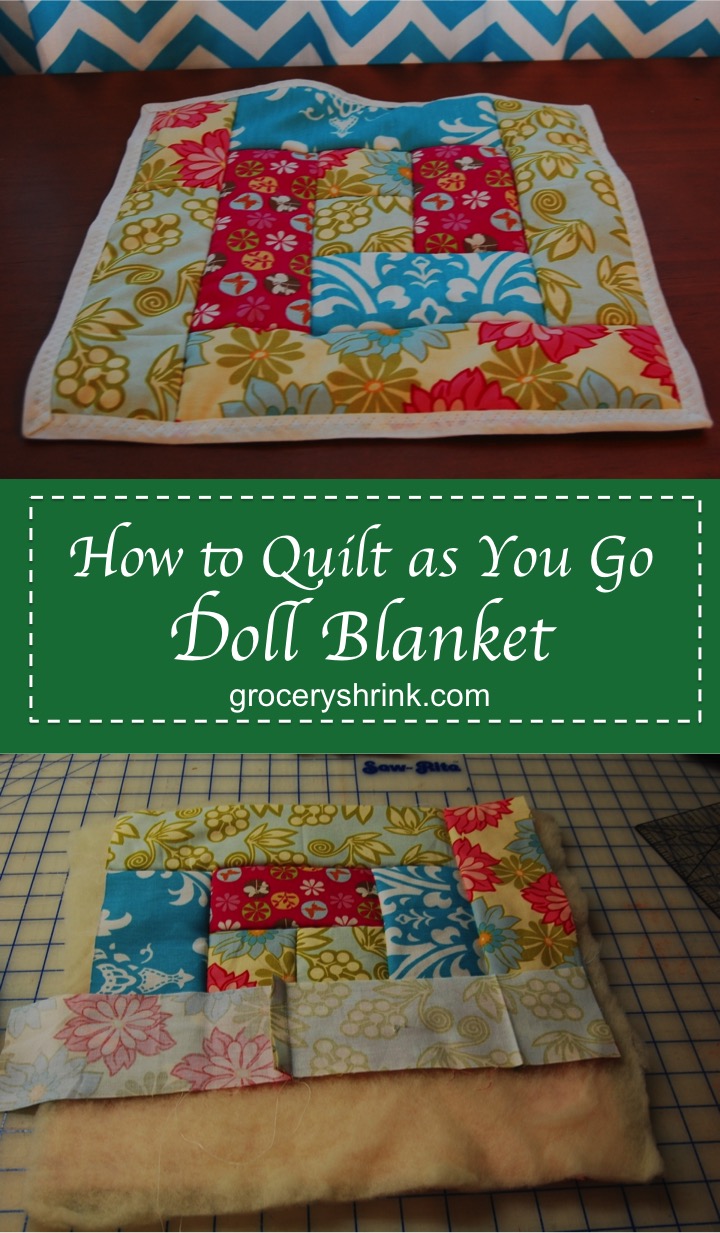
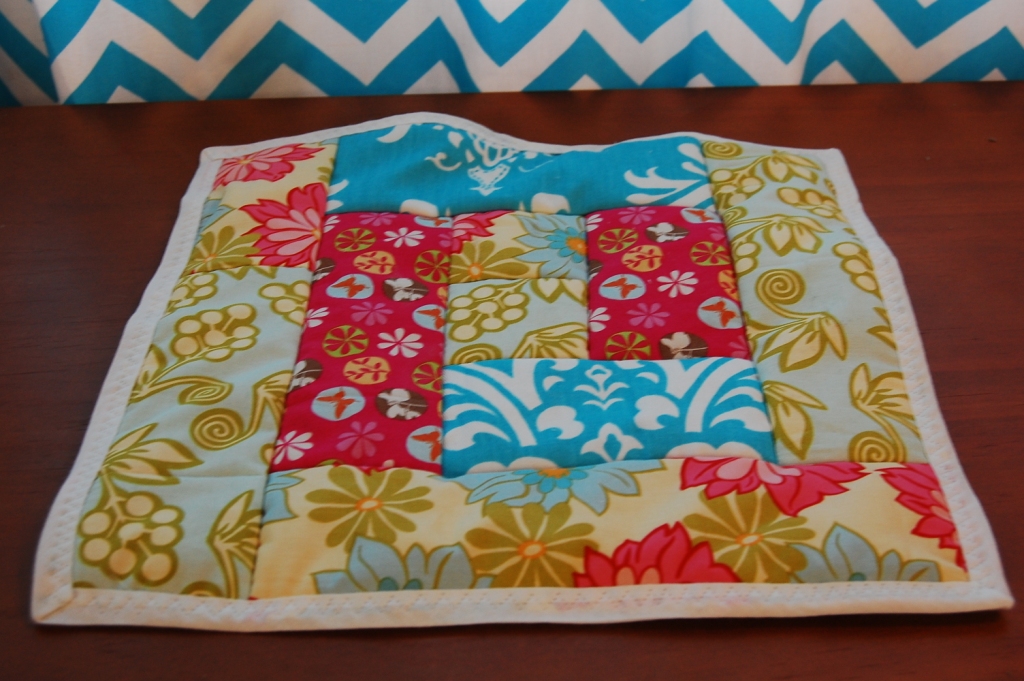
Doll “Quilt As You Go” Tutorial

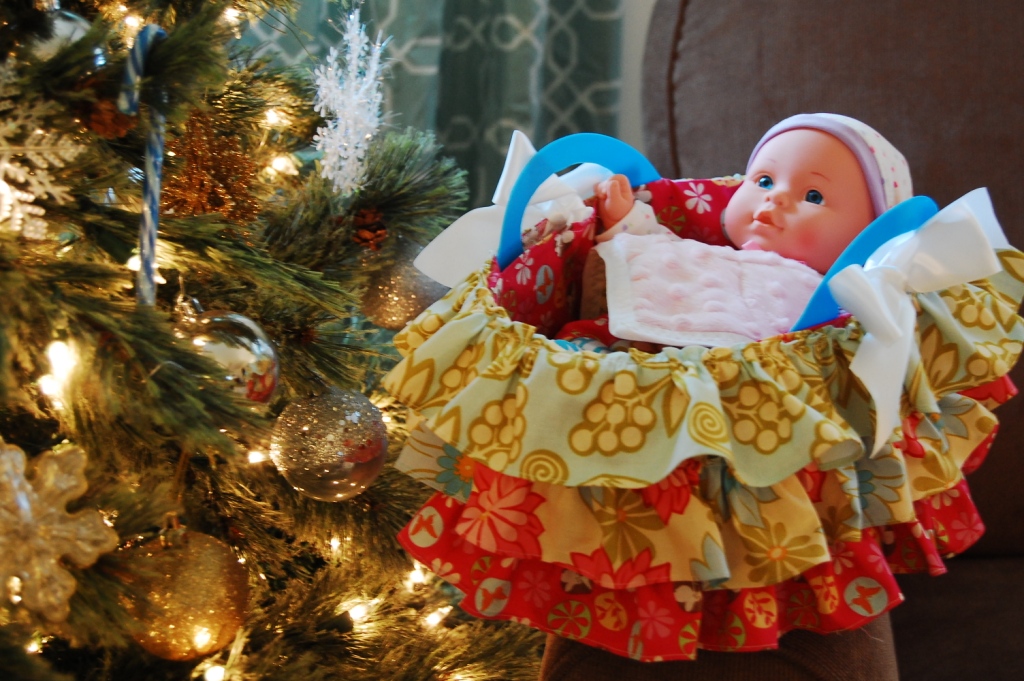
This adorable doll quilt is the perfect companion to our dollar tree Doll Bassinet/ Moses Basket. Tutorial here.

I used the leftover scraps from the basket to complete it.  It took about an hour from start to finish. This same technique can be used to make quilted bibs and larger throws for real babies or for nursing home residents.  It goes together super fast since you quilt it as you go and there is no hand sewing. (My choir students are working together to make a larger version. It’s a little more fiddly to make it bigger, but it still works.)

Read more

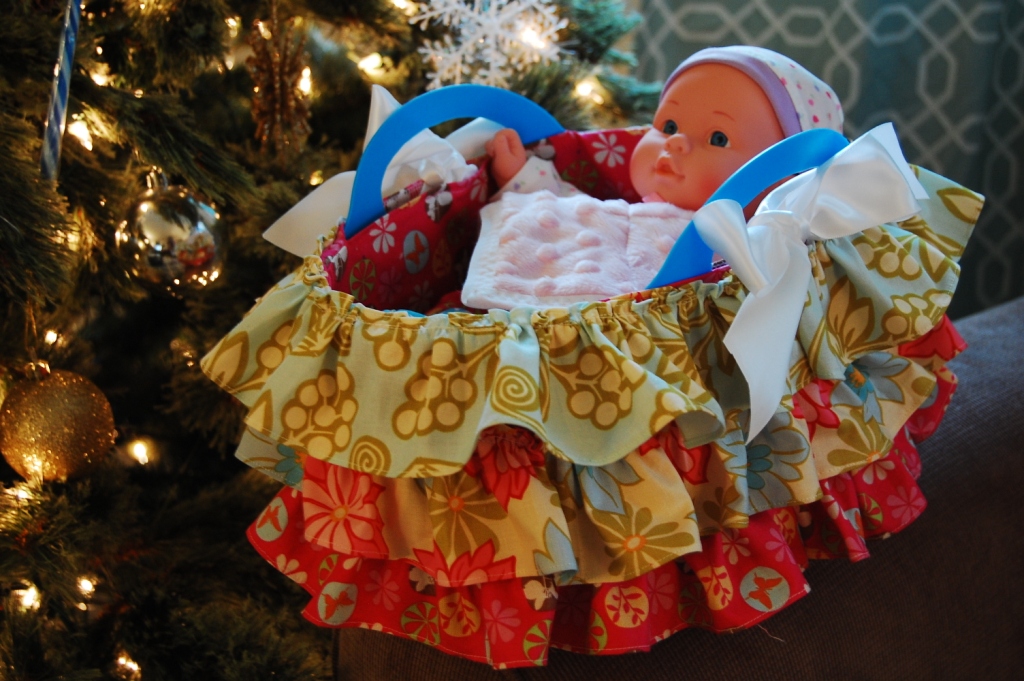
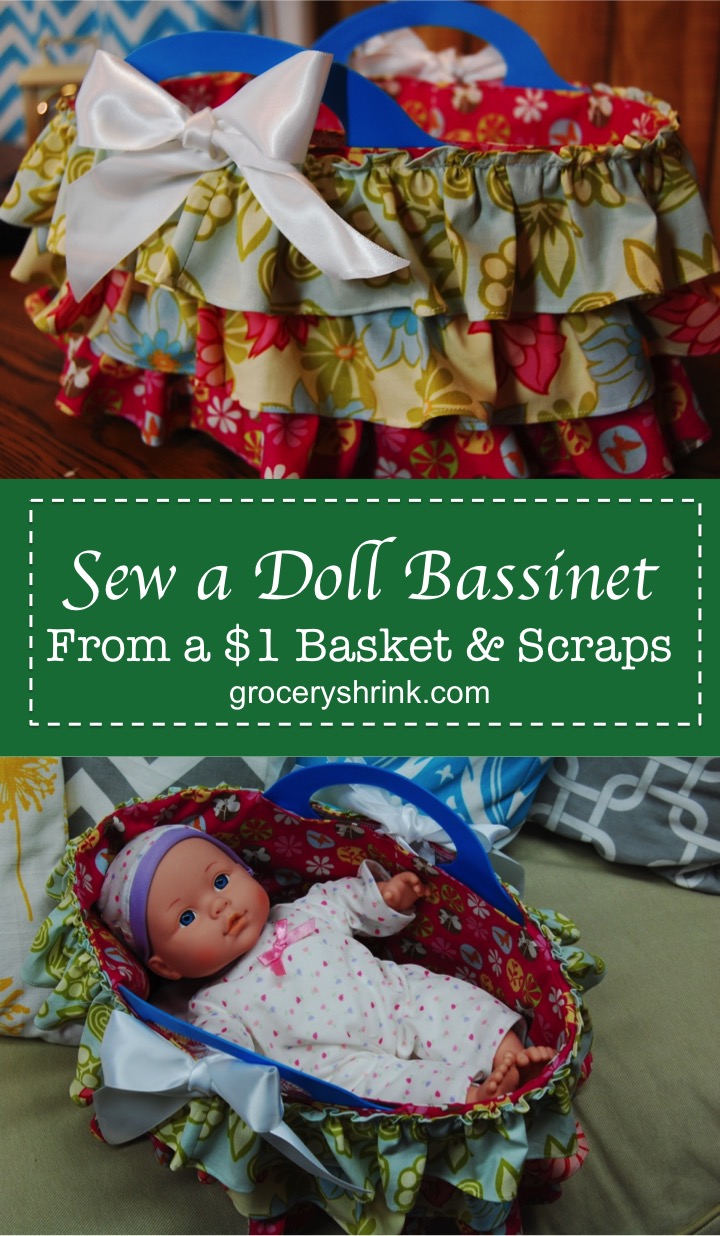
Doll Bassinet or Moses Basket Tutorial

Baby Doll Bassinet Pattern

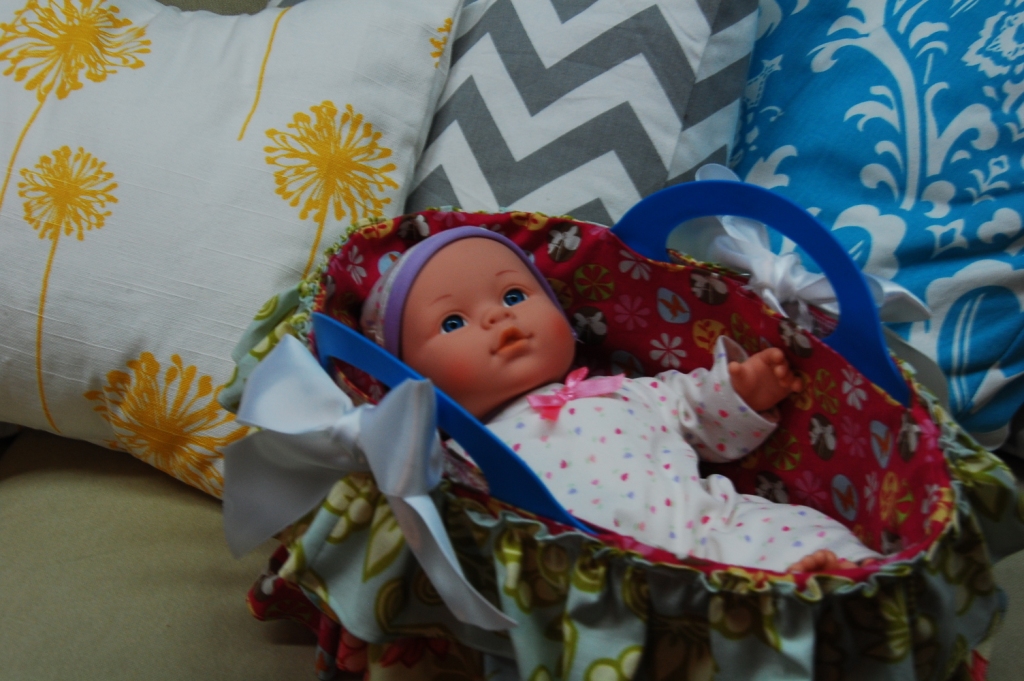
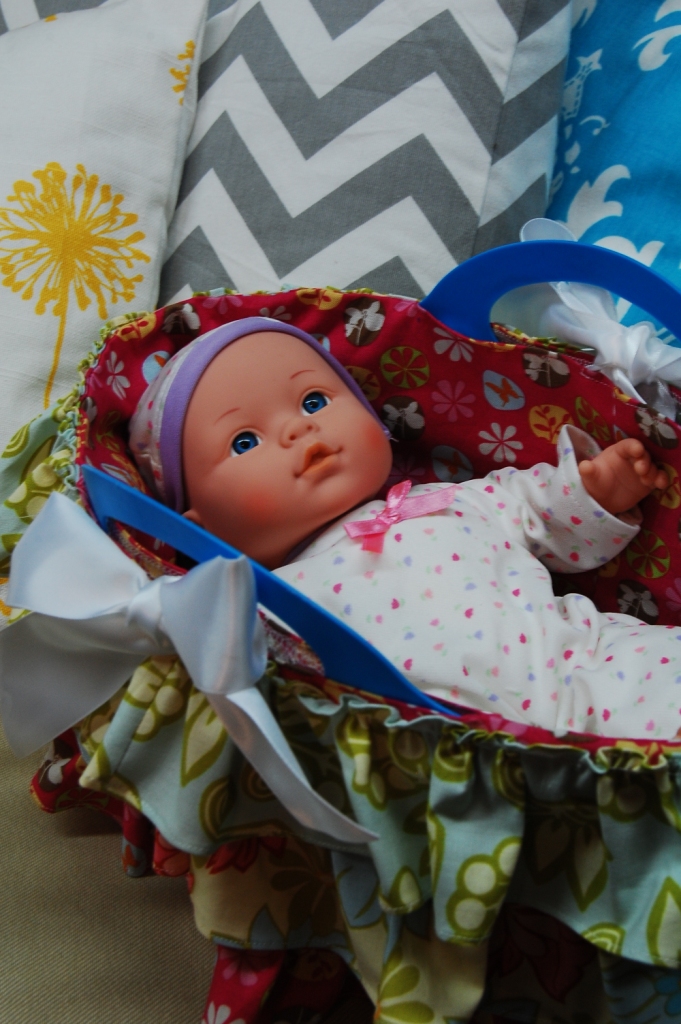
Wouldn’t a little girl you know be delighted with a new dolly and a basket to carry her in?

For an experienced seamstress, this project takes about 2 hours.  Plan a little more time if you are new at this.

You will need:

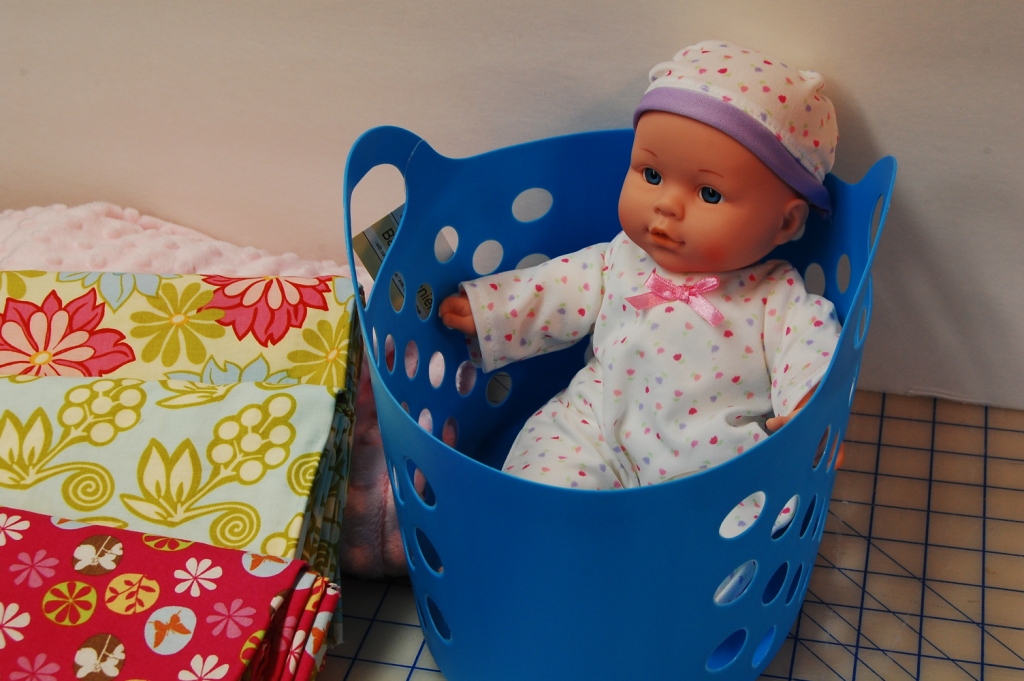
1 dollar tree basket.  This one is about 11 inches long by 7 inches wide (just slightly smaller.)

An 8-12 baby doll fits perfectly. My doll is 12 inches and is from Big Lots.  Just perfect for my 18 month old niece.  This one or this one would also be perfect.

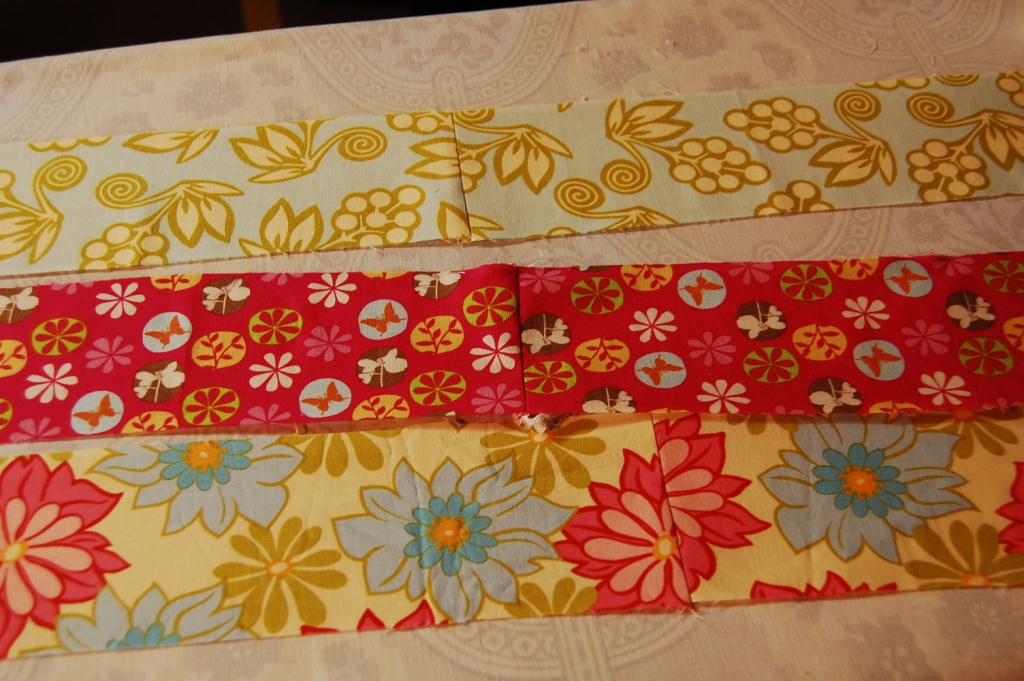
3-4 fabrics.  I chose one for the mattress, and 3 for the basket cover. 1/4 yard of each is plenty–or just scraps.

A small amount of poly stuffing

1 1/3 yards of ribbon

Normal notions: thread, pins, scissors, etc.

Mattress Pattern Piece

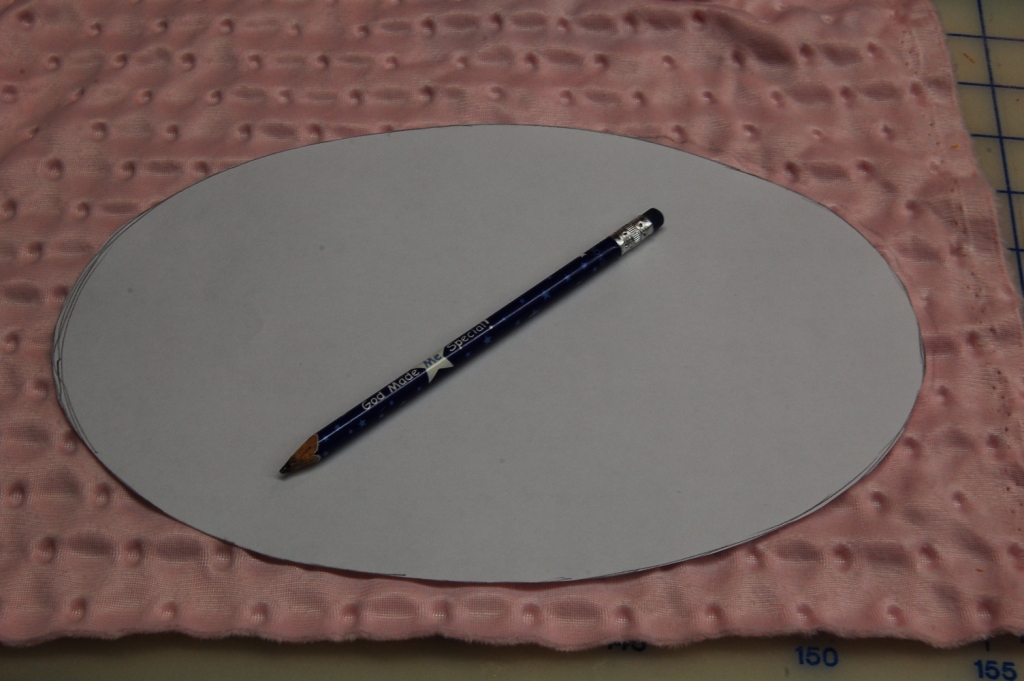
1.  Mattresss:  Trace the pattern with a pen onto your mattress fabric.

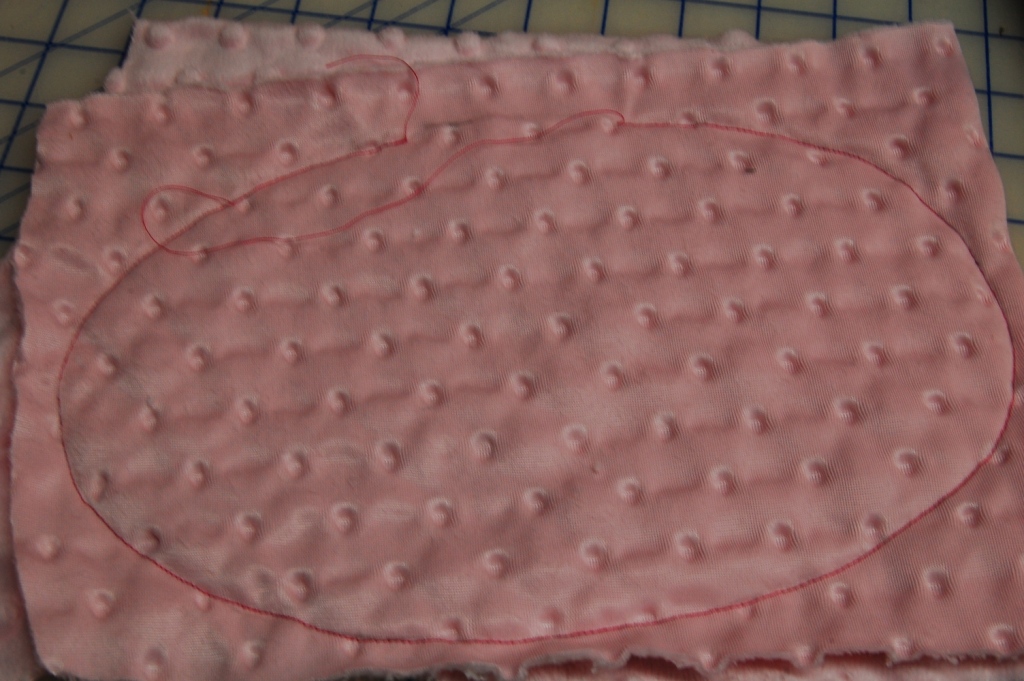
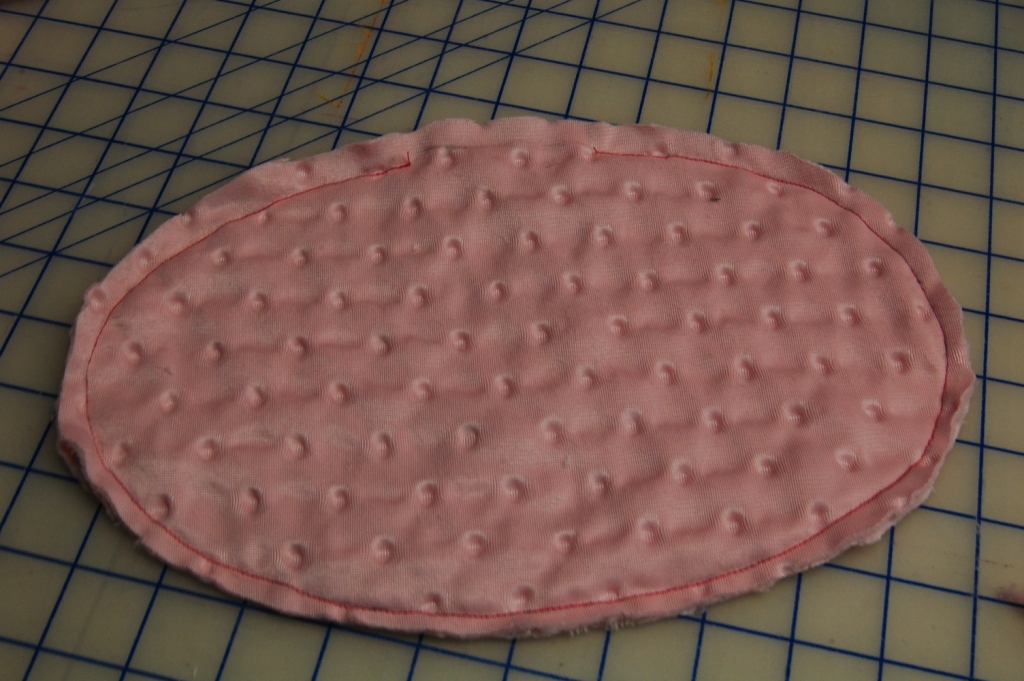
2.  Fold fabric in half and stitch on the drawn line, leaving an opening for turning.

3.  Trim excess fabric leaving a 1/4 inch seam allowance.

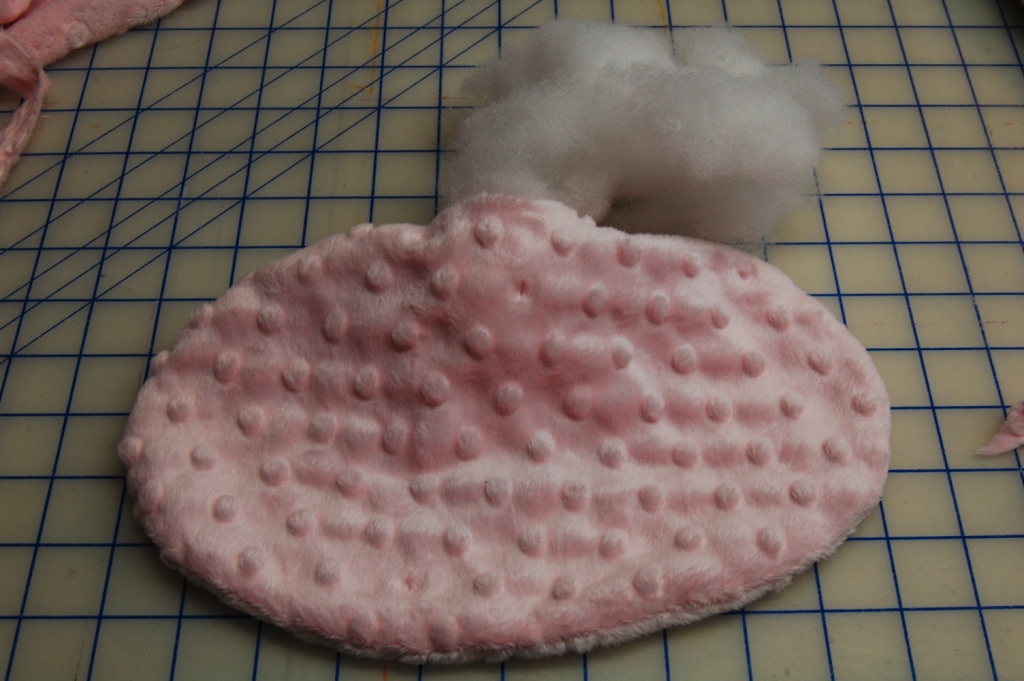
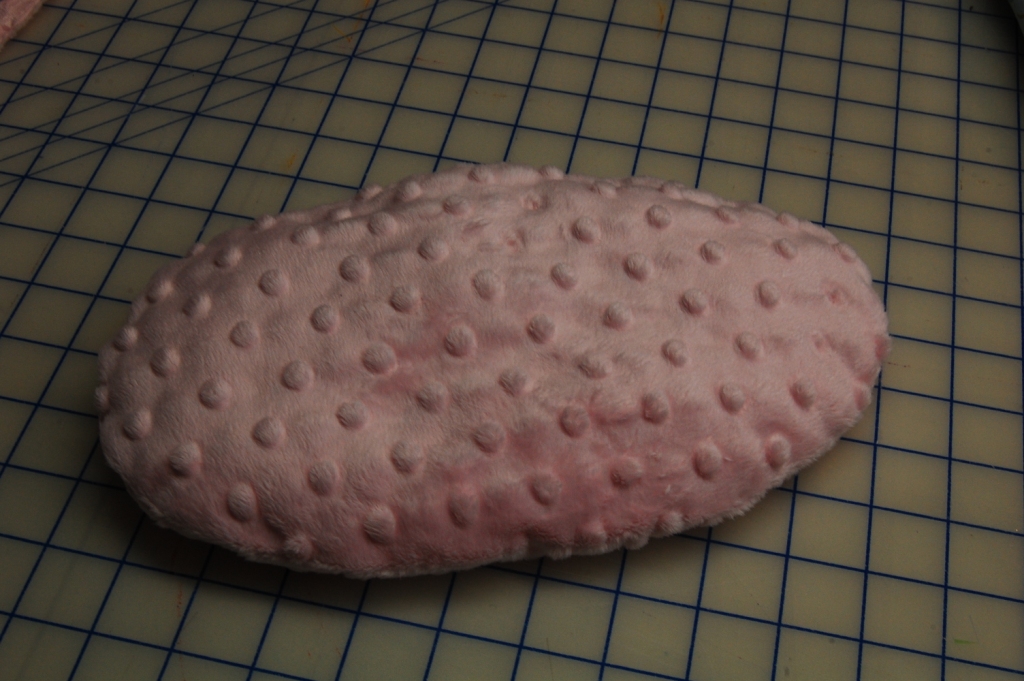
4.  Turn right side out and lightly stuff with a small amount of poly stuffing.

5.  Slip stitch the opening closed and set aside.

For the basket cover: Cut 1 oval

2 rectangles 6 x 31.75 inches for the lining

And 6: 3 x 31.75 rectangles for the outer ruffles. I cut 2 each from 3 different fabrics.

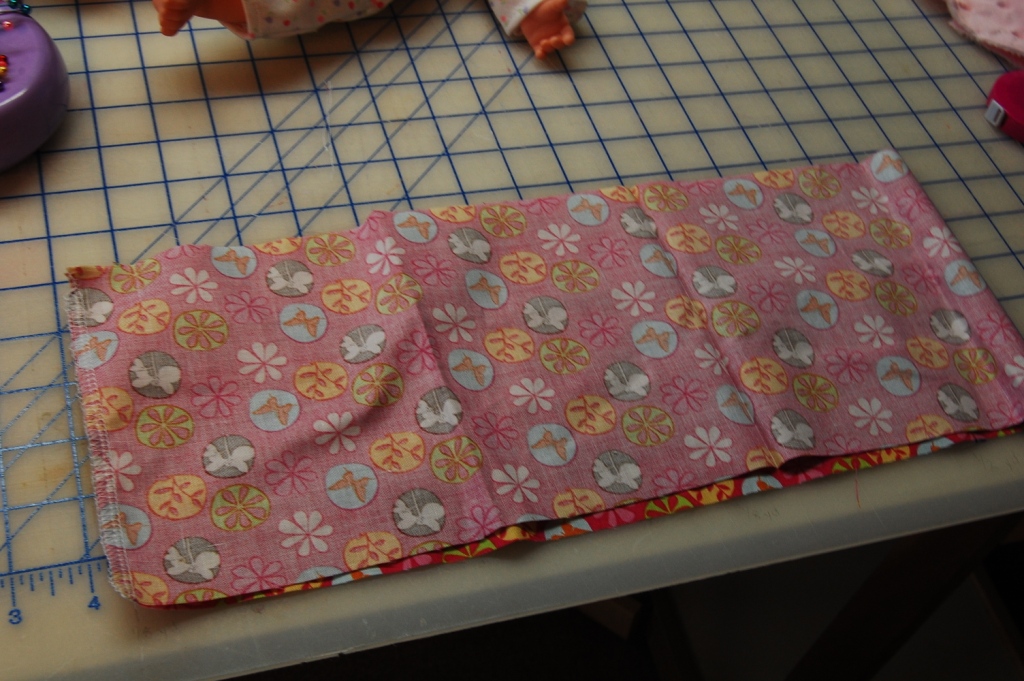
1. Sew each 6″ wide rectangle into a loop using a 1/4 inch seam allowance.  (I used a serger to keep it tidy, but you could zigzag the edges if you don’t have a serger.

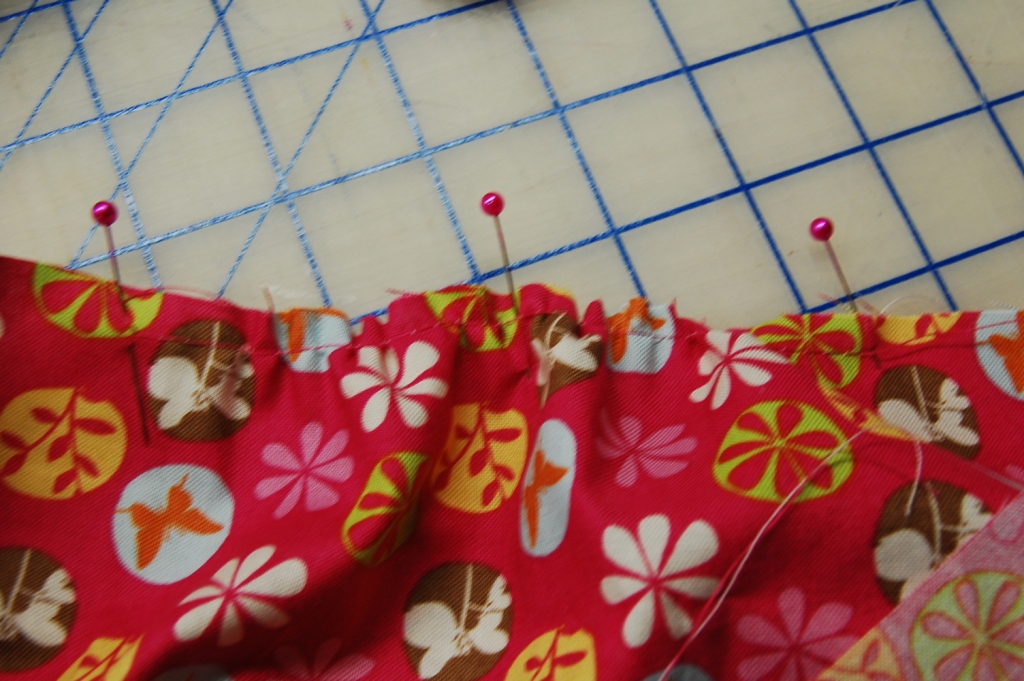
2.  On one 6″ tall loop of fabric only, run 6″ long swaths of gathering stitches on opposite ends from each other.

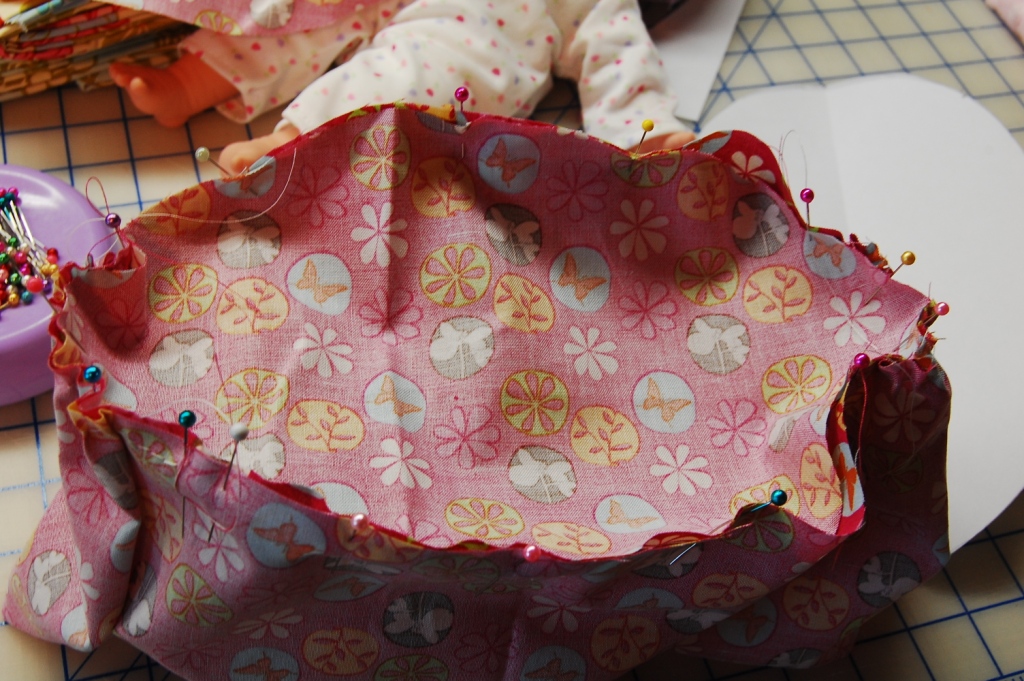
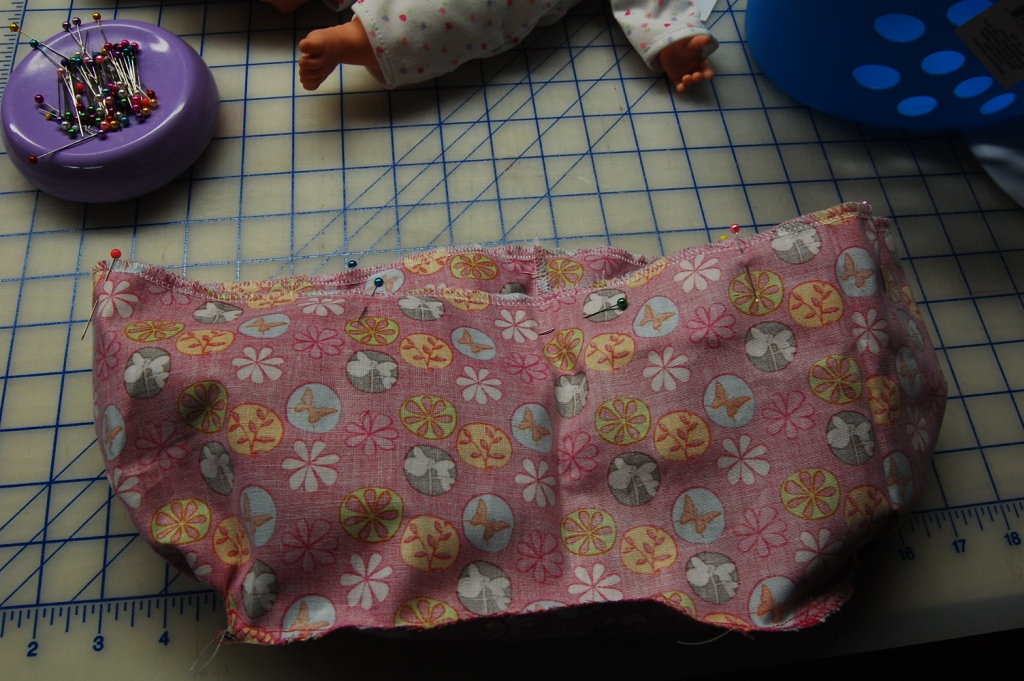
3. Divide both the oval and the loop of fabric (that you just put the gathering stitches in) into fourths.  Pin them rights sides together, matching the fourths and putting the gathering stitches around the oval ends to help everything fit well.  Stitch with a 1/4 inch seam allowance, then finish the raw edges.

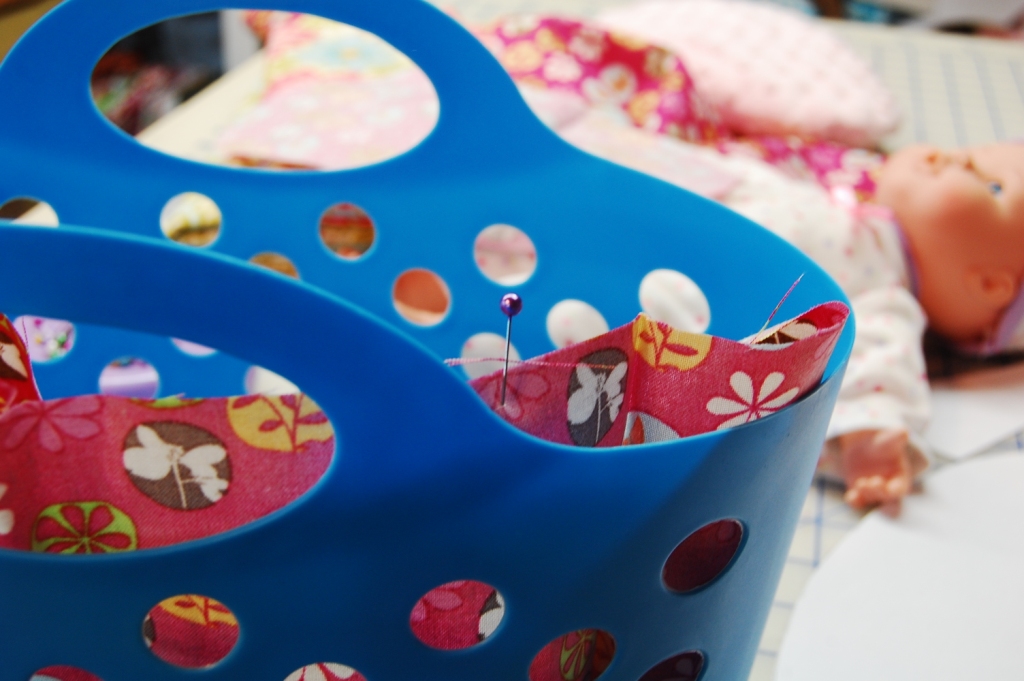
4.  Slip your liner inside your basket and mark each side of the handle with a pin.  Be sure to get the widest part where the handle meets the top of the basket.

5.  (Note:  Before I did this step, I serged around the top of both loops of fabric so on step 6 the hemmed edges would be finished.)Pin your second 6″ tall loop of fabric to the top of the basket liner, right sides together.  Stitch with a 1/4 inch seam  leaving two openings for the handles between the marks you made with the pins.

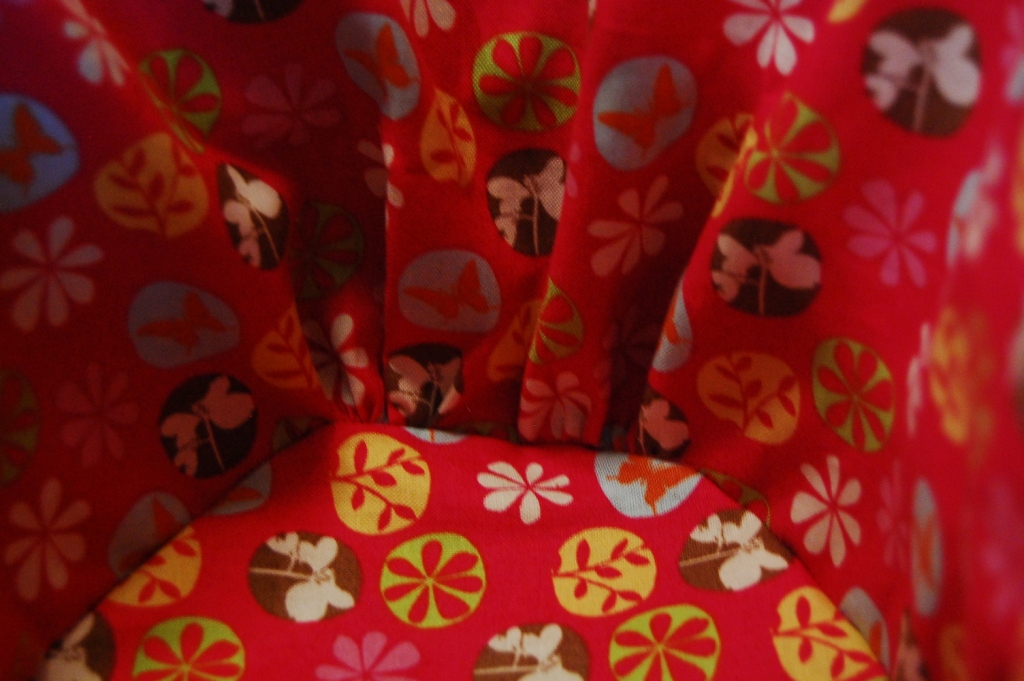
The ends will have cute little gathers like this on the inside.

6. Press the seam allowance under on the openings left for the handles and top stitch all the way around to hem the edges.

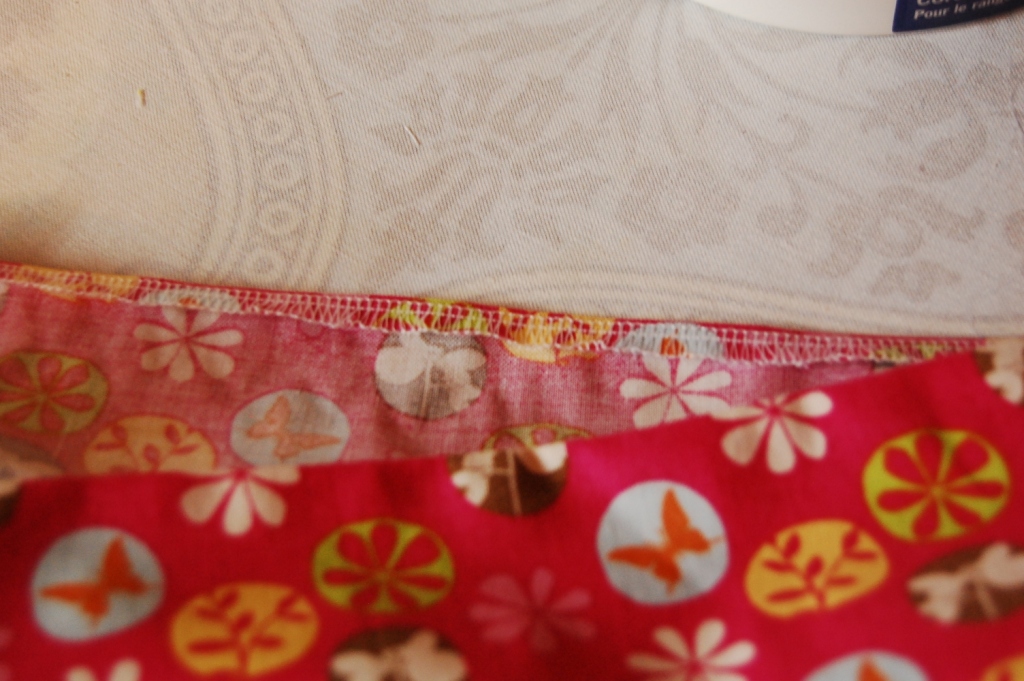
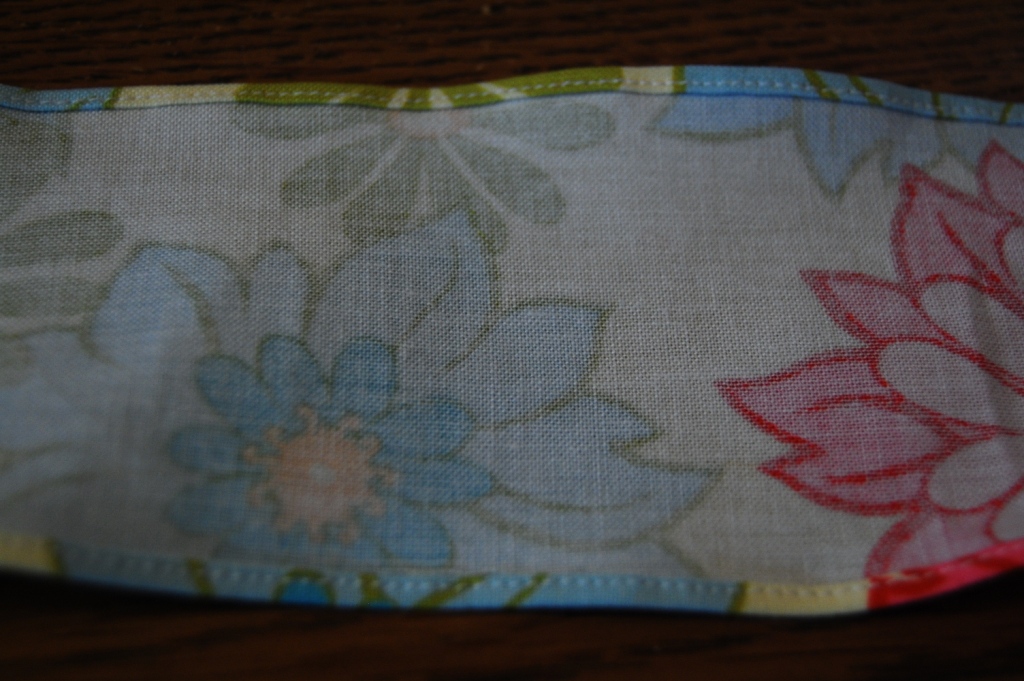
7.  Make 3 pairs of loops for ruffles, by  sewing 2–3″ wide strips of fabric right sides together on the short ends, 3 times. Then hem both long edges of each loop. You could do it the hard way by double pressing narrow hems and top stitching or by using a rolled hem stitch on the serger.  I used a rolled hem foot on my sewing machine, tutorial below.

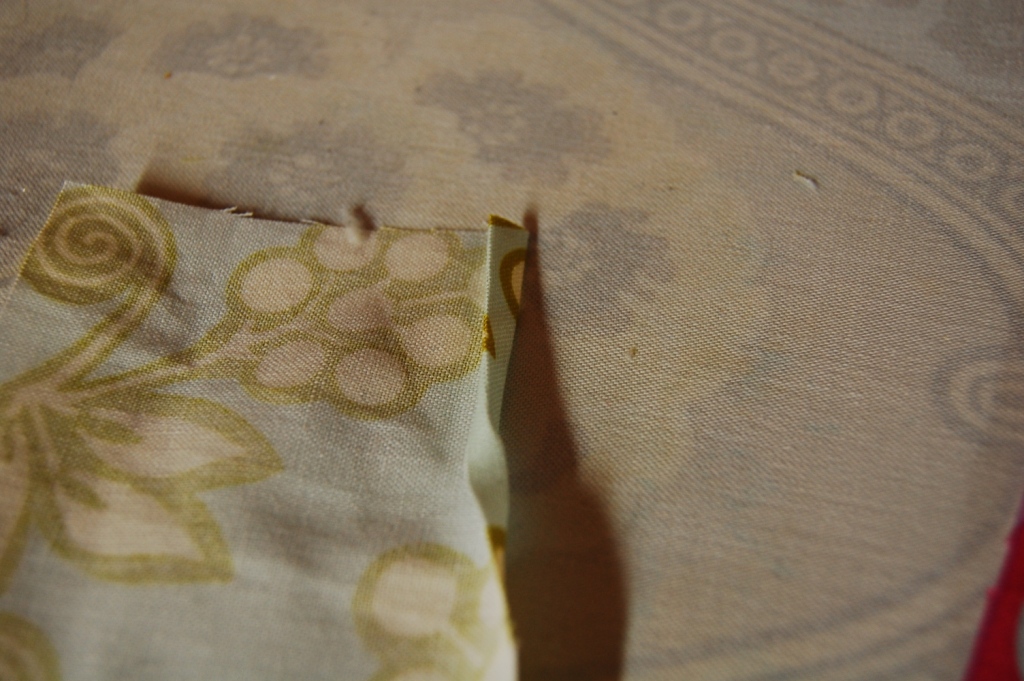
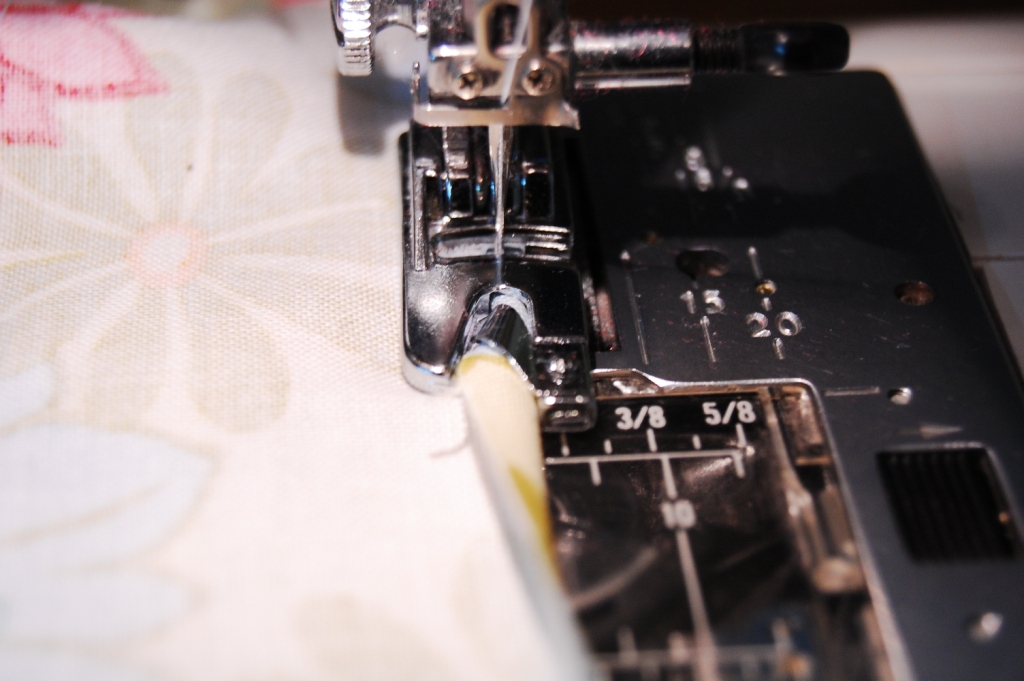
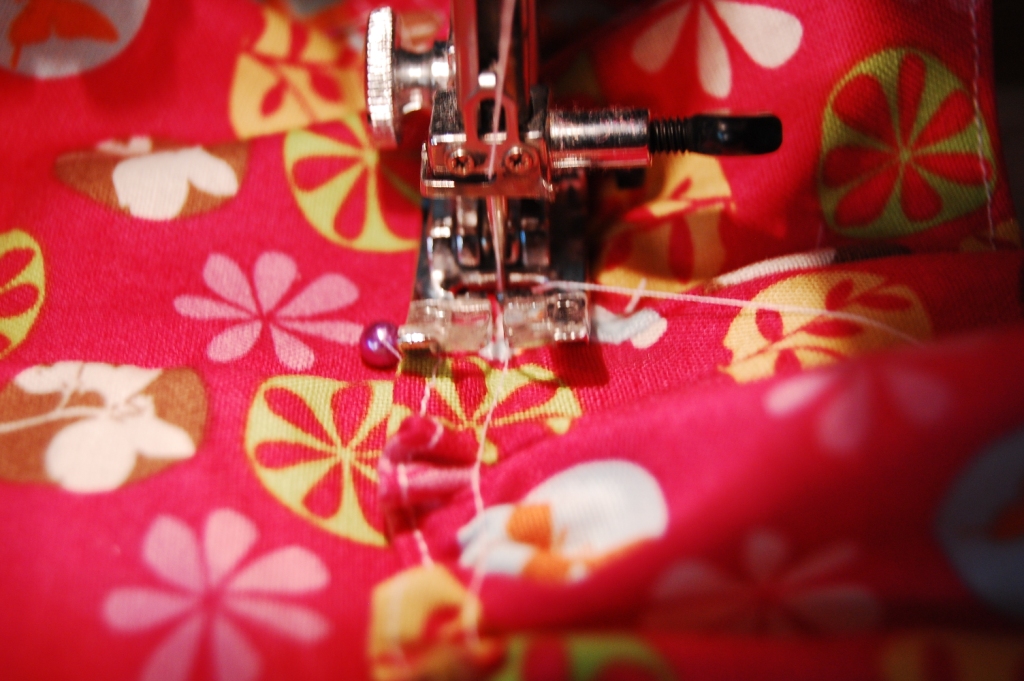
a.  First start your hem by pressing a small double turned hem about an inch down the strip of the fabric. (since it is hard to pull a seam through a rolled hem foot, I waited to sew my second seam until after the pieces were hemmed.

b.  Then slip your fabric into the foot so the raw edge fits into the guide.  The portion you previously pressed under is ready to go under the needle for a perfect (in theory) start.  As you feed the fabric through the foot be sure the raw edge is always fed into the guide correctly.  A little practice with some scraps will have you a pro in no time.


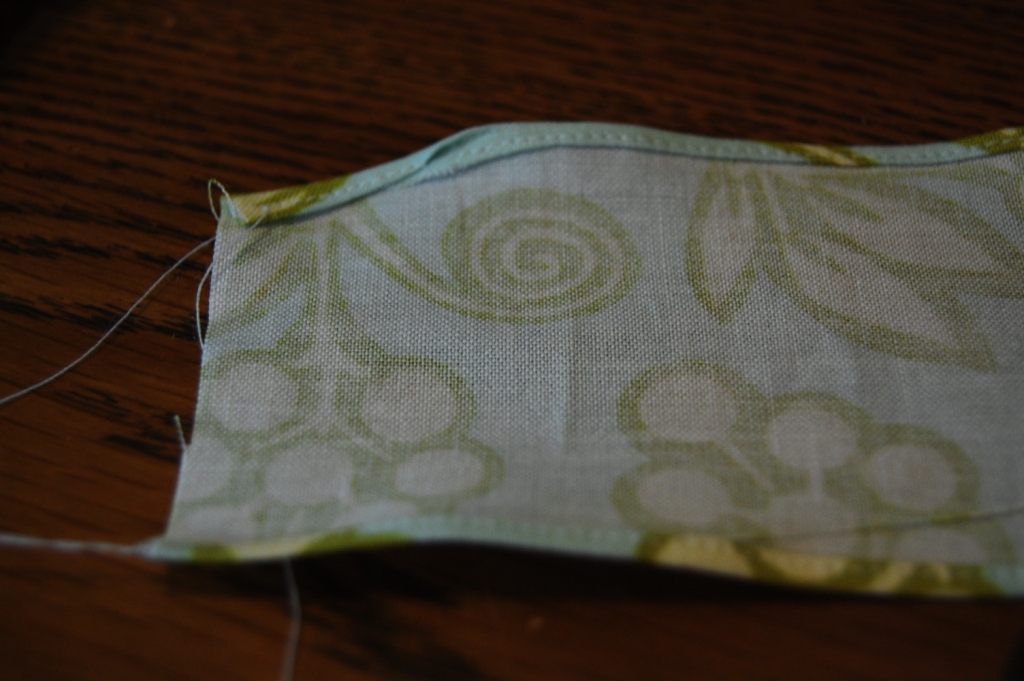
c.  It’s a challenge to go over the seam, you may need to use some gentle pressure to pull the seam through the foot. While you have your hemming foot out, hem the bottom edge of the basket cover too.

I had a rough start on this ruffle.  But once I got the whole thing put together it wasn’t very noticeable.  So relax and have fun with it.

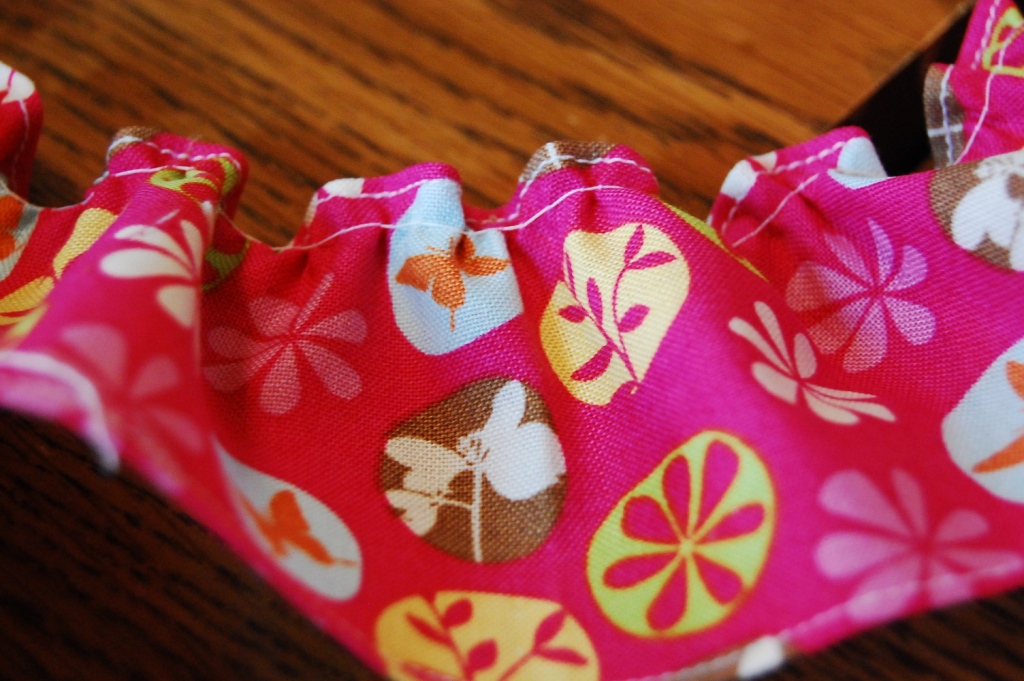
9.  Now that your ruffles are hemmed.  Divide them into fourths with pins, then run a single gathering stitch around the top.  (Hint, if you tighten your top needle tension as tight as it will go, the ruffles will gather themselves as you run the basting stitch. You will see be able to adjust them to fit as you go.)

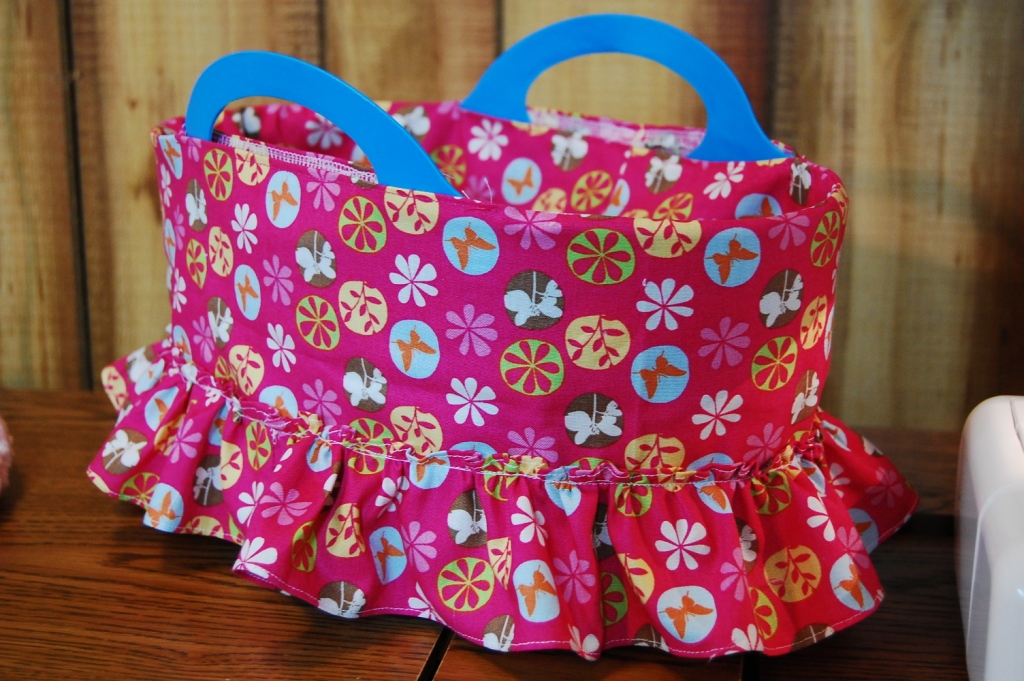
10.  Divide your basket liner in fourths too and pin your ruffle in place, matching the fourth markings and drawing up the gathers to fit. Pin the ruffle so the bottom edge of it lines up with the bottom edge of the basket liner. This was easy to do when the liner was actually on the basket.  Then top stitch the ruffle in place stitching right over your gathering stitches.

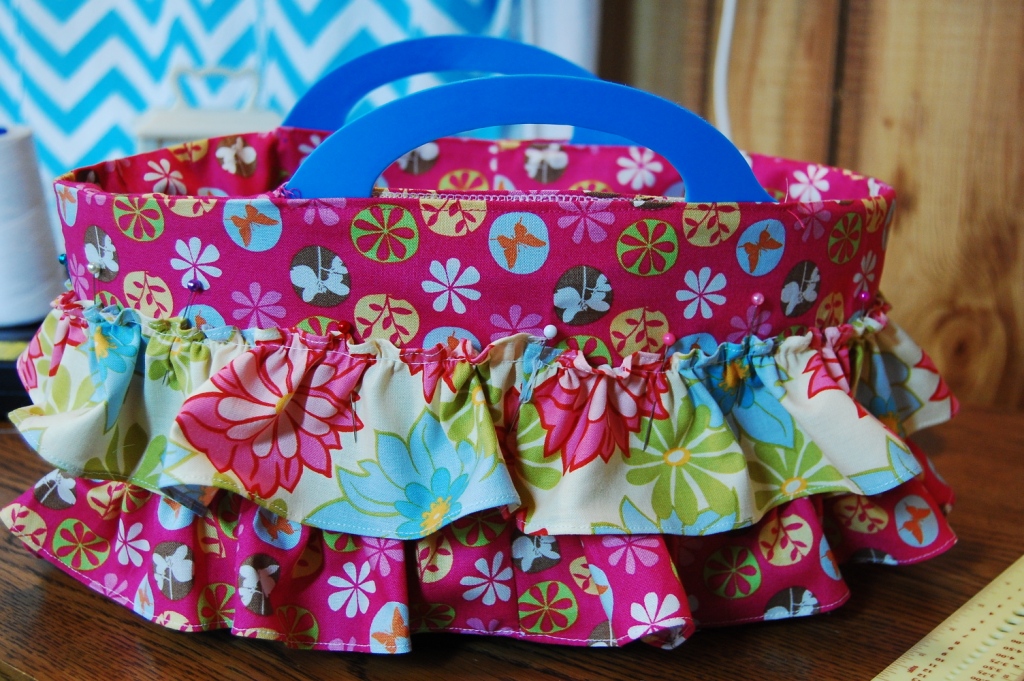
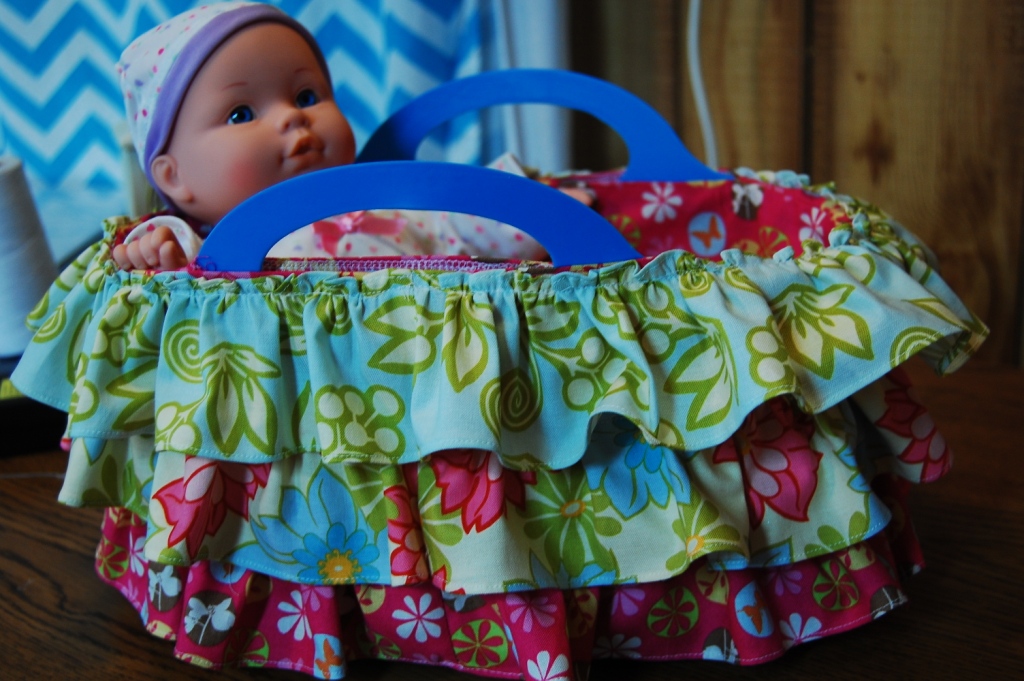
This is pretty adorable just like this. So if you want to, you can stop here.  Or add the next two layers of ruffles the same way, overlapping each row just a bit and lining up the top row with the seam line on the basket.

Almost Done!

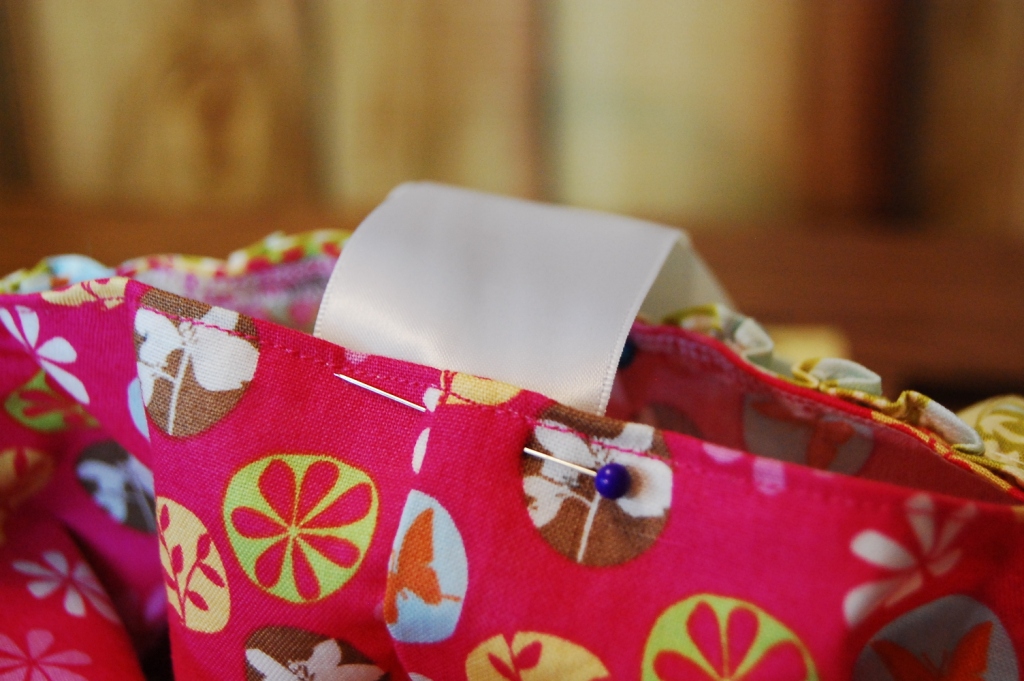
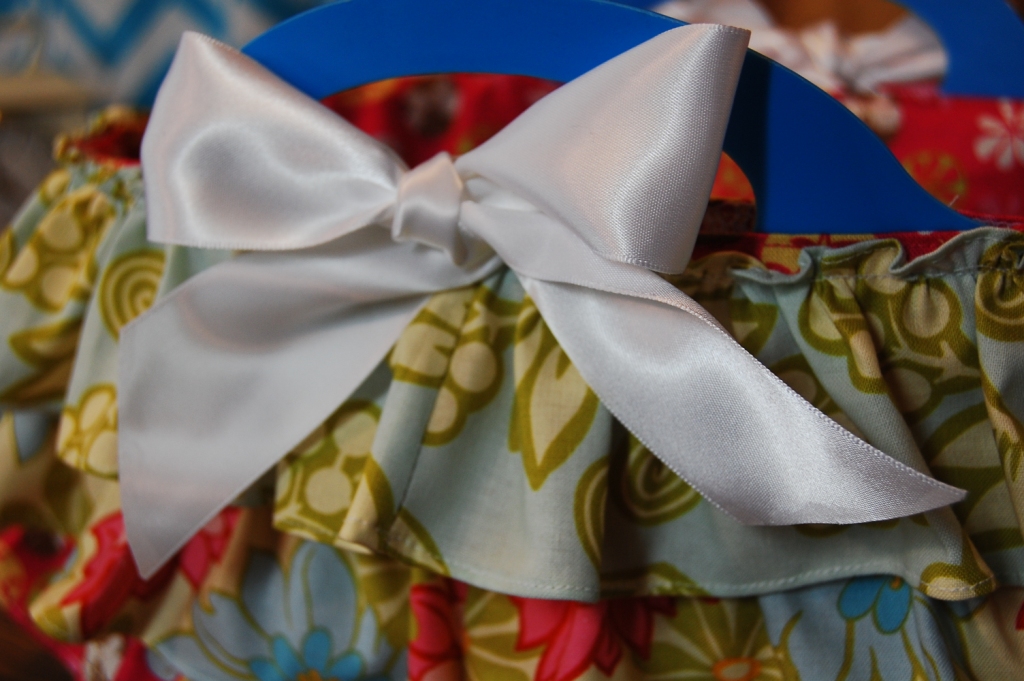
12.  Use Fray Check or a candle to seal the ends of your ribbon.  Then pin in place centered on each side of the gap left for the handles.  Stitch in place along the same stitching line you hemmed with.

13.  Tie your bows, insert the little mattress and the dolly. Stay tuned tomorrow for the matching quilt tutorial.  You’ll be amazed how fast you can piece, quilt and finish it.  Great for last minute gifts.
 

Post contains affiliate links.