Slow Cooker Spaghetti Mac

image

I can’t wait to tell you about this recipe!  Sunday, I stayed home from church to kick the last bit of an infection, but still needed to have lunch on the table for 8 of us (and a young guest.) So around 8 am, I snuck up to our attic kitchen and threw 2 (24 oz) cans of spaghetti sauce, 1 frozen 2 lb log of lean ground beef, and a cup of water (which I used to rinse out the sauce cans) in a large oval slow cooker on high.  Then back to bed for me.

At 11:30, I took the lid off, and smashed the now cooked beef into crumbles with the back of a fork.  (A potato masher would have been handy…but which box did I pack that in?)  (The beef had taken on all the yummy flavors of the sauce.) And stirred in 1 lb of dry macaroni noodles.  Then I replaced the lid and waited for the family to come home.

Darren found some lettuce, cottage cheese and pineapple to make it look something like a meal.  But oh, that spaghetti mac was yummy. We had 1 serving left over and I packed it into a lunch kit for a lucky child.  I’m going to say this serves 8-10 of a mixed age and gender family or 6 growing boys.

I imagine this recipe would work with gluten free noodles, or low carb Dreamfields pasta too. The pasta shape is important though.  Full size macaroni takes longer to cook than thin spaghetti which would have turned to mush in the crock.

Oh the bliss of not thawing meat or standing over hamburger browning in the skillet.  Imagine it, you pregnant ladies who can’t stand the smell of cooking meat!  Imagine it, you busy working mom’s or homeschoolers who don’t have an extra moment in the day.  This is a life changer.

Slow Cooker Spaghetti Mac

Slow Cooker Spaghetti Mac

Ingredients

  • 2 cans 24 oz each of spaghetti sauce
  • 2 lbs uncooked ground beef
  • 1 cup of water
  • 1 lb of macaroni shaped pasta, uncooked

Instructions

  1. in a large slow cooker combine the sauce, water (use it to rinse your cans first), and ground beef. Cook on high for 3-4 hours.
  2. Smash beef with a fork or potato masher until it is crumbled.
  3. Stir in pasta and cook for 1 hour longer or until pasta is tender and sauce is quite thick.
http://www.groceryshrink.com/slow-cooker-spaghett-mac/

Lace Fingerless Gloves

Instead of sewing my afghan squares together, I made these:

fingerless gloves

From this free pattern (click the photo below to go to the pattern) (Argh–cue angry pirate sounds–wordpress is deleting my links so I put a hard copy below the picture.  You’ll have to cut and paste):

68092d6efeeac68ea4379f15cf372631


http://bethsco.blogspot.com/2011/11/ripple-lace-fingerless-gloves.html


I like them in a color better than white.  It takes some of the saccharine sweetness out of it.  But white was my only sport weight yarn in stash and I was still resting from an illness while I stitched.  This pattern is super fast and I was able to complete a pair of gloves in a couple of hours.  (They’d be good for stocking stuffers if you have a tween or teen, or trendy teacher on your list.)

Which one do you like better?

This polka dot afghan was supposed to be part of Heather’s room reveal.  That was crazy.  As if I had time to sit and crochet with all the other projects.  But I’ve taken it with me for car rides and appointments and meetings, and now it’s time to make a decision on how to sew the squares together.

Do you like Rainbow?

image


Or Random?

image

There’s one square left to stitch up.  In rainbow mode it would be light blue.  In ‘random’ dark blue.

This was my inspiration photo: I didn’t have all the colors, so went more simply. I used only the small dot squares in solid colors.

0e790a8bebb521a7086058ff97fad65a

From Made by Do. Click picture to go to the tutorial for this afghan.

I had originally thought to make mine random too.  But the rainbow has a nice orderly feeling to it.

I’ve been in bed for 2 1/2 days with a kidney infection (follow up appointment on Tuesday).  So if you follow me on Pinterest, I apologize for filling up your main page with Christmas ideas and crochet tutorials.  I decided while I lay (lie–hmmm, That’s why I teach choir) here I decided to get a jump start on Christmas planning.

I lost all humility and told my husband I AM A GENIUS.  You know why?  Last year on December 26th I took a few moments to take notes on our last Christmas, including what gifts went over well and are a definite re-do; what I’d like to do differently with decorations;  and updates for my Christmas card list. So when I went to brainstorm for Christmas 2013, half the work was done for me and the ideas were really good.

Like:  Make a bound photo book  for Great-Grandma.  Her mind isn’t clear and it’s hard for her to remember everyone’s names, so it will be easy to make that part of the book. And maybe if I start now on Teacher gifts, I’ll get them done on time….maybe.


My Birthday Present

For my Birthday, we got family photos taken :).  My cousin Rachael did them and was so patient.  She kept the camera clicking even when we weren’t posed and some of those were my favorite.  Here’s a sampling of the over 225 photos she took of us.


Copy of Love this one too cropped and filtered


Copy of We're in love
Copy of Heidi Fence Copy of Heidi

Copy of Favorite for Heidi

Caleb fence

Serious caleb Copy of Heather purple flowers
Copy of Happy Heather


Copy of Pretty Heather

Copy of Dub

Copy of Dub 2Brandon 2 thirds


Copy of Brandon fence

Copy of Grant pretty

Copy of Grant eyelashes Copy of IMG_5368


Copy of Darren kissing Angela filtered Copy of Grant is the center

Family sitting

What I loved most about this session was how casual and relaxed it was.  We were at a park so when it wasn’t a child’s turn He could play.  AND the frugal part of me loved paying Rachael an hourly wage and then getting a disk with all the pictures on it in full resolution to print at my leisure.


Brandon’s Dinosaur Backpack

DSC_1045

Back before we started Heather’s room project, I stitched up Brandon a kindergarten sized backpack.  He loves green and dinosaurs so I dug through my stash to see what I could find.  I had already been to 3 stores and decided that it was hard to find a quality back pack that was affordable too.  (I needed it to be less than $15.)  After I was done sewing, my friend told me she snagged a really great quality bag at the thrift store for $2.  Smack.  (That’s me smacking my forehead because I didn’t think of looking at the thrift store.)

DSC_1050

My goal was to make the backpack entirely out of stash, but I ended up buying $1.50 plastic pieces for the straps.  I had the zipper on hand, because I took it out of a bag that had worn-out fabric before throwing the bag away, and put in my stash.  It pulled a little rough, so I put silicone lubricant on it (from my sewing machine repair box) and that fixed it right up.

I used this inspiration photo. And this tutorial (I skipped the pocket and used wool quilt batting in the straps because I didn’t have fleece in stash.)

 DSC_1047

If I had it to do over, I would have made the bag 2 inches shorter.  It would have still held a folder and fit his body a little better. I lined the inside with canvas from the rest of a drop cloth that I had cut up for a previous project.  Then any exposed seams got bound on the inside with blue bias tape.  It about killed me to use the smoky blue bias tape but it was the ONLY color I had in the right size and I was challenging myself not to buy anything.  The kids put it in perspective for me–“Mom, it’s on the INSIDE.”  They were right.


DSC_1059 DSC_1055 DSC_1054 DSC_1053

Wrist wallet for lunch money.  Tutorial here.
DSC_1063Happy Kindergarten Brandon!


Skillet Shepherd’s Pie

DSC_1384

Monday, I came home from my teacher meetings (Which were amazingly wonderful for reals.  It is very possible that I have the best job in the world.) And Darren met me at the door with a huge silly grin on his face.  Then he grabbed me and swung me around and said, “How was YOUR day?”  As if he wanted me to ask, “How was YOUR day?” Right back.

DSC_1388


Heather’s official birthday is tomorrow–the first day of school. So she ate on a leftover plate from Darren’s party.

So I did.  And guess what?!  Yep.  Our kitchen passed inspection and we got the thumbs up to put up dry wall.  So Wednesday after my last round of teacher meetings, we hooked up the utility trailer and bought 12 huge sheets of drywall.  They are stacked in my kitchen right now waiting for Saturday’s installation :).

DSC_1391

So when do we eat?


So along with this great news is a super easy recipe for you.  It’s perfect for an emergency speedy family dinner–and works even if you only have an electric skillet and microwave to cook in. If you want to reduce the carbs use the glucomannan option and top the dish with parmesan mashed cauliflower instead.  If you have extra time and a kitchen, you can top it with real mashed potatoes instead of instant.

Skillet Shepherd’s Pie

Skillet Shepherd’s Pie

Ingredients

  • 2 cups Beef Broth
  • 1 lb ground beef
  • 1 lb frozen vegetables
  • 1 Tbs glucomannan powder or 2 Tbs corn starch
  • 2 cups instant potato flakes
  • 2 cups water
  • 1 cup milk
  • 3 Tbs butter
  • 3/4 tsp salt
  • 1 1/4 cups shredded cheddar blend cheese

Instructions

  1. In a large skillet, brown ground beef and drain (I used my frozen bulk cooked ground beef from the slower cooker.)
  2. Stir in broth (whisked with glucomannan or corn starch); and frozen veggies
  3. Cook and stir until thickened. Turn heat down to warm.
  4. Meanwhile, heat water, milk, salt and butter together (I used the microwave.) Then stir in potato flakes and 1 cup cheese.
  5. Top beef mixture with cheesy potatoes and sprinkle with remaining cheese. Cover with a lid for 3 minutes or until cheese is melted. Serve with tossed salad.
http://www.groceryshrink.com/skillet-shepherds-pie/


Darren’s 40th Birthday Party

Darren’s 40th Birthday was the day after we finished Heather’s room remodel.  THis birthday seemed special–like I should do something awesome.  But there’s only so much awesome that can share the same time space.  I asked him what he wanted to do–he didn’t have many ideas.

So I thought about his personality.  He loves to be with people.  If there’s a pot luck at church and I forgot, he sends me home to get food (even if I miss worship) because it seems harder to him to miss fellowship.  He will never miss a wedding, a funereal, a reception, or any gathering with people unless it is completely unavoidable.  So I decided to rent the community center at my parent’s neighborhood (since my kitchen is still a black hole) and invite a few friends for a potluck supper; cake, ice cream and games.

DSC_1331

Heidi, Heather and I arrived about an hour early to set up tables and throw up some streamers.

DSC_1332

My “sister” Elizabeth and her husband, Brendan, happened to be at my mom’s house down the street so walked up to help.  (They are the couple on the right above.) They had just finished recording a song for their new album and were pretty beat.  You can find out more about their music here. It’s beyond gorgeous!

The couple on the left above are Jared and Melinda Hawley.  They teach archery classes through their organization calledChrist, Bows, Arrows and Youth.  And also have a facebook page.

DSC_1334


There’s my Dad and my Sister-in-love, Erica (Who is an amazing flute teacher and runs our youth Christmas Drama at church.)

DSC_1329

Here is James and Laura VanBiber.  He was on active duty for 17 days but was able to stop by for a few hours.  Laura graduated last year from interior design school and is very gifted.  It was her brilliant idea to tear down all the walls in our new kitchen remodel (updates on that project coming soon!.)

DSC_1350

It was a no gifts party, but my mother made him this cool shirt:

DSC_1355

DSC_1339

Heidi made him a fun card.

DSC_1340

DSC_1328

I bought cakes from Costco (which was Darren’s one request–so I wouldn’t be stressed.  Isn’t he the best?!)

DSC_1338

We put exactly 40 candles on the cake.  He studied it for a minute to get the right one breath strategy and executed it perfectly.

DSC_1341

Here’s my cousin Rachael and her sweet baby, Charlotte.  (Rachael is an awesome family photographer and my accompanist for choir at school.)

DSC_1347

The only picture someone else took. Laura, Melinda and I served cake to all the kids first.  They played outside on the community play ground with almost no fighting and the adults just sat around inside and talked and talked.  It was more fun talking than playing games so we skipped that part.

DSC_1357

Grant had a good time too :).


Tutorials for Heather’s Bedroom Birthday Surprise

Before I link up, I’d like to say a round of thanks to everyone who helped with Heather’s room.  I said in the first post that I didn’t have an HGTV crew–but it turned out I really did–just no cameras and scripts (yep, reality TV is scripted.)

Oh and while I’m totally off topic–last year this week we were having Heather’s No-Stress Birthday.  How times change :).

Here was our team:

DSC_1097Heidi, J and B for moving day

DSC_1143

DSC_1173

DSC_1230

Heidi also did popcorn removal, Painting, and Organization.  Plus was my shopping and design consultant and domestic support–which sounds better than laundry, childcare and dishes :).

DSC_1175

And of course Elizabeth, who painted while I had a family visit from the church. She was here for hours and also brought Tapioca pudding, which is Darren’s FAVORITE.

DSC_1196 DSC_1193 DSC_1158


Mom, who was chief mudder (Bwa ha ha–get it? Mudder!); Child care extraordinaire (She kept all my boys for 2 full days); emotional support; pharmacy (she brought me flu meds); seamstress consultant; Floor installation assistant (She was here until 4am people!) And my top person to talk to when I’m not sure how to do a project under budget. She is the most frugal person around and by that I mean she’s the most awesome and responsible person when it comes to respecting the hard work done to get money and making it work hard for her. (Not that she’s cheap–which is not the same thing at all.)

DSC_1198 DSC_1150

And then there’s Darren, who really didn’t want to do this project from the beginning.  But because he loves Heather and me so much, he did a little bit of everything, especially laying a brand new floor all night until 5:30 am Thursday morning. He also mudded, sanded, installed trim, and made the money that paid for it all. And finished just in time for his 40th birthday :).

Ok, now for the tutorials I promised:


DSC_1370

Envelope Pillow Tutorial

DSC_0317

DIY Canvas Art

DSC_1131

Ruffled Duvet Cover

DSC_1269


Ombre Curtains–which I sized up and turned into the hula hoop tent.


Hula Hoop Tent


This is just one of the many tutorials I looked at to make the tent. Only I made mine differently to use one full sheet, which meant less ruffle fabric and less cost.  But then it didn’t go around my hoop all the way.  So I took a hack saw to my hula hoop to MAKE IT FIT in a wicked step-sister sort of way.  So just because I did it differently didn’t make it better, kwim?

DSC_1301

And if I were smart, I would have used this tutorial to hang my gallery wall.  But instead I just hung one at a time by eyeballing it (Do you get the feeling I don’t like to measure?) Then moved it over a bit if I stepped back and it didn’t look right. Which mean I had to patch some holes before the big reveal :).


The Cost Breakdown and Source List for Heather’s Bedroom Birthday Surprise

More than once, I was standing in line at Home Depot feeling like my wallet was bleeding. This was the most expensive birthday present I have ever given anyone.  But then Heather was the most valuable birthday present I’ve ever received.  I brought her home from the hospital on my 27th birthday :).

Since I gathered stuff over a period of 6 months, I didn’t have a clear picture of the total cost.  While everything was still fresh in my mind, and I could still find receipts, I decided to find out for sure.

DSC_1166

Ceiling:

1 bucket of lightweight drywall compound: $14

1 gallon Kilz Primer $17

1 gallon Behr ceiling paint $24

Trim Paint: 1 gallon Behr Ultra Pure White in Semi-Gloss $27

DSC_1168

Wall Paint: 2 gallons Behr Ice Cube in Eggshell finish–$50

Spray Paint:

3 cans satin white (Lowe’s)–$12

2 cans brushed rose (Lowe’s)–$8

2 cans primer (Lowe’s)–$8

Tools and Prep supplies:

Paint Rollers–$3

Disposable roller trays–10 pk for $6

Deglosser (for bed frame) $8
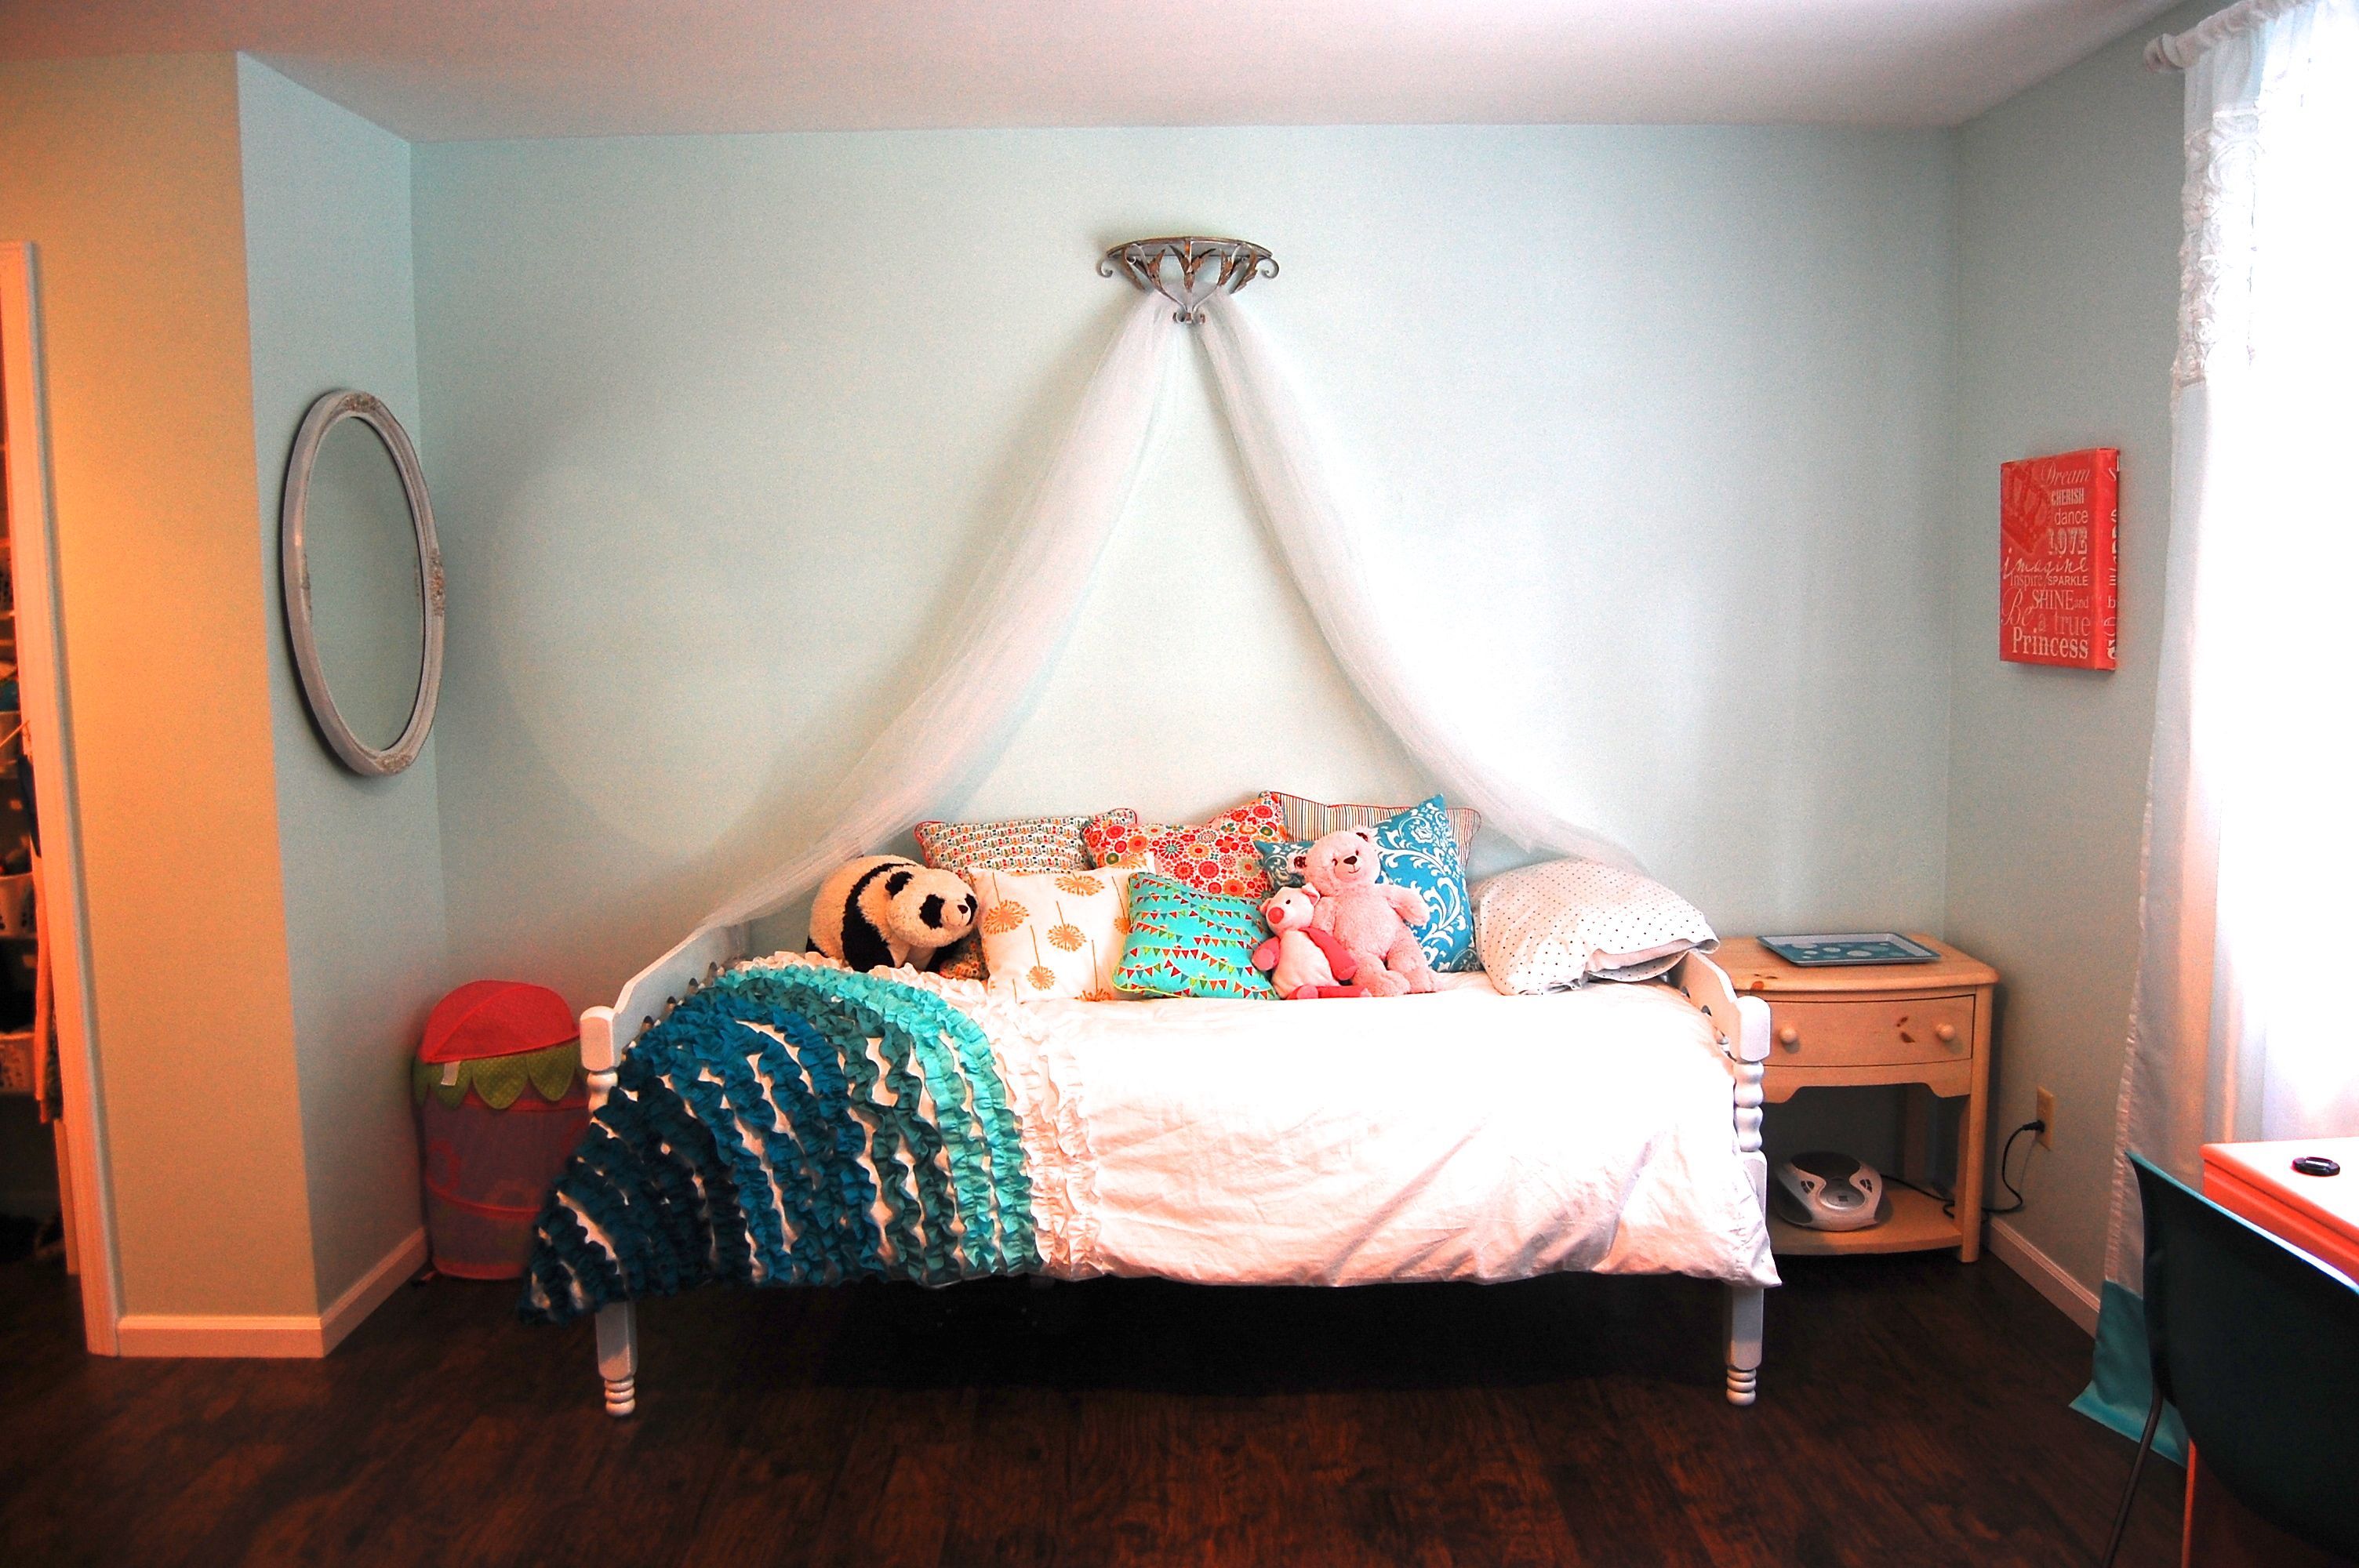
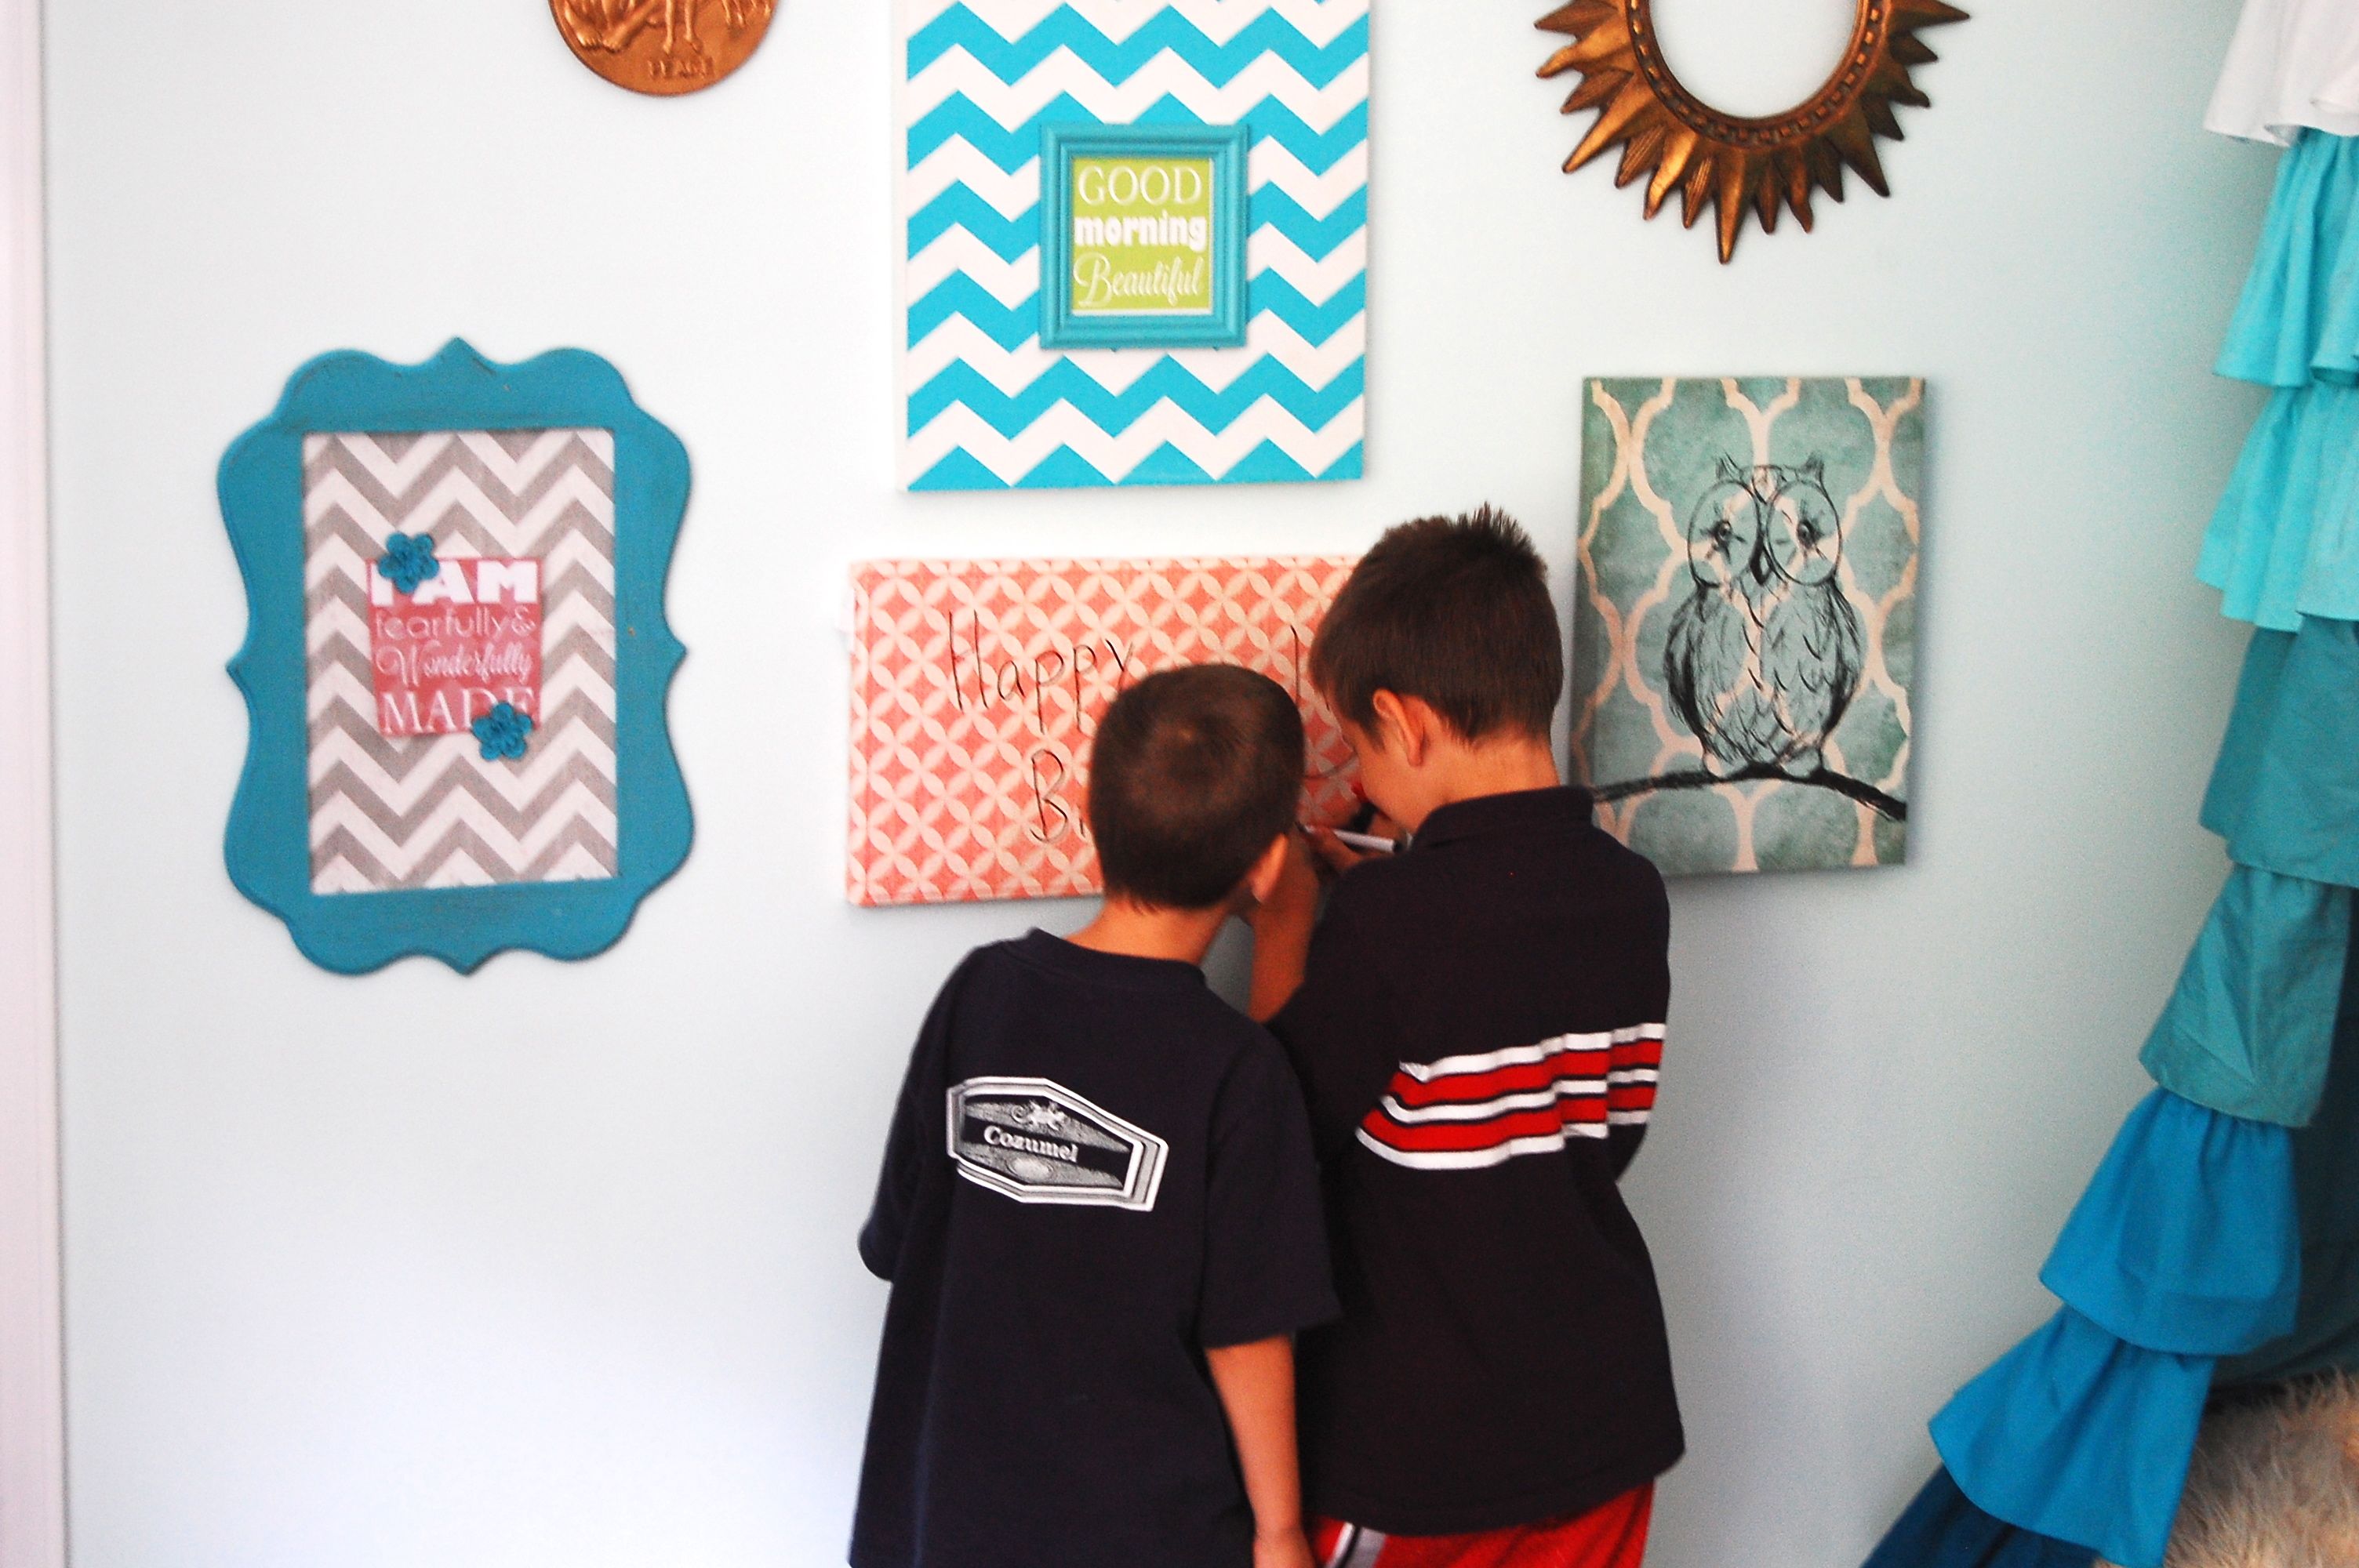
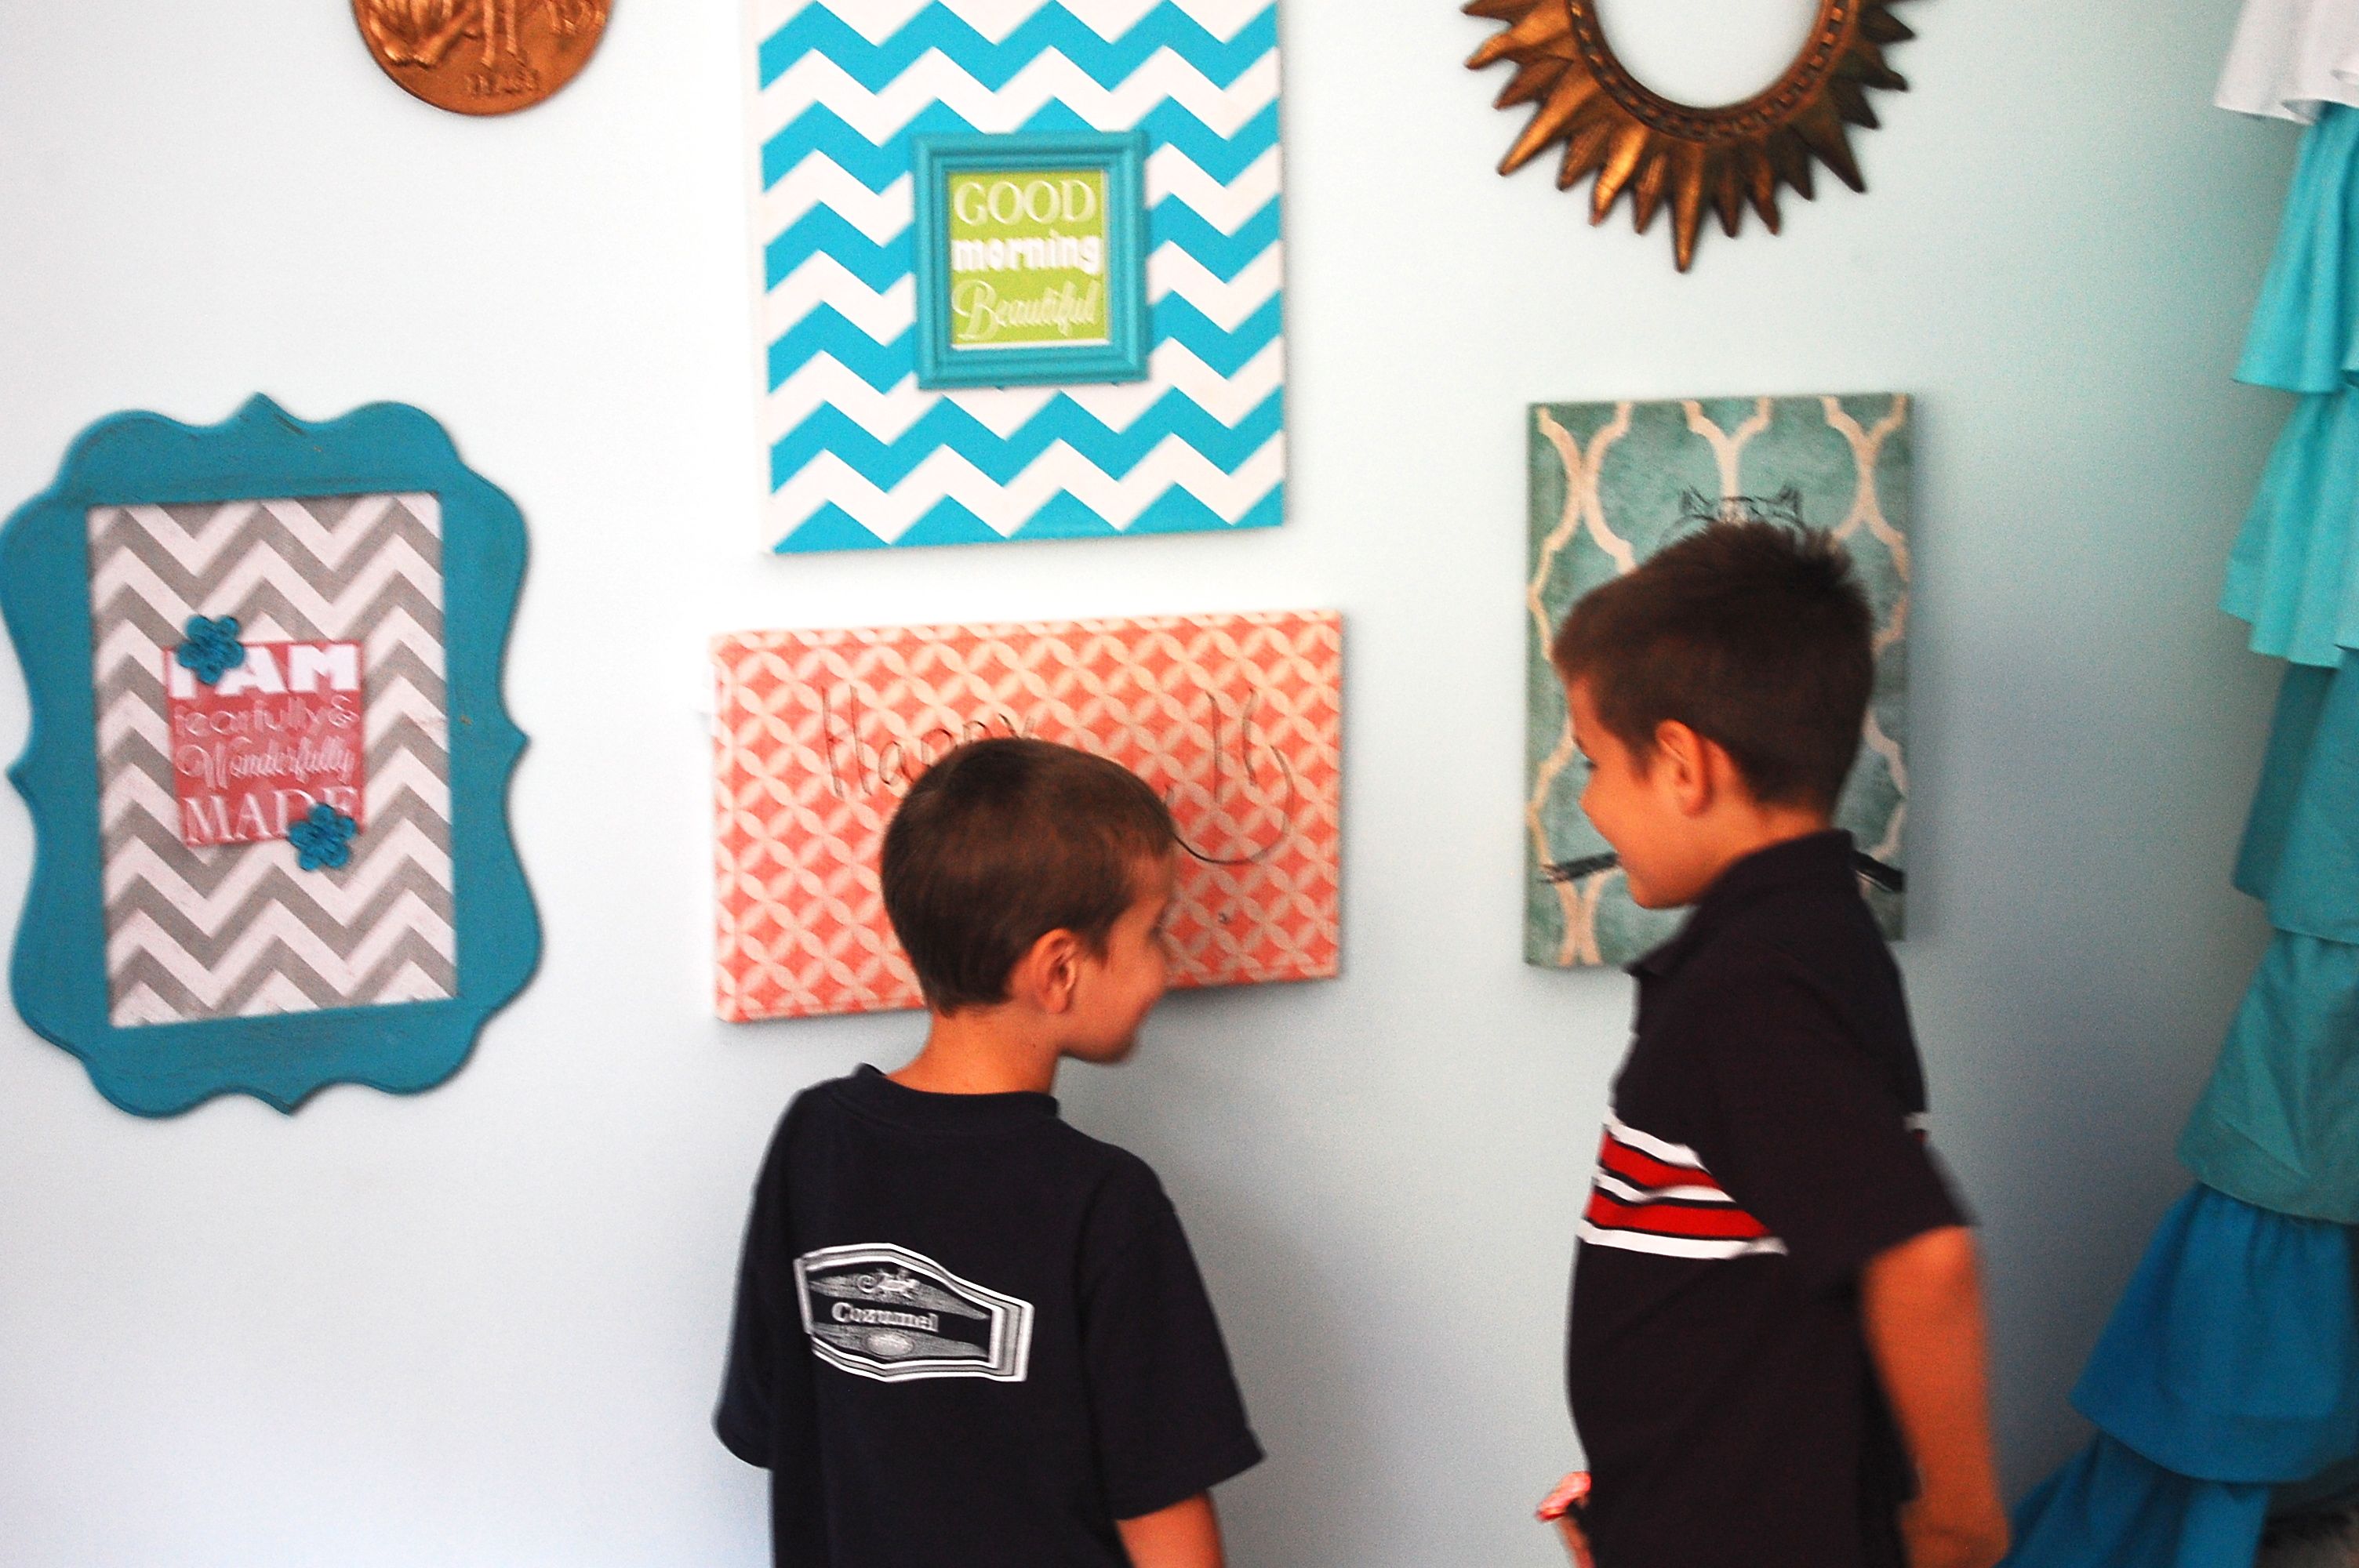
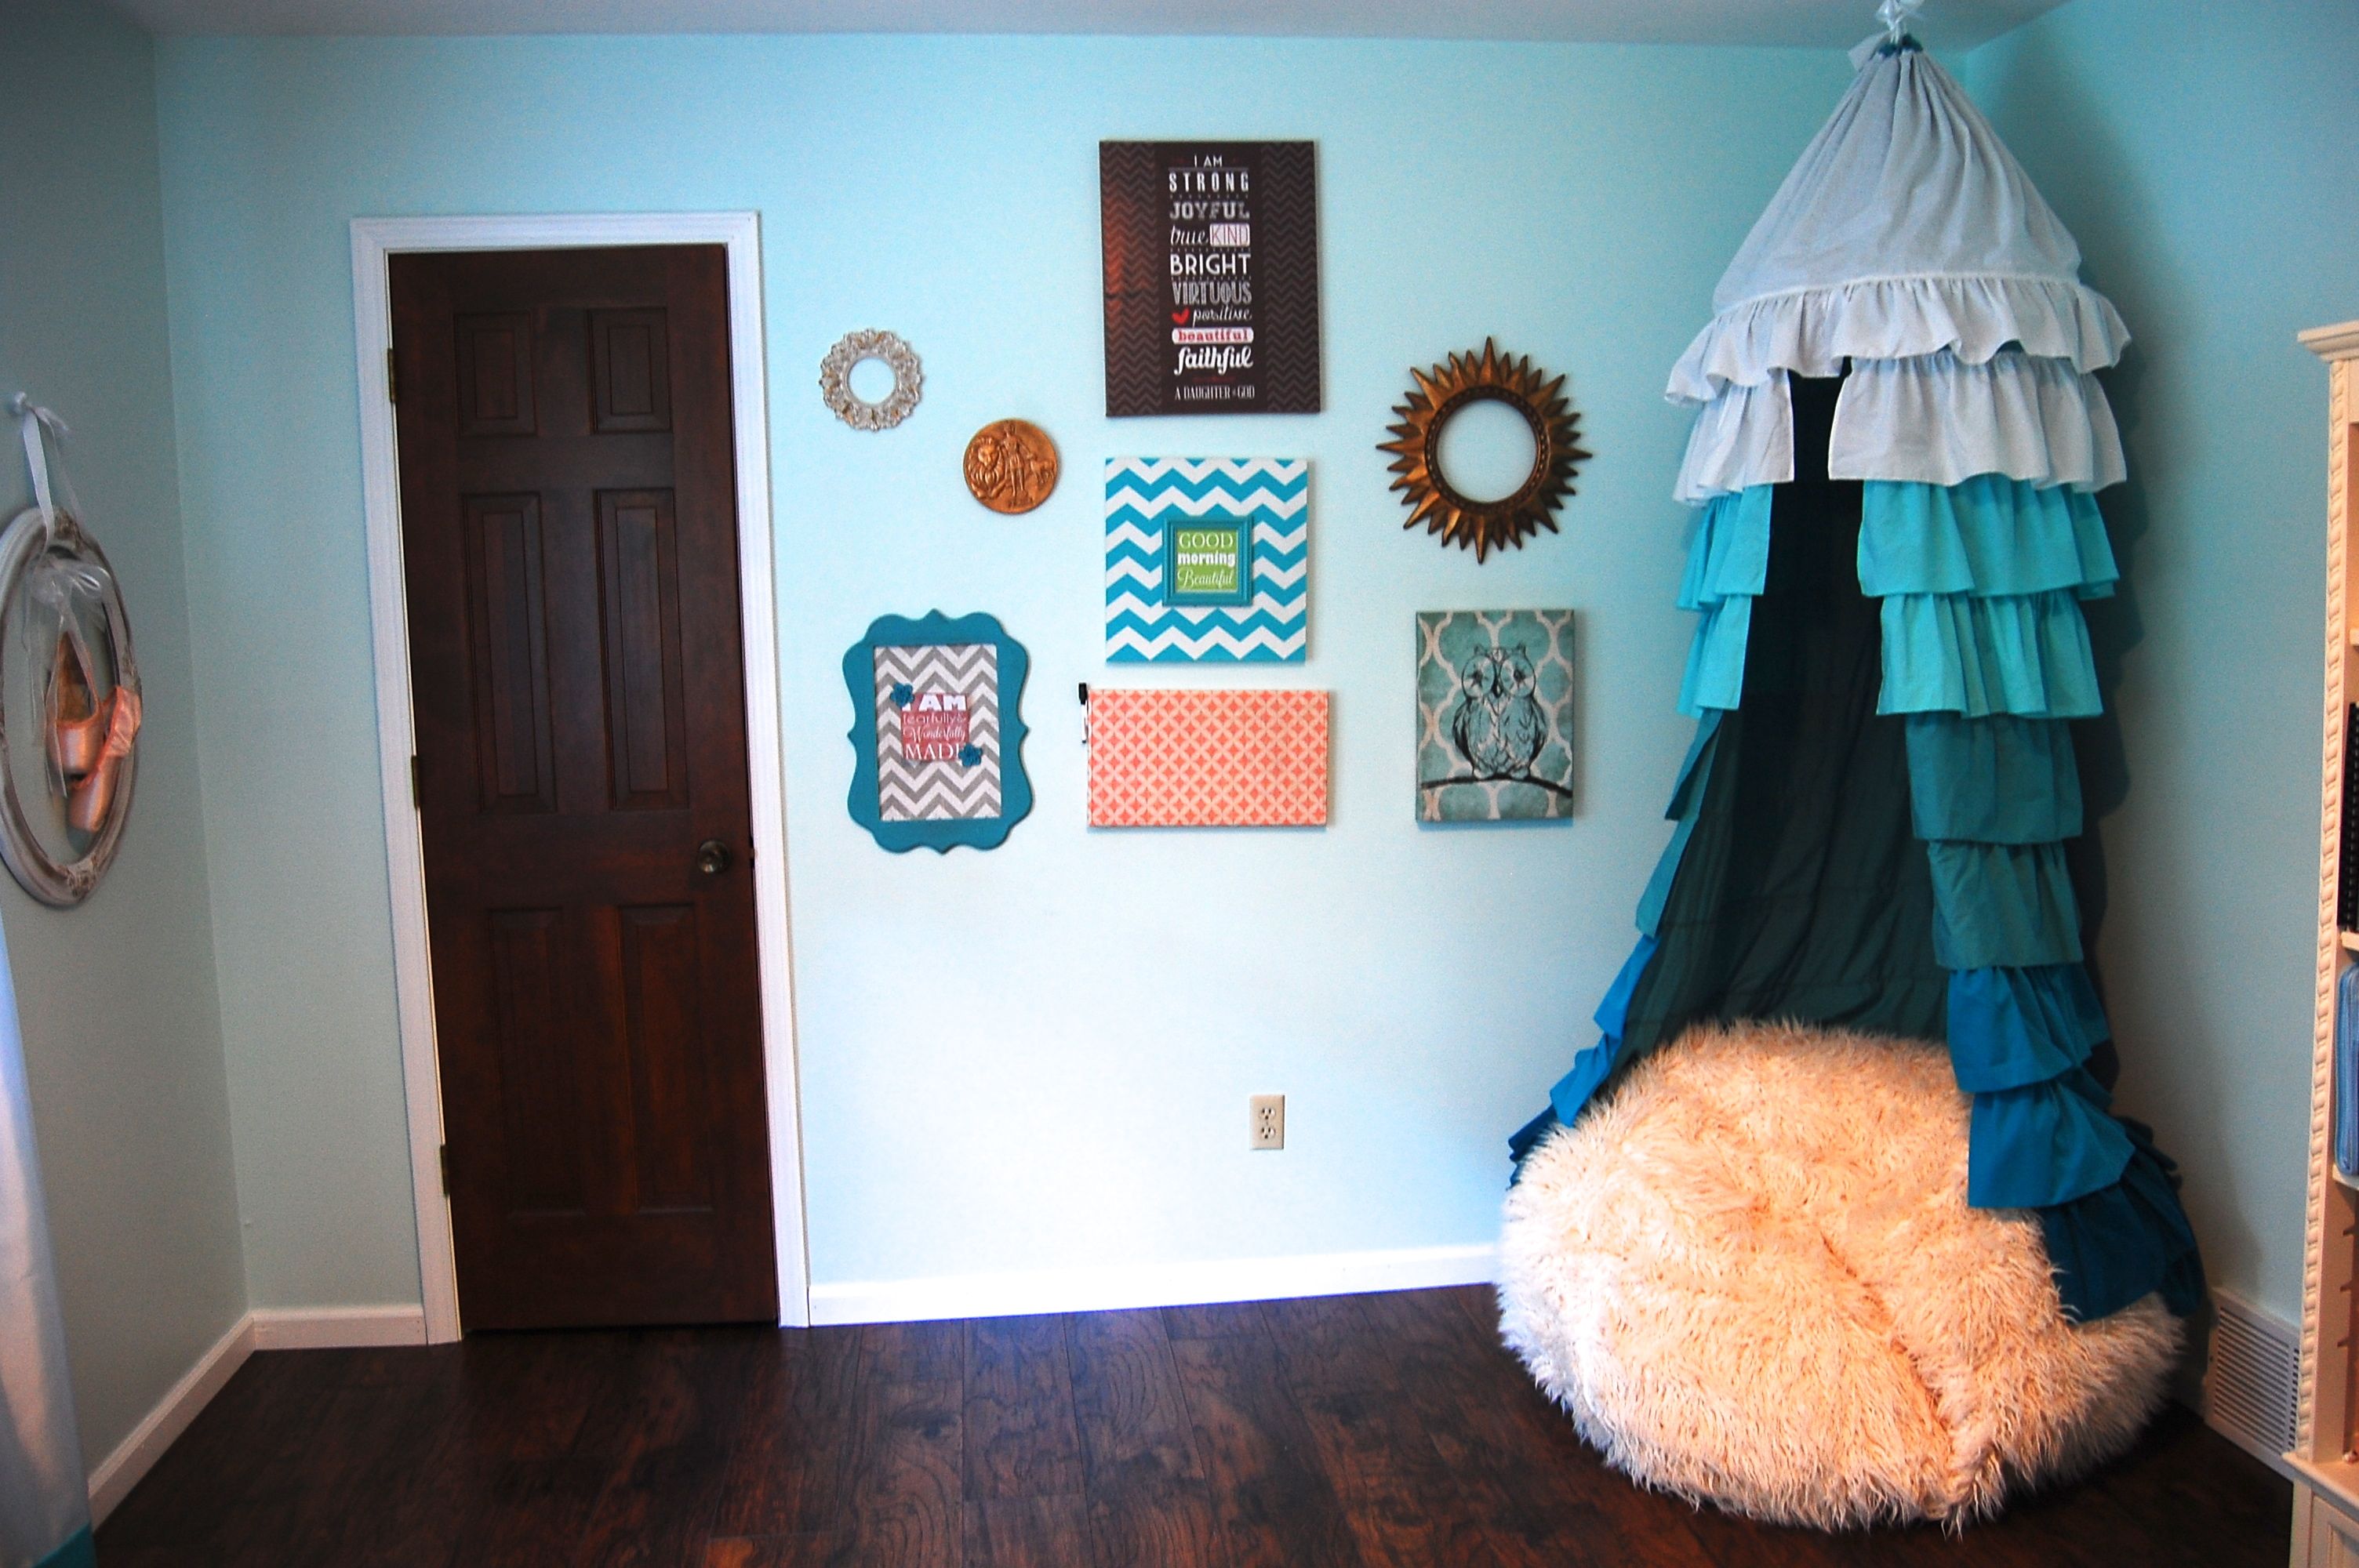
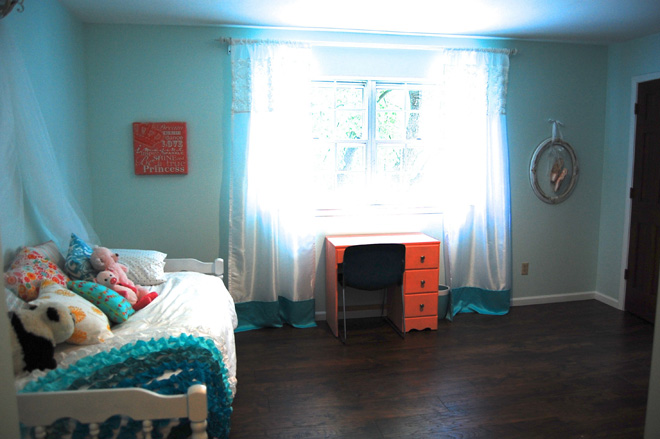
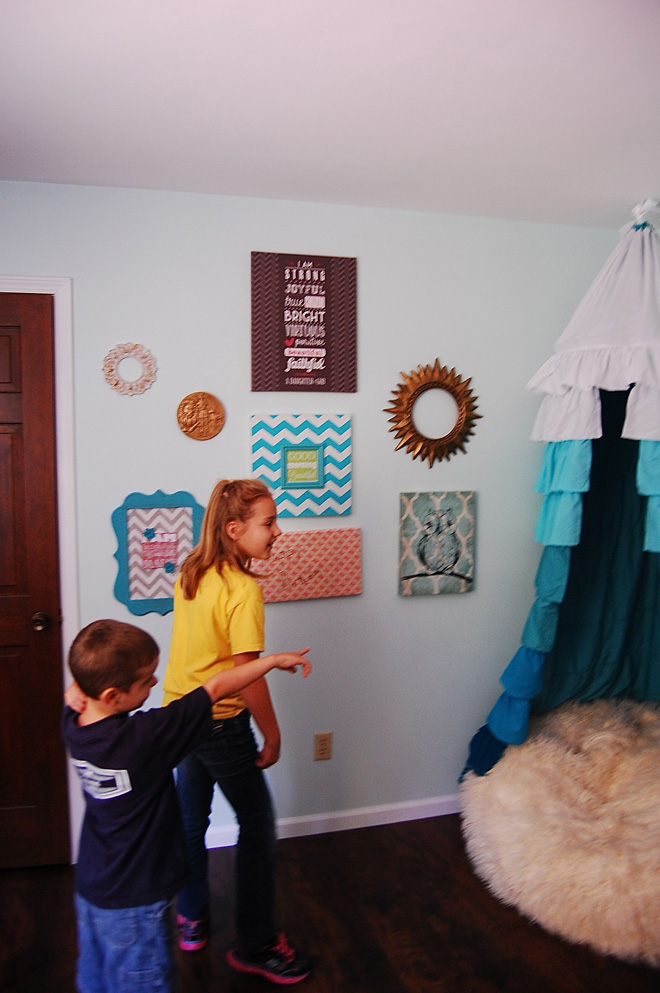
Wall Art:

DSC_1217

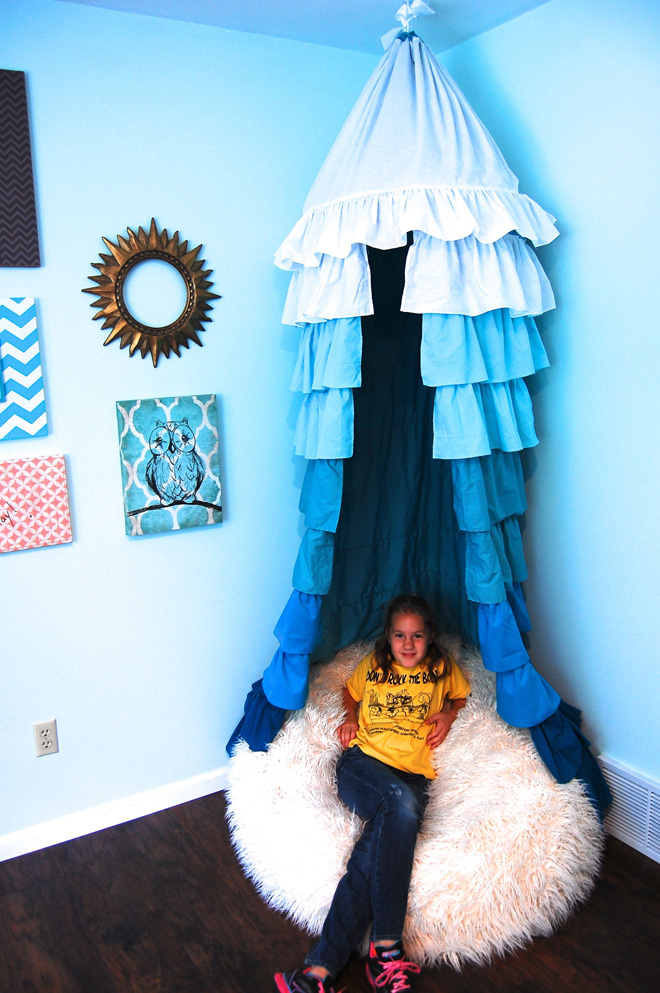
Bed crown –50% off at Hobby Lobby  in the metal shelf aisle $8 (I spray painted white and added gold rub and buff)\

DSC_1316

Bridal illusion drape fabric–free from Mom’s stash

Heather's Gallery Wall

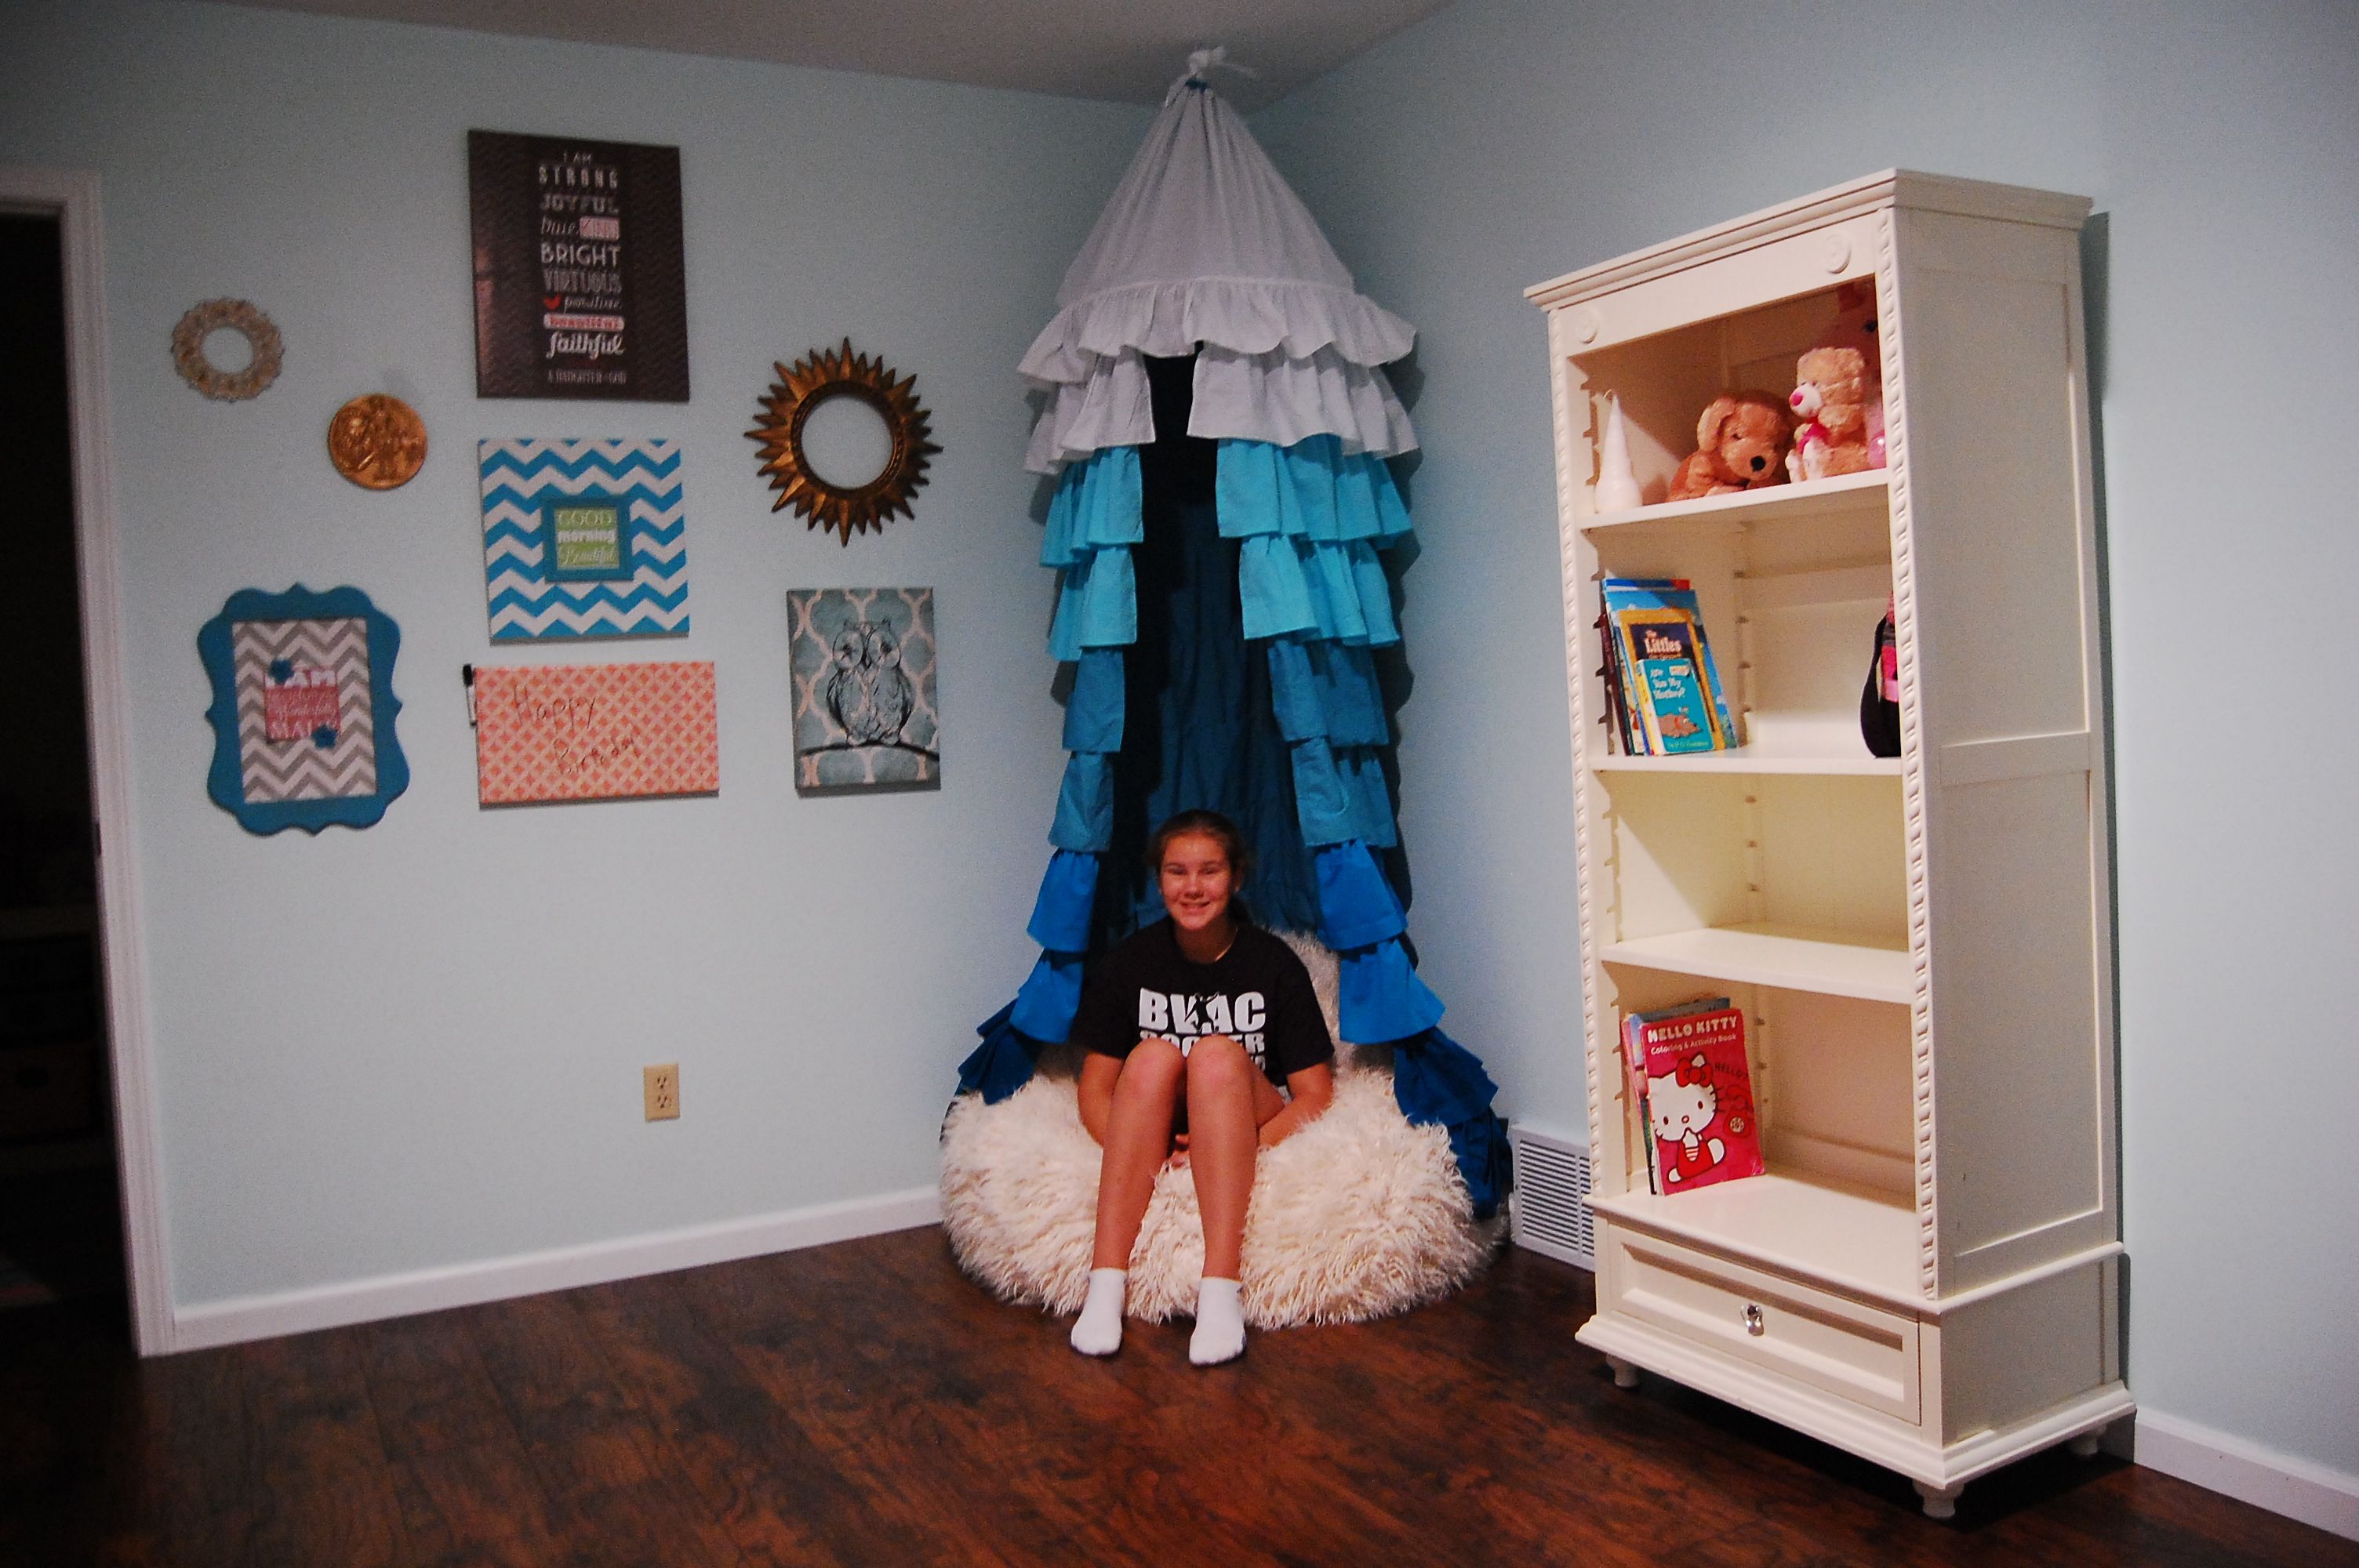
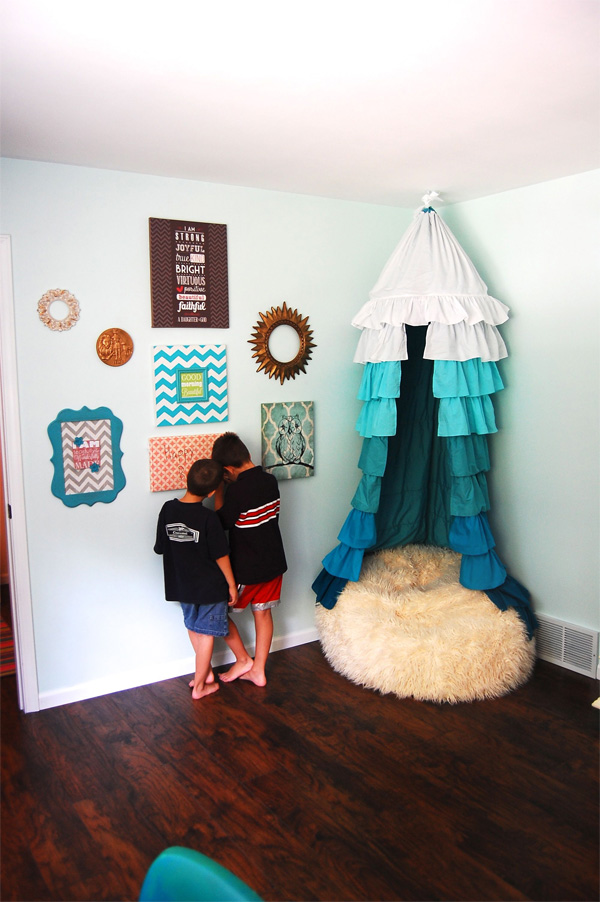
1.  Chevron Magnet Board–50% off at H.L. $13

2. Chevron wide picture frame (80% off clearance at H.L.) $8.50

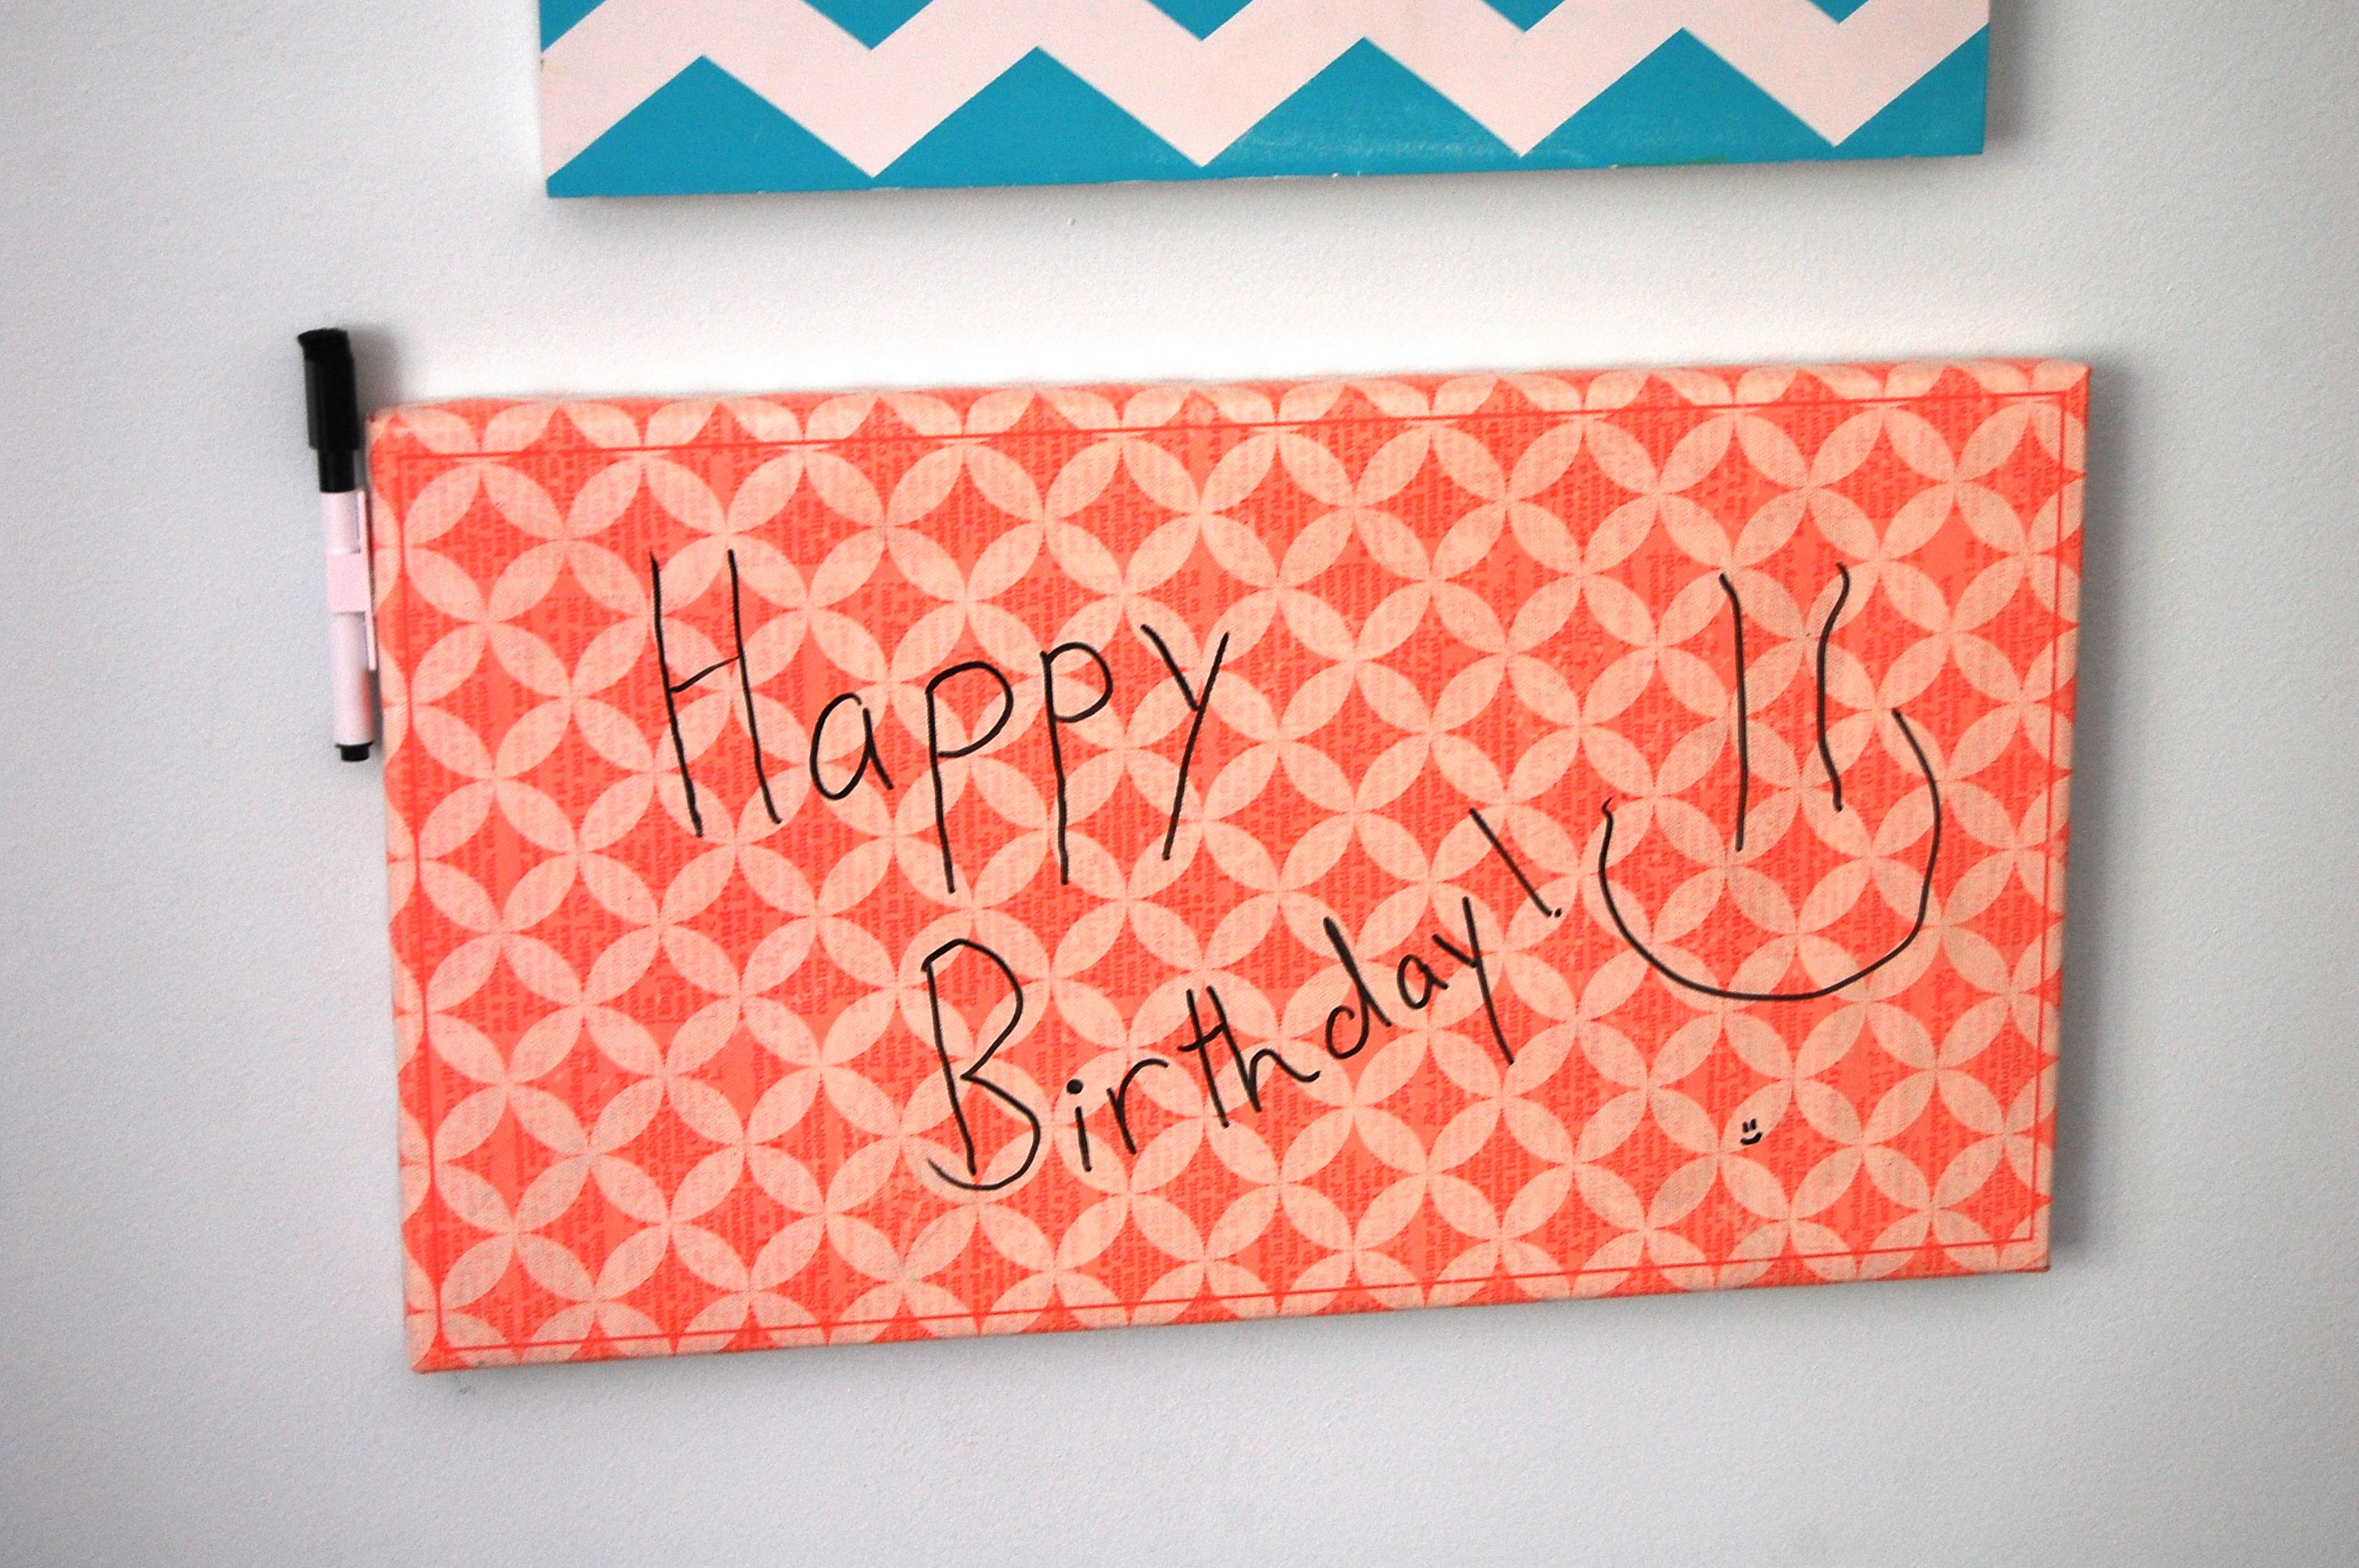
3.  Dry erase canvas (80% off clearance at H.L) $7.48

4. Owl canvas (50% off at H.L.) $10

5.  Sunburst frame (garage sale) $3

6. I am Strong canvas (DIY materials; print from Etsy) $8

7.  Round picture frame 50% off at H.L–$7.50

8. Lion and Lamb gold plaque–Heather made at Church Camp

DSC_1300

Princess canvas (free with Zulily credit, paid shipping) $6

DSC_1245

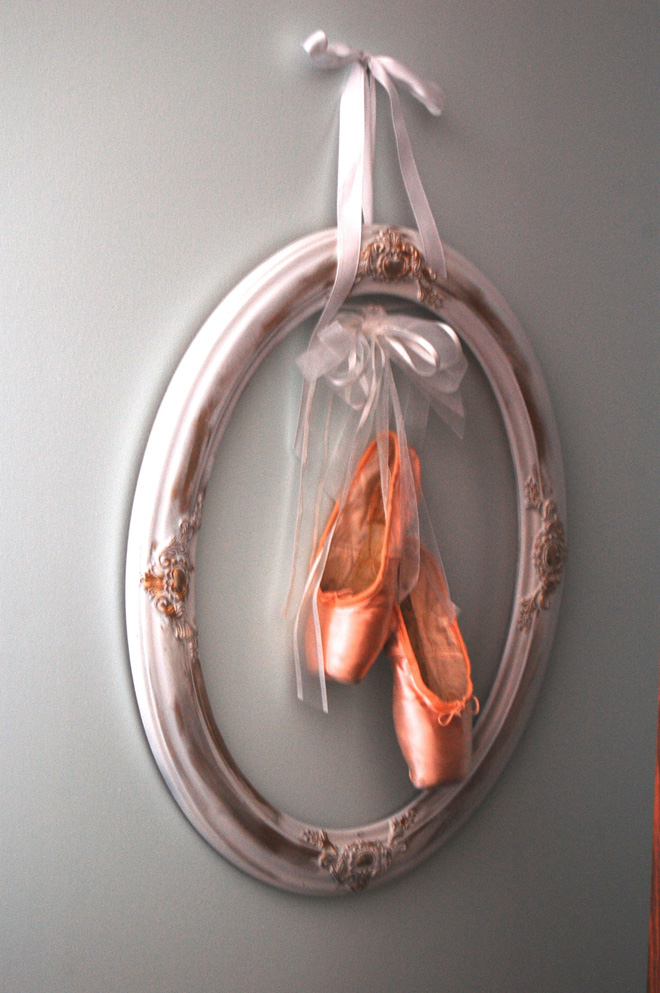
Oval frame with toe shoes (stash from our old house) Frame was originally from Hobby Lobby though I bought it at a garage sale and painted it.  The shoes were purchased off etsy–though now, Heidi has her own old broken pointe shoes to use for art 🙂

DSC_1257

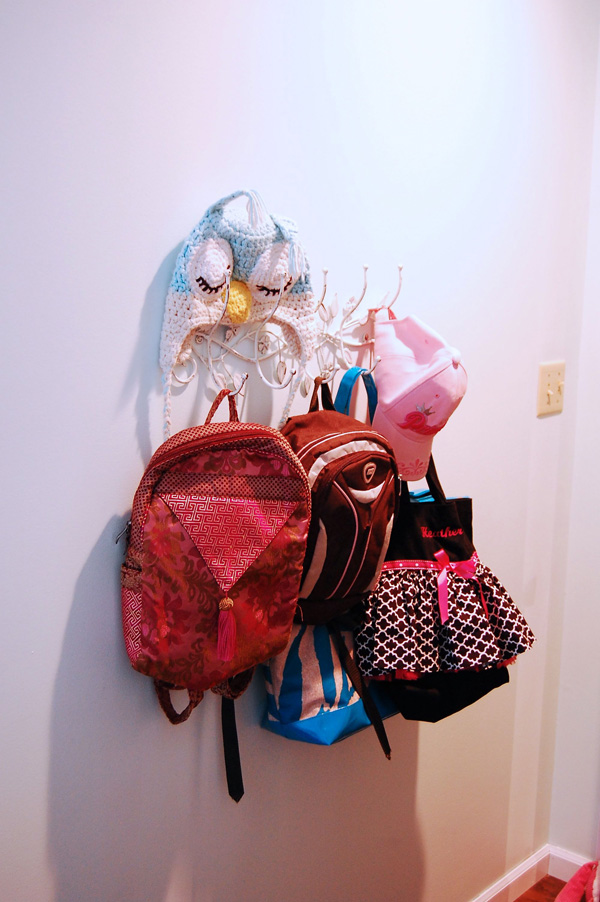
Wire flowered row of hooks (50% off at H.L.) $10.00

DSC_1239

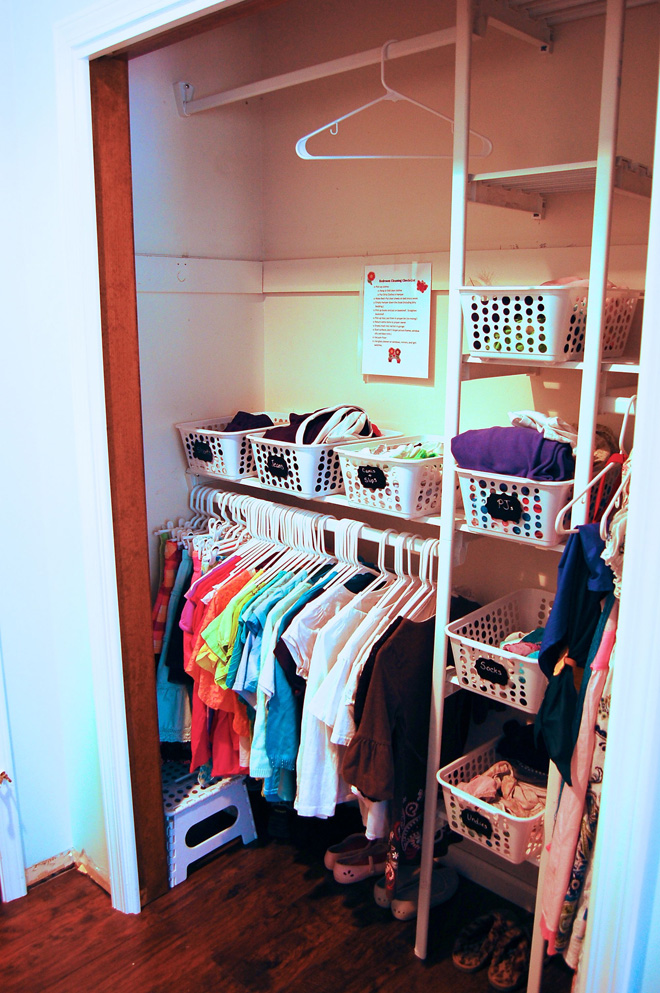
Beatitudes canvas art–Heather made at Bible School (the other closet art was found in her things we took from her old room)

DSC_1233

Plastic polka dot tray (Dollar Tree) $1

Other:

Bed Craigslist $50

Feather Pillow Inserts (Pottery Barn brand from Cargo Largo) 3 large at $5 each, 2 small at $3 each total of $21

DSC_1269

Hula hoop for tent–from stash

3 twin white sheets (2 for duvet, 1 to cut for ruffles) (Walmart)–$12

1 full turquoise sheet for hula hoop tent base — $11

1 twin turquoise sheet as yardage to cut for ruffles –$4

Fabric from fabric.com for pillows and ruffles–$38

Prints are from Riley Blake’s So Happy Together Fabric Line

2 charm packs of So Happy Together from Etsy (for a quilt, not yet made)–$18.15

Fabric and piping for bird pillow (from Joann with coupon)–$8

Twin down alternative duvet insert (Cargo Largo) $20

White dust ruffle (Ebay) $14.40 (still waiting on delivery)

Pottery Barn Teen Furlicious Beanbag ordered as a second from Uglysofa — $119.99 (big splurge)

Yarn for a polka dotted crochet throw (some from Hobby Lobby, Jo-Ann and my personal stash):  $35 (not yet finished–soon!)

DSC_1246

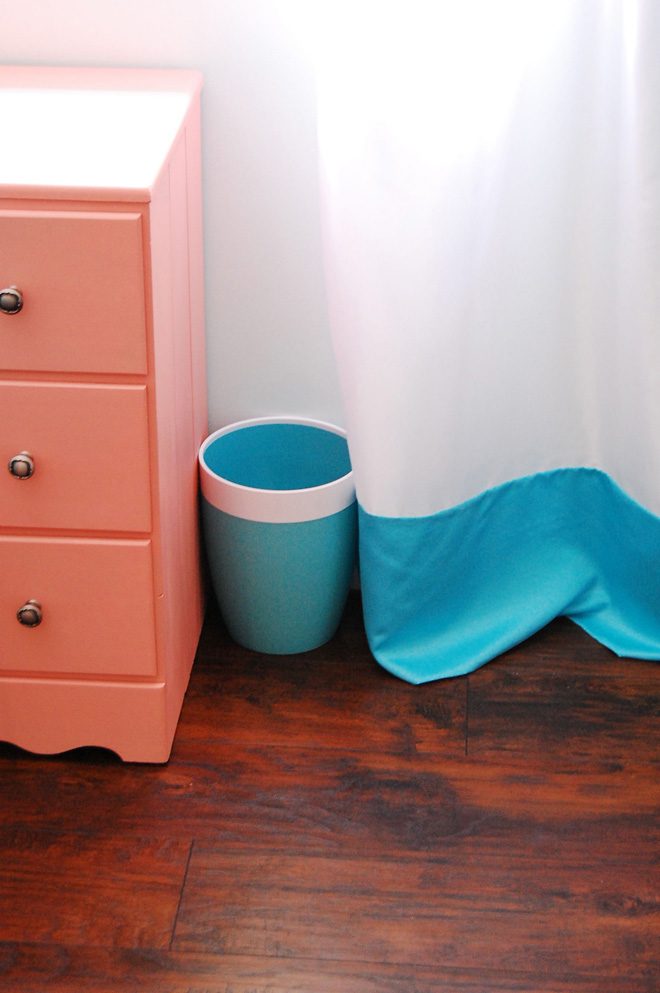
Fabric rose satin curtains (Walmart) $10 a panel–$20

DSC_1244

Turquoise satin to lengthen the curtain  panels (40% off from Jo-Ann) $7.50

Trash can from Target (we’ve had it awhile)

DSC_1221

Desk drawer pulls (Liberty Emblem in Heirloom Silver from Home Depot) $13.92

Curtain Rod (144″ Martha Stewart white turned wood from Home Depot)–$25

Total before the floor $676.44

Floor:

Underlayment (Black Jack brand Foam from Home Depot): $129.00

DSC_1184

Laminate boards (Trafficmaster Hand-scraped Saratoga Hickory from Home Depot $.99 a square foot!) $263.21

Sales tax:  $65.25

Total with Floor: $1135.90

Ways we saved:

Used existing floor trim (even though it was shorter than I like.)  And painted it for an updated clean look. Approximate savings: $150

Scratched our DIY upholstered headboard project:  Approximate Savings $75

DIY installed click floors instead of hiring mid-range wall to wall carpet:  Approximate savings $400

Took advantage of paint rebates:  Savings:  $15

Use friends and family for help with labor and did a lot ourselves too:  Approximate savings:  $2,000

Took advantage os Hobby Lobby Sales on art and yarn:  Approximate savings:  $100

Used Joann coupons:  Approximate Savings: $16.50

Skipped the 8×10 wool area rug for now (it was out of stock during the sale price :(.)  Approximate Savings: $300

Skipped the crown molding–though I really wanted it:  Approximate Savings:  $150

Reused curtain hardware:  Approximate Savings: $20

DIY’d a duvet cover for ($30)  Approximate Savings:  $100

Ordered Furlicious beanbag from Uglysofa instead of Pottery Barn Teen:  Approximate Savings: $100

Grabbed PB brand feather pillow inserts from Cargo Largo instead of Pottery Barn:  Approximate Savings: $71

Total Savings: $3497.50

(Whew!  That makes me feel better.  I always aim to save more than I spend.)


Ok, I said this was the last one, but this post is really long! Tomorrow I’ll share the list of tutorials I used to make the hula hoop tent, duvet, pillows, and some of the art.


The BIG Reveal: Heather’s Bedroom Birthday Surprise

We have video!  But before you watch it I feel the need to explain.  I got up and pulled a pair of shorts over my PJs and started working on Heather’s room.  She arrived while we were putting the finishing touches on.  I never showered, got dressed, combed my hair, touched makeup ( or tucked in the tag on my cami, lol)…..there just wasn’t time.  So please don’t judge.  I’d say I don’t usually look like that, but I look like that most of the time these days while I fly through life by thttp://www.groceryshrink.com/wp-admin/edit-comments.phphe seat of my pants, having the best time.  Anyhoo–here it is.  First shot is me dashing in the room to grab my camera to catch her first face. Don’t be alarmed :).

Heathers Bedroom Reveal 2013 from Angela Coffman on Vimeo.

Now for a photo tour :).

Quick, she’s almost here.  Let’s leave her a note.

Let me see that.

Oh, that’s a good one.  She’ll like that.

Note the tiny little smily face under the big one–they were especially proud of that.

Before

After

Before

After

Before

After

Wall hook for bags and hats to the left of the door across from the clothes closet. Bags are VERY important to Heather–she NEVER leaves home without one.

Clothes closet to the right of the main door. There’s no dresser in this room so all her clothes are in Dollar Tree baskets with chalkboard labels. Heidi color organized the hanging clothes. The paper on the wall is her cleaning checklist.

I broke the floor trim in the corner by the closet–still need to buy replacement.  But there’s so many beautiful things in this room no body will look at that :). We are waiting to put the doors back on the closet–to enjoy looking at the organization a little longer.

Details of the cleaning checklist. We bought her a swiffer for her new floor–need to update the vacuum bit 🙂

Clothes bin detail

Before

After

Detail of canvas art by the bed and window

First face–Disbelief

Second face–total elation

You did THIS in how many days?

Checking out the walk-in closet organization while Heidi videos

Walk-in Closet detail 

Huge mirror on the left–for proper dressing

These pointe shoes were from her old room before we moved and have been in storage. I updated the frame with gold rub and buff. They hang outside the large closet door to the left.

Is my stuff really in here?

Her trash can from before perfectly matches the new curtains–Happy coincidence. We added the blue satin to make the curtains longer since I like to hang them high and wide. My only regret is not making the blue wider and cutting off more white.  But I bought all the fabric that was left in stock.

See you have a tent.

How do you feel about your room?

 No REALLY, How do you feel about your room?
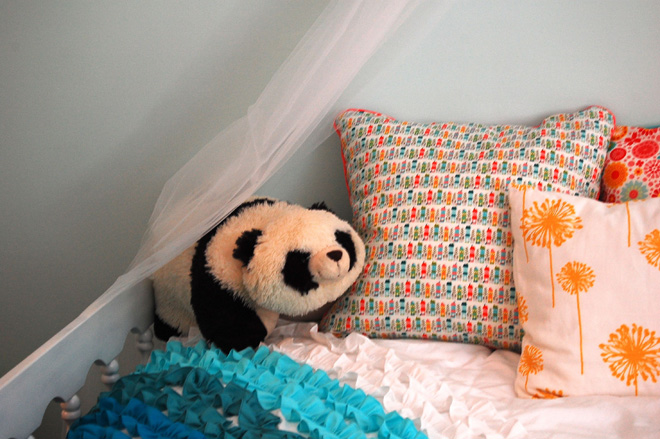
Her favorite animals made the final cut

Funny story:  When Grandma pulled up to the house bringing Heather home after a week, Heather saw her carpet rolled up by the side of the road (The trash company wouldn’t take it–grrr.)  She said, “I hope that’s not MY carpet.”  Now why would she say that?  She hated that carpet.  She begged me to take it out long before I did.  But here’s the deal.  I’m great at ripping out stuff, not great at the construction part (hence my heavy reliance on Mom and Darren this week.)  I can sew and paint–that’s about it.  At our old house I got a whim and ripped out the carpet–it took us a year of living on sub floor to put anything back–and that was only because we decided to sell.  And look how long our kitchen project is taking!  But this girl is special.  I can push myself for her–I can change–and beg people with skills to help me :).

Satisfaction

There’s one more part to this story. Tomorrow I will share the sources and price break down for everything and the final price of the makeover.

If you missed the whole story here are fast links:

Part 1

Part 2

Part 3

Part 4

Part 5

Part 6

Part 7

Part 8

The Reveal

Cost Breakdown

Tutorials