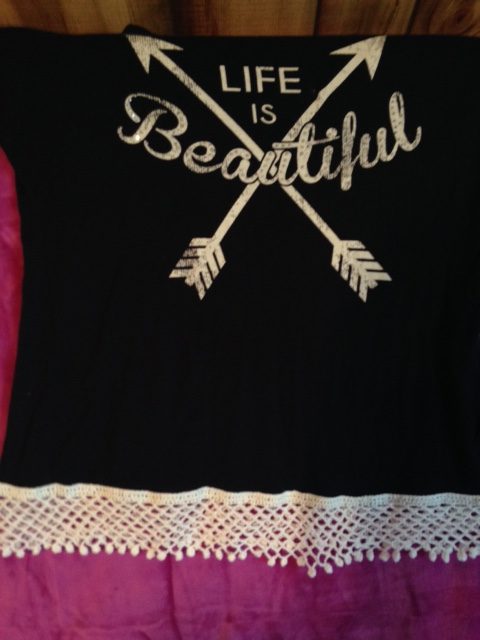
The second adorable shirt Heather bought had fringe on it and the phrase, “Life is Beautiful.” When we were shopping, I loved how she walked right by the snarky shirts and reached for the ones with encouraging messages.
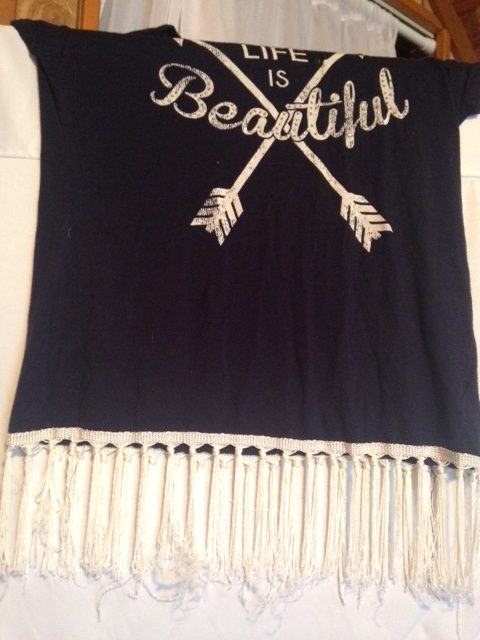
The swingy fringe fit her playful personality perfectly. But the first time we washed it, it unraveled and tangled. Boo. (The screen print looks worn but it was made this way on purpose, so it’s still smooth and soft.)
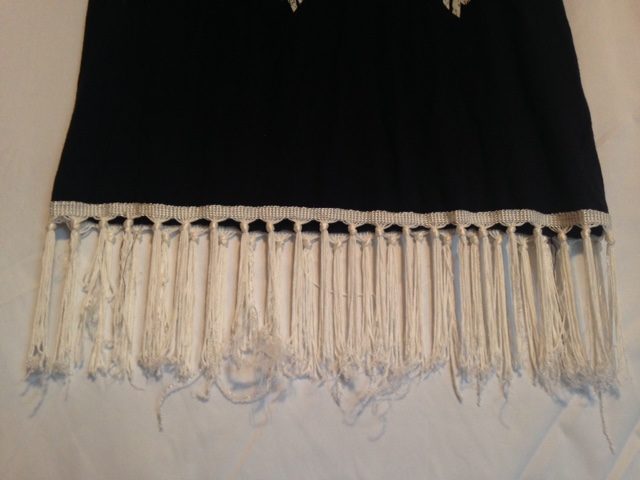
What a mess. She declared this shirt unwearable too, and all I could think about was the wasted money.
I had seen some items on pinterest with pompom trim, so asked Heather if she’d mind my switching out the fringe for pompoms. I had some crochet thread in my stash and an idea for a trim to make. She was open to the idea, but skeptical.
I learned to crochet when I was 7 and broke my collar bone riding my bike and had my tonsils out all in the same summer. I had to stay inside while my friends rode their bikes, jumped on trampolines, and went swimming. My grandma felt sorry for me and taught me how to crochet. It was the best gift she could have given me. The first thing I made was going to be a doll blanket. I had no pattern, just planned to double crochet back and forth to make a rectangle. I hadn’t learned how to turn a row properly so it got progressively smaller as I went, becoming a trapezoid. My mom showed me how to sew up the back seam and make a strapless dress for my Barbie. I was really proud of it.
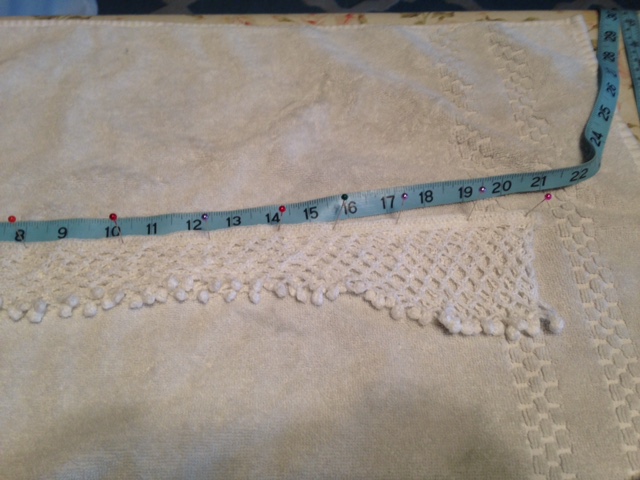
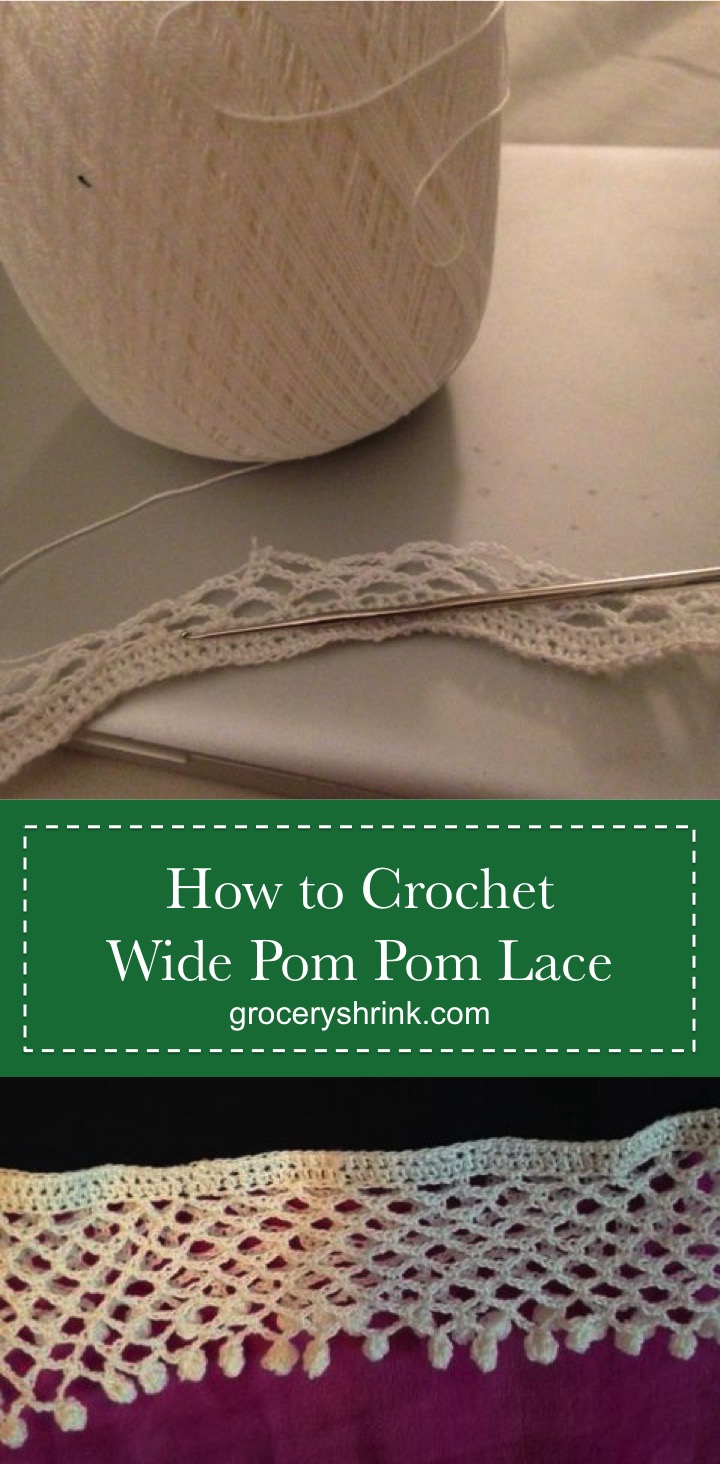
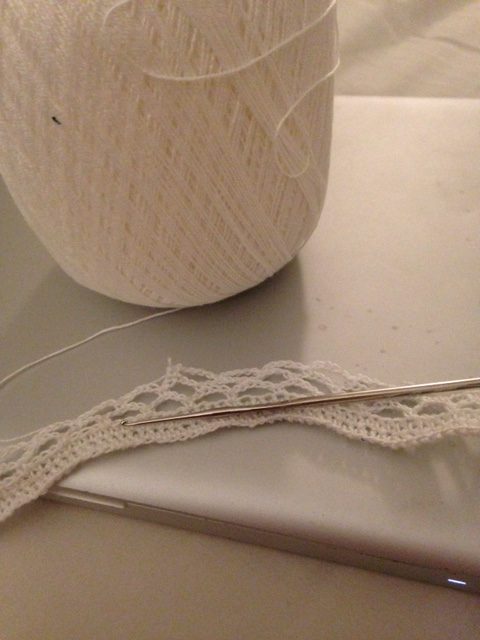
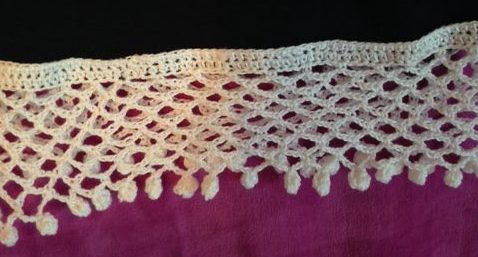
I crocheted the trim in the round to avoid seams, so it’s shown here in 2 layers. After the trim was finished I blocked it by wetting it down, then rolling it up in a towel to remove excess water. It’s really stretchy when wet, so I used a tape measure to block it to exactly the length I wanted. Then stretched the bottom portion to look well. You can see the big difference between the stretched edge on the right and the unstretched on the left.
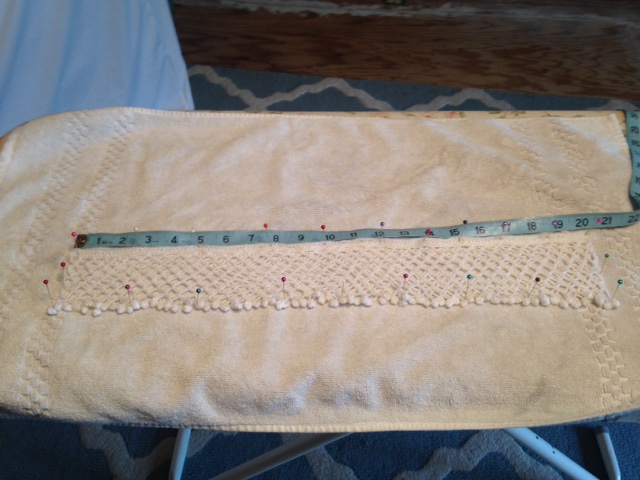
Here it is all stretched out. I put it under the ceiling fan to dry quickly.
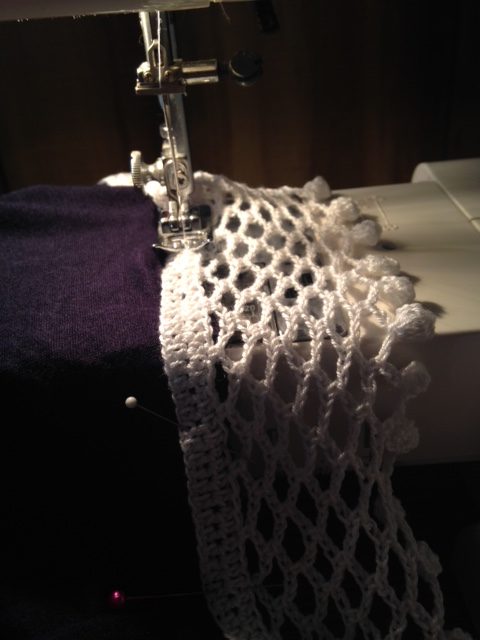
When it was dry, I divided the shirt into 8ths with pins then divided the trim the same way. I kept the shirt from stretching out by matching up the pins, keeping everything evenly matched up. Then sewed it on by machine with a LONG straight stitch.
Here it is all finished! It’s completely different than the fringe look, but we love it! It will wash really well as long as I hang it to dry and stretch out the trim again while it hangs.
If you’d like to make your own trim, here’s the pattern for you.
Materials: Bedspread weight thread; size 7 steel crochet hook
Scale: 9 stitches per inch (not essential as long as you make the trim the length you want
All terms in American Crochet
ch = chain
ss = slip stitch
sc = single crochet
dc = double crochet
yo = yarn over
3dc cluster = *yo and insert hook into stitch, yo and pull up a loop (like for dc.) Yarn over and pull through two loops on hook. (do not finish the dc) Repeat from * 2 more times. You should now have 4 loops on hook. Yo and pull through all 4 loops on the hook.
Row 1: Ch to the desired length. I didn’t count these stitches, just measured. I knew when I came around to the last bit of row 3 I might have to leave out a stitch or two, this worked fine. If you want to be precise this stitch requires a multiple of 4 (add 1 if working flat and not in a round.) If you want to work in the round, join with a ss, being careful not to twist the chain.
Rows 2-3: Ch 2, this counts as the first hdc. HDC in each stitch around, join with a ss (or turn.)
Rows 4-10: *Ch 5, skip the next 3 stitches and sc in the next hdc. repeat from * to the last 3 stitches. Ch 2 then dc in the first stitch of the round (or last stitch in the row.)
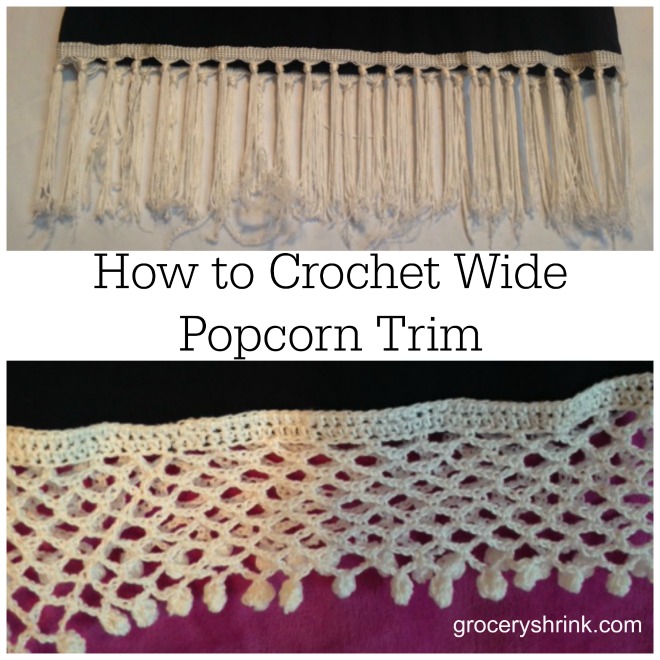
Row 11 (pompom row.) *Chain 6, 3 dc cluster in 3rd chain from the hook. Ch 3, 3dc cluster in the top of the last cluster. Fold the two clusters on top of each other, then SS in the bottom of the first cluster. Ch 3, then sc in the 3rd stitch of the next ch. Repeat from * around. Tie off and weave in loose ends.
Here’s a video from Bella Coco that shows the pompom clearly.
I love how this looks on the baby blanket! I was just invited to a baby girl shower and am excited to add trim like this to a sewn blanket.
Lazy me did some similar, but used a ready made crocheted border from my stash.
I felt uncomfortable before because the shirt was missing just that bit of lenght.
For fringes you could try shirt fabric cut in stripes (not full lengt, keep the upper part intact to sew it on). Stretch the stripes lengthwise, and for more pattern make crossknots: 1+2 knot, next round 2+3 knot….
Good job on the shirts!
I love your idea of using trim to add length. I’ve found some adorable shirts that I passed on because a momentary glance at my mid-range would scar strangers for life–bwa ha ha ha.
Wow. Can I tell you what an awesome Mom you are? I love how you help your kids find solutions.
You are too sweet. This was one of my rare creative moments.
Wow, that is some SERIOUS dedication, girl!!
Lol! It only took 5 episodes of Chuck to finish. Binge watching Netflix finally became productive for me :).
You are so creative and industrious! Can’t tell you how impressed I am. You are passing all this on to your kids and they will remember all this when they’re grown☺