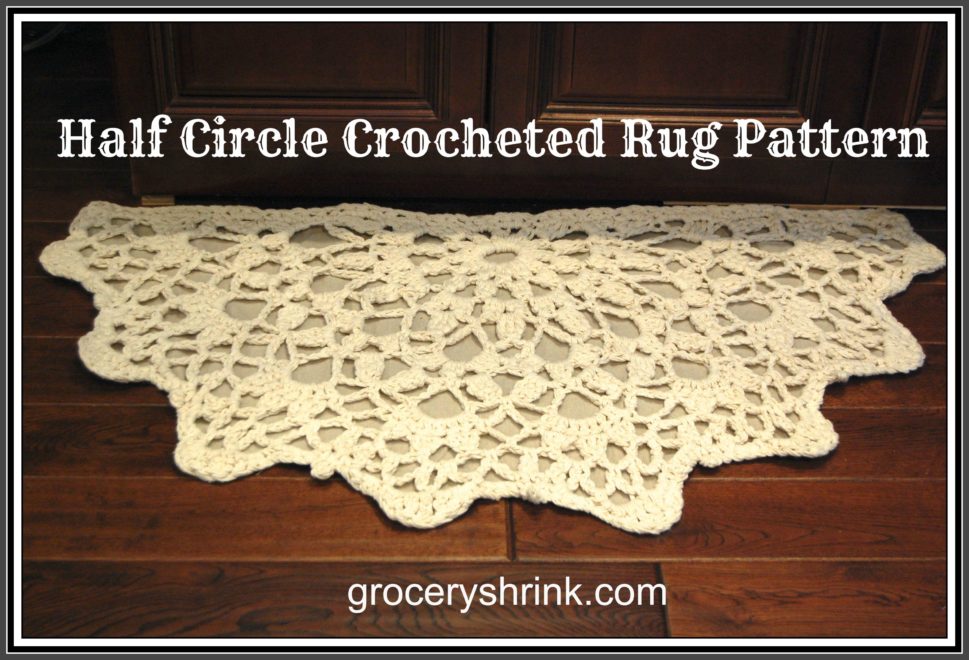
When I finished the rug, DH said, “What do you think of it?”
What do I think? I love it! I hugged it when you weren’t looking. I did dances around it, took off my socks so I could really feel it under my feet. Knowing how he feels about crochet, I only said, “I think it turned out pretty good. What do you think?”
Do you know what he said? He said, “It’s awesome. And it didn’t really take you that long.”
“And it was free.” I pointed out.
“Um, except for the 3 skeins of yarn and a canvas drop cloth.”
“Those don’t count” (Has he not been to the craft hoarders school of positive thinking?) “No new money spent, means free–duh. Besides I have half the supplies left, so I could make another one and sell it on Etsy to recoup the amount of money I didn’t spend on supplies. So it cost half of free.”
I think he might have rolled his eyes. I feel sorry for him.
I wrote down the pattern after I finished the rug so I plan to make another just to test it and make sure. Might be a few “interesting” parts in the instructions until I work it out for you. A seasoned crocheter won’t have trouble. I adapted the rug pattern from a fine string crocheted vintage doily in my collection.
***************************************
Yarn: 3 large skeins (The super huge ones that cost $10 each but go on sale for 50% off all the time–so wait or use a coupon, please) of worsted weight cotton yarn (like wash cloths are made from.) Size P hook. This is enough to make 2 :).
Good to Know: These are in American Crochet Terms
Abbreviations:
ch = chain
ss = slip stitch
sc = single crochet
dc = double crochet
tr = triple crochet
cl = cluster
p = picot
2-dc-cl (or 2-tr-cl)= cluster of 2 dc (or 2 tr). To make cluster, hold back the last lp of each st on hook and work 2 dc or 2 tr) into st or sp specified, then yo and through all 3 lps remaining on hook.
3-dc-cl (or 3-tr-cl) = cluster of 3 dc (or 3 tr). Make as above, working 3 dc 9or 3 tr) insted of 2 and work final yo through 4 loops remaining on hook.)
P3 is a picot made with 3 chains. To make a P3, ch 3 then slip stitch into the 3 ch from the hook.
************************************
Foundation: Ch 10; join with a sl st to form a ring.
Rnd 1: Ch 2, 2-dc-cl in ring, ch 3, [3-dc-cl, ch3] 11 times all in ring; join with a sl st to top of first cl.
Rnd 2: (Sl st, ch 2, 2-dc-cl) all in first ch-3 sp. ch4, [3-dc-cl in next ch-3 sp, ch 4] 9 times. Ch 1, turn.
Rnd 3: (Sl st, ch 2, 2-dc-cl, ch 2, 3-dc-cl) all in first ch-4 sp, ch 2. *[3-dc-cl, ch2] twice all in next ch-4 sp; rep from * around, ch 1 turn.
Rnd 4: (Sl st, ch 3, 2-tr-cl) all in first ch-2 space, ch 5 [sc in next ch-2 sp, ch 5, 3-tr-cl in next ch-2 sp, ch 5] 7 times, sc in next ch-2 space; ch5; 3-tr-cl in final ch2 sp.
Rnd 5: Ch 6, sc in next ch-5 lp, [ch 5, sc in next ch-5 lp, ch 6, sc in next ch-5 lp] around (final sc goes in top of last 3-tr-cl).
Rnd 6: sl-st, ch 2, 2-dc-cl; (ch 2; 3-dc-cl) twice all in first ch-6 lp; * sc in next ch-5 lp; ([3-dc-cl, ch 3] twice, 3-dc-dl) all in net ch-6 lp; rep from * around. sc in top of final ch-5 lp. (May have error at the end.)
Rnd 7: St st in next (sc and cl), (sl st, ch 3, 2 -tr-cl, ch 5, sc) all in first ch-3 sp, * (sc, ch 5, 3-tr-cl) all in next ch-3 sp **, (3-tr-cl, ch 5, sc) all in next ch-3 sp; repeat from * around, end at **
Rnd 8: Sl st in first 2 ch of ch-5, (sl st, ch 1, sc) all in next ch, *ch 5, sc in 3rd ch of next ch-5, ch 5, sc between next 2 cl **, ch 5, sc in 3rd ch of next ch-5; rep from * around, and at ** (except at the end just sc in final st since there aren’t two clusters here.)
Rnd 9: * 7 Dc in next ch -5 lp, sc in next lp**, ch 4, sc in next lp; rep from * around, end at **
Rnd 10: * Ch 3, 3-dc-cl over first 3 dc of 7-dc group, [ch 5, join 3 -dc-cl] twice **, ch 3, sc in next ch-4 sp; rep from * around, and at ** (note: joint cluster means the first stitch of the next cluster is in the same spot as the last stitch of the previous cluster.)
Rnd 11: (Sl st, ch 1, sc, ch 5 sc) all in first ch-3 sp, ch 5, [(sc, ch 5, sc) all in next ch-5 sp, ch 5], [sc in next ch-3 sp, ch 5] twice; *[(sc, ch 5, sc) all in next ch-5 sp, ch 5] twice, [sc in next ch-3 sp, ch 5] twice; rep from * around
Rnd 12: *Ch 1, sc in next sp, [ch 3, sc in next sp] 4 times, ch 1**, sc in next sp; rep from * around, end at **
Rnd 13: (Sl st, ch 1, sc) all in first ch-1 sp, *3 sc in next ch-3 sp, ch 1, (sc, hdc, dc, tr) all in next ch-3 sp, tr in next sc, (tr, dc, hdc, sc) all in next ch-1 sp, ch-3p**, sc in next ch-1 sp; rep from * around
Rnd 14: Sc across front of mat, evenly spacing the stitches. (I took 60 stitches to get across mine.)
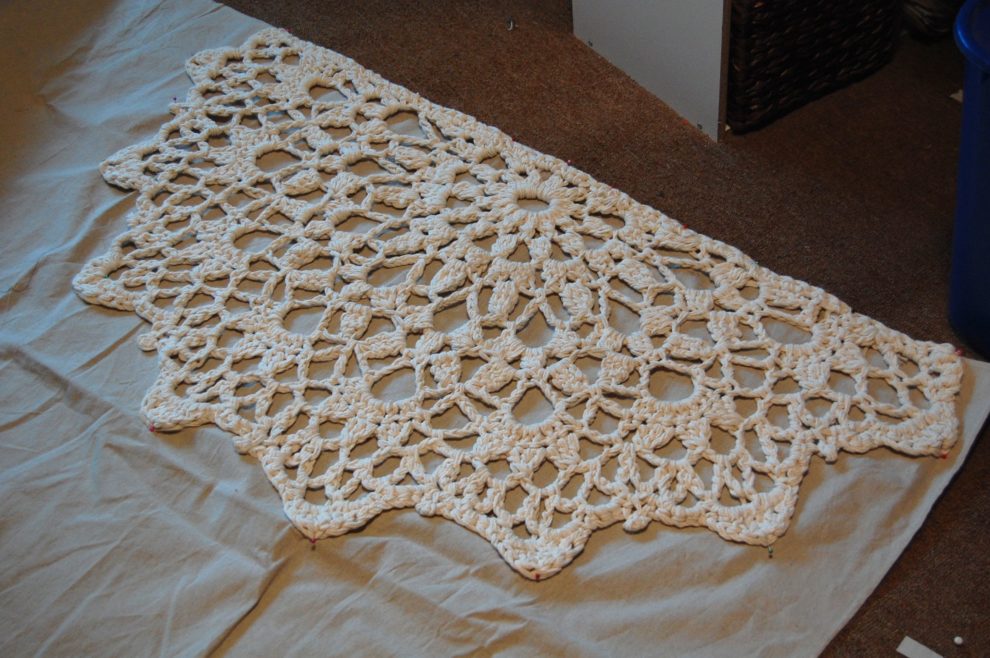
At this point it will look a little wonky. Throw it in the washing machine on gentle. This will shrink up the yarn a bit and wet it down so you can block it.
Once it is out of the washer, lay it flat on a towel (or clean carpet) and tug it into shape. Make sure the front edge is perfectly straight and all the picots are pulled out. Let it dry overnight.
At this point, you can use it as is. I chose to add a canvas backer so I’d have something to attach a non-slip liner to.
To make a canvas backer, place the rug on a canvas drop cloth (I chose the stiffest one in my stash).
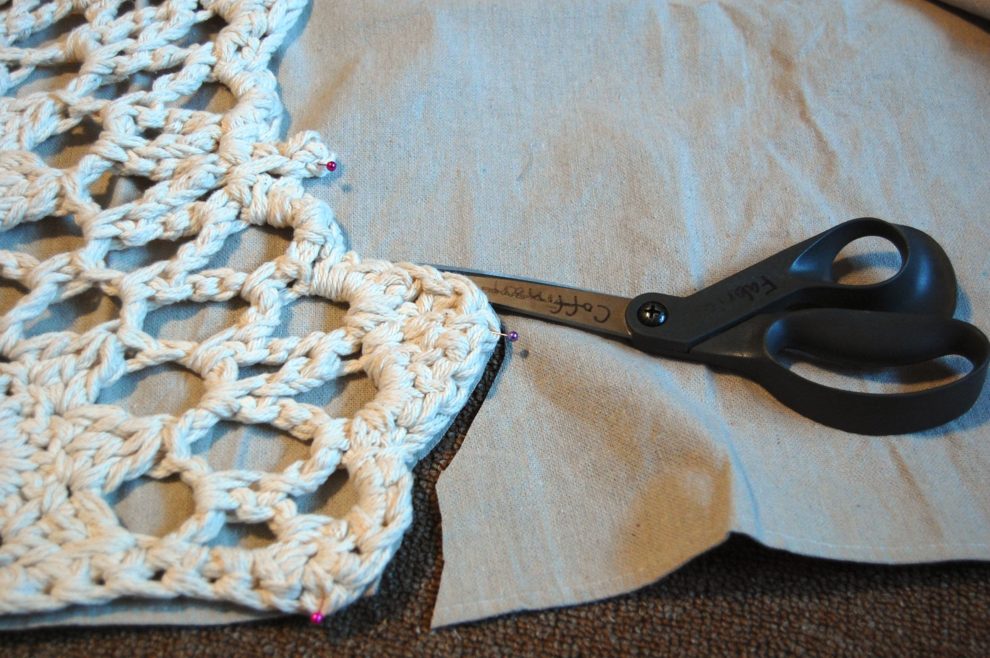
Cut out the canvas to match the size of the rug (I skipped the picot part and just cut it straight behind them.) Finish the edge with a zig-zag stitch or serge the edge. Then pin the canvas to the crocheted rug. (Don’t skip the pinning part, because crochet stretches and will be a mess if you just try to run it through the machine without pins–trust me, I tried it.)
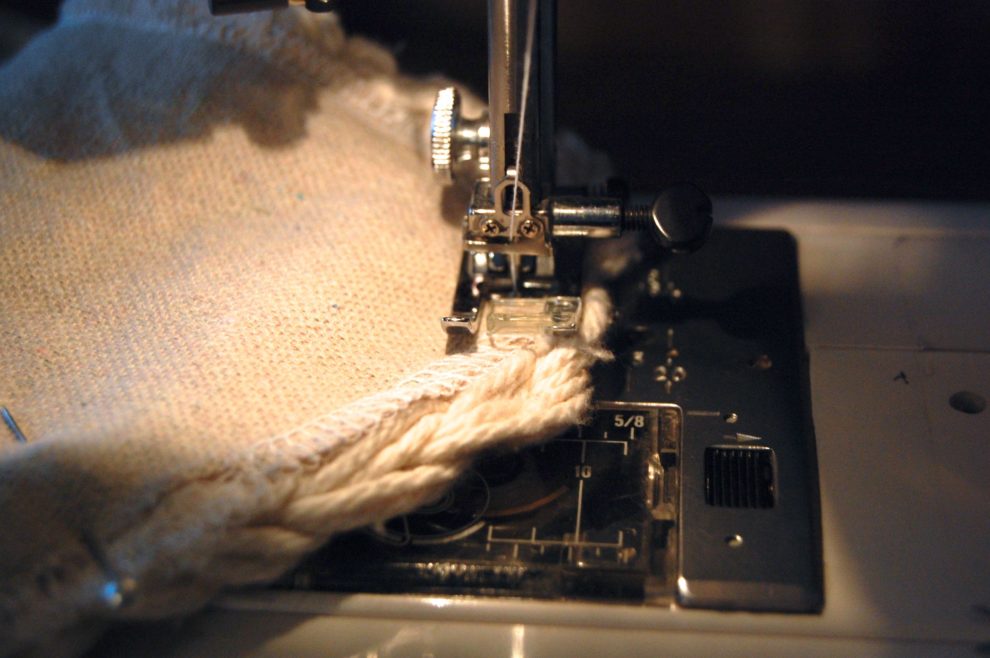
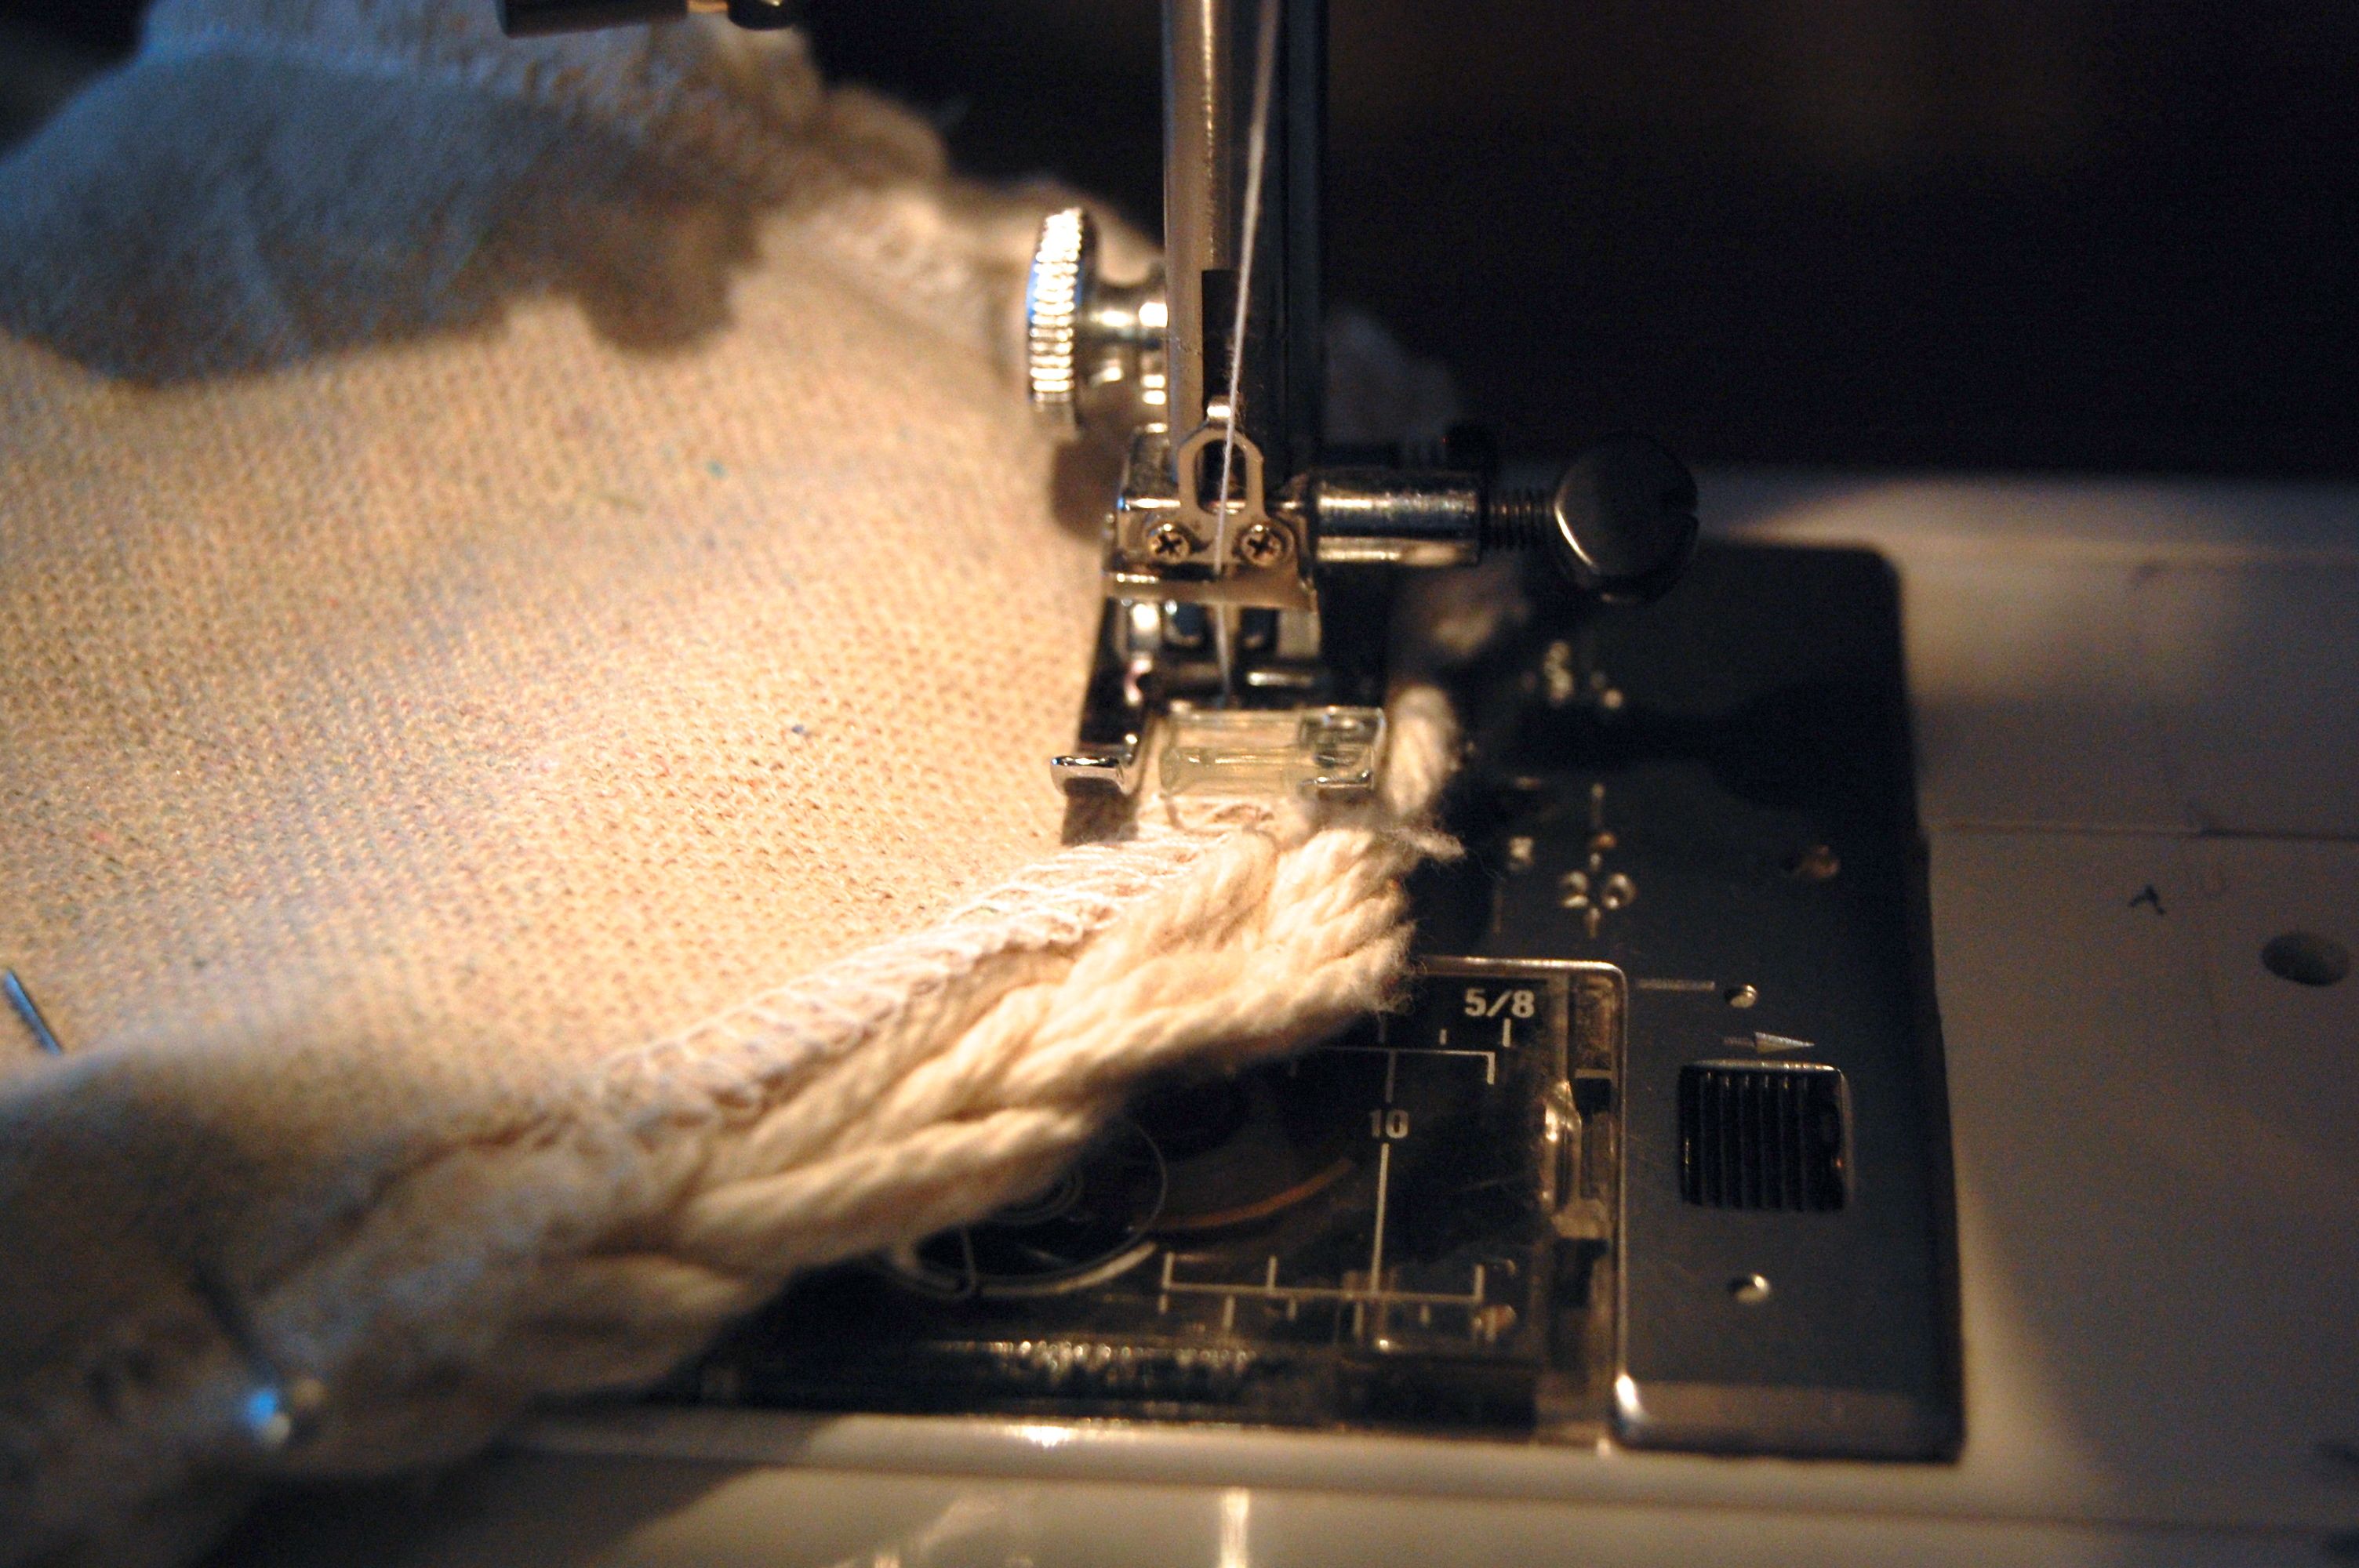
Use a long stitch and coordinating thread to stitch the rug to the canvas around the edges. This works best if the crocheted side is down towards the feed dogs so the yarn doesn’t get caught in the pressure foot. Also make sure you can see the yarn peeking around the edge, otherwise your backer will show from the front.
If you want to attach a non-slip mat, cut it to fit and then hot glue it to the canvas back.
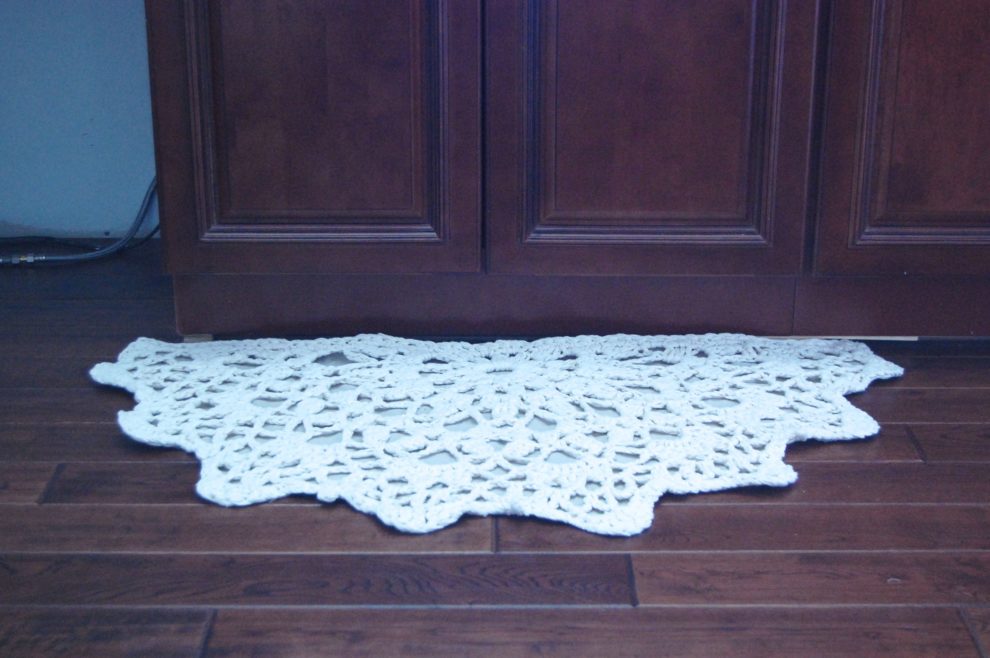
It will look even better when we get the dishwasher installed and finish the trim under the cabinets, but those things don’t’ affect my enjoyment of the rug in the least! I can see one used as a bathmat or at a bathroom sink too. I’m considering an oval version to go by Heather’s bed….