Heather’s Birthday Bedroom Surprise Part 5

The plan for Day 5 was to prime and then paint the ceiling.  Then catch up on laundry and dishes and cook a real meal.
DSC_1166

The wrencher:  the fresh mud from the night before still needed sanding.  I got up early and went after it.  Oh man…this was serious work.  My whole body was sore from the efforts of the last 3 days.

My new goal was to be done with sanding by noon then clean up all the dust and be ready for priming.   But the boys were running crazy–chasing, fighting, screaming.  Leaving piles of tiny toys in their wake.  I called Mom who came and took them home to her house, whew!  Just the help I needed.

Darren came home for lunch–which was perfect timing, I needed his eye to see the spots I missed.  Since I had my heart set on a perfectly smooth ceiling, the sanding needed to be perfect too.  He found several spots I needed to fix….it was a good thing I had him look.

I could see my dream of catching up on laundry in a pile on the dusty floor.  I went downstairs to get a drink of water and found my 13 year old daughter on the sofa, watching D.C. Cupcakes on Netflix and surrounded with beautiful piles of clean folded laundry.  Both machines were humming and she had a fresh basket of clothes in front of her that she was working on.  I love that girl!  Now why didn’t I take a picture?!!!

Slow Cooked Red Wine Herbed Chicken

Ingredients

  • 5 lbs chicken breasts, boneless
  • 1/2 cup red wine
  • 1 Tbs sugar
  • 1 Tbs salt
  • 1/2 tsp black pepper
  • 1 Tbs parsley

Instructions

  1. Place everything in the slow cooker and cook on high for 3-4 hours. Or on low for 6-8 hours.
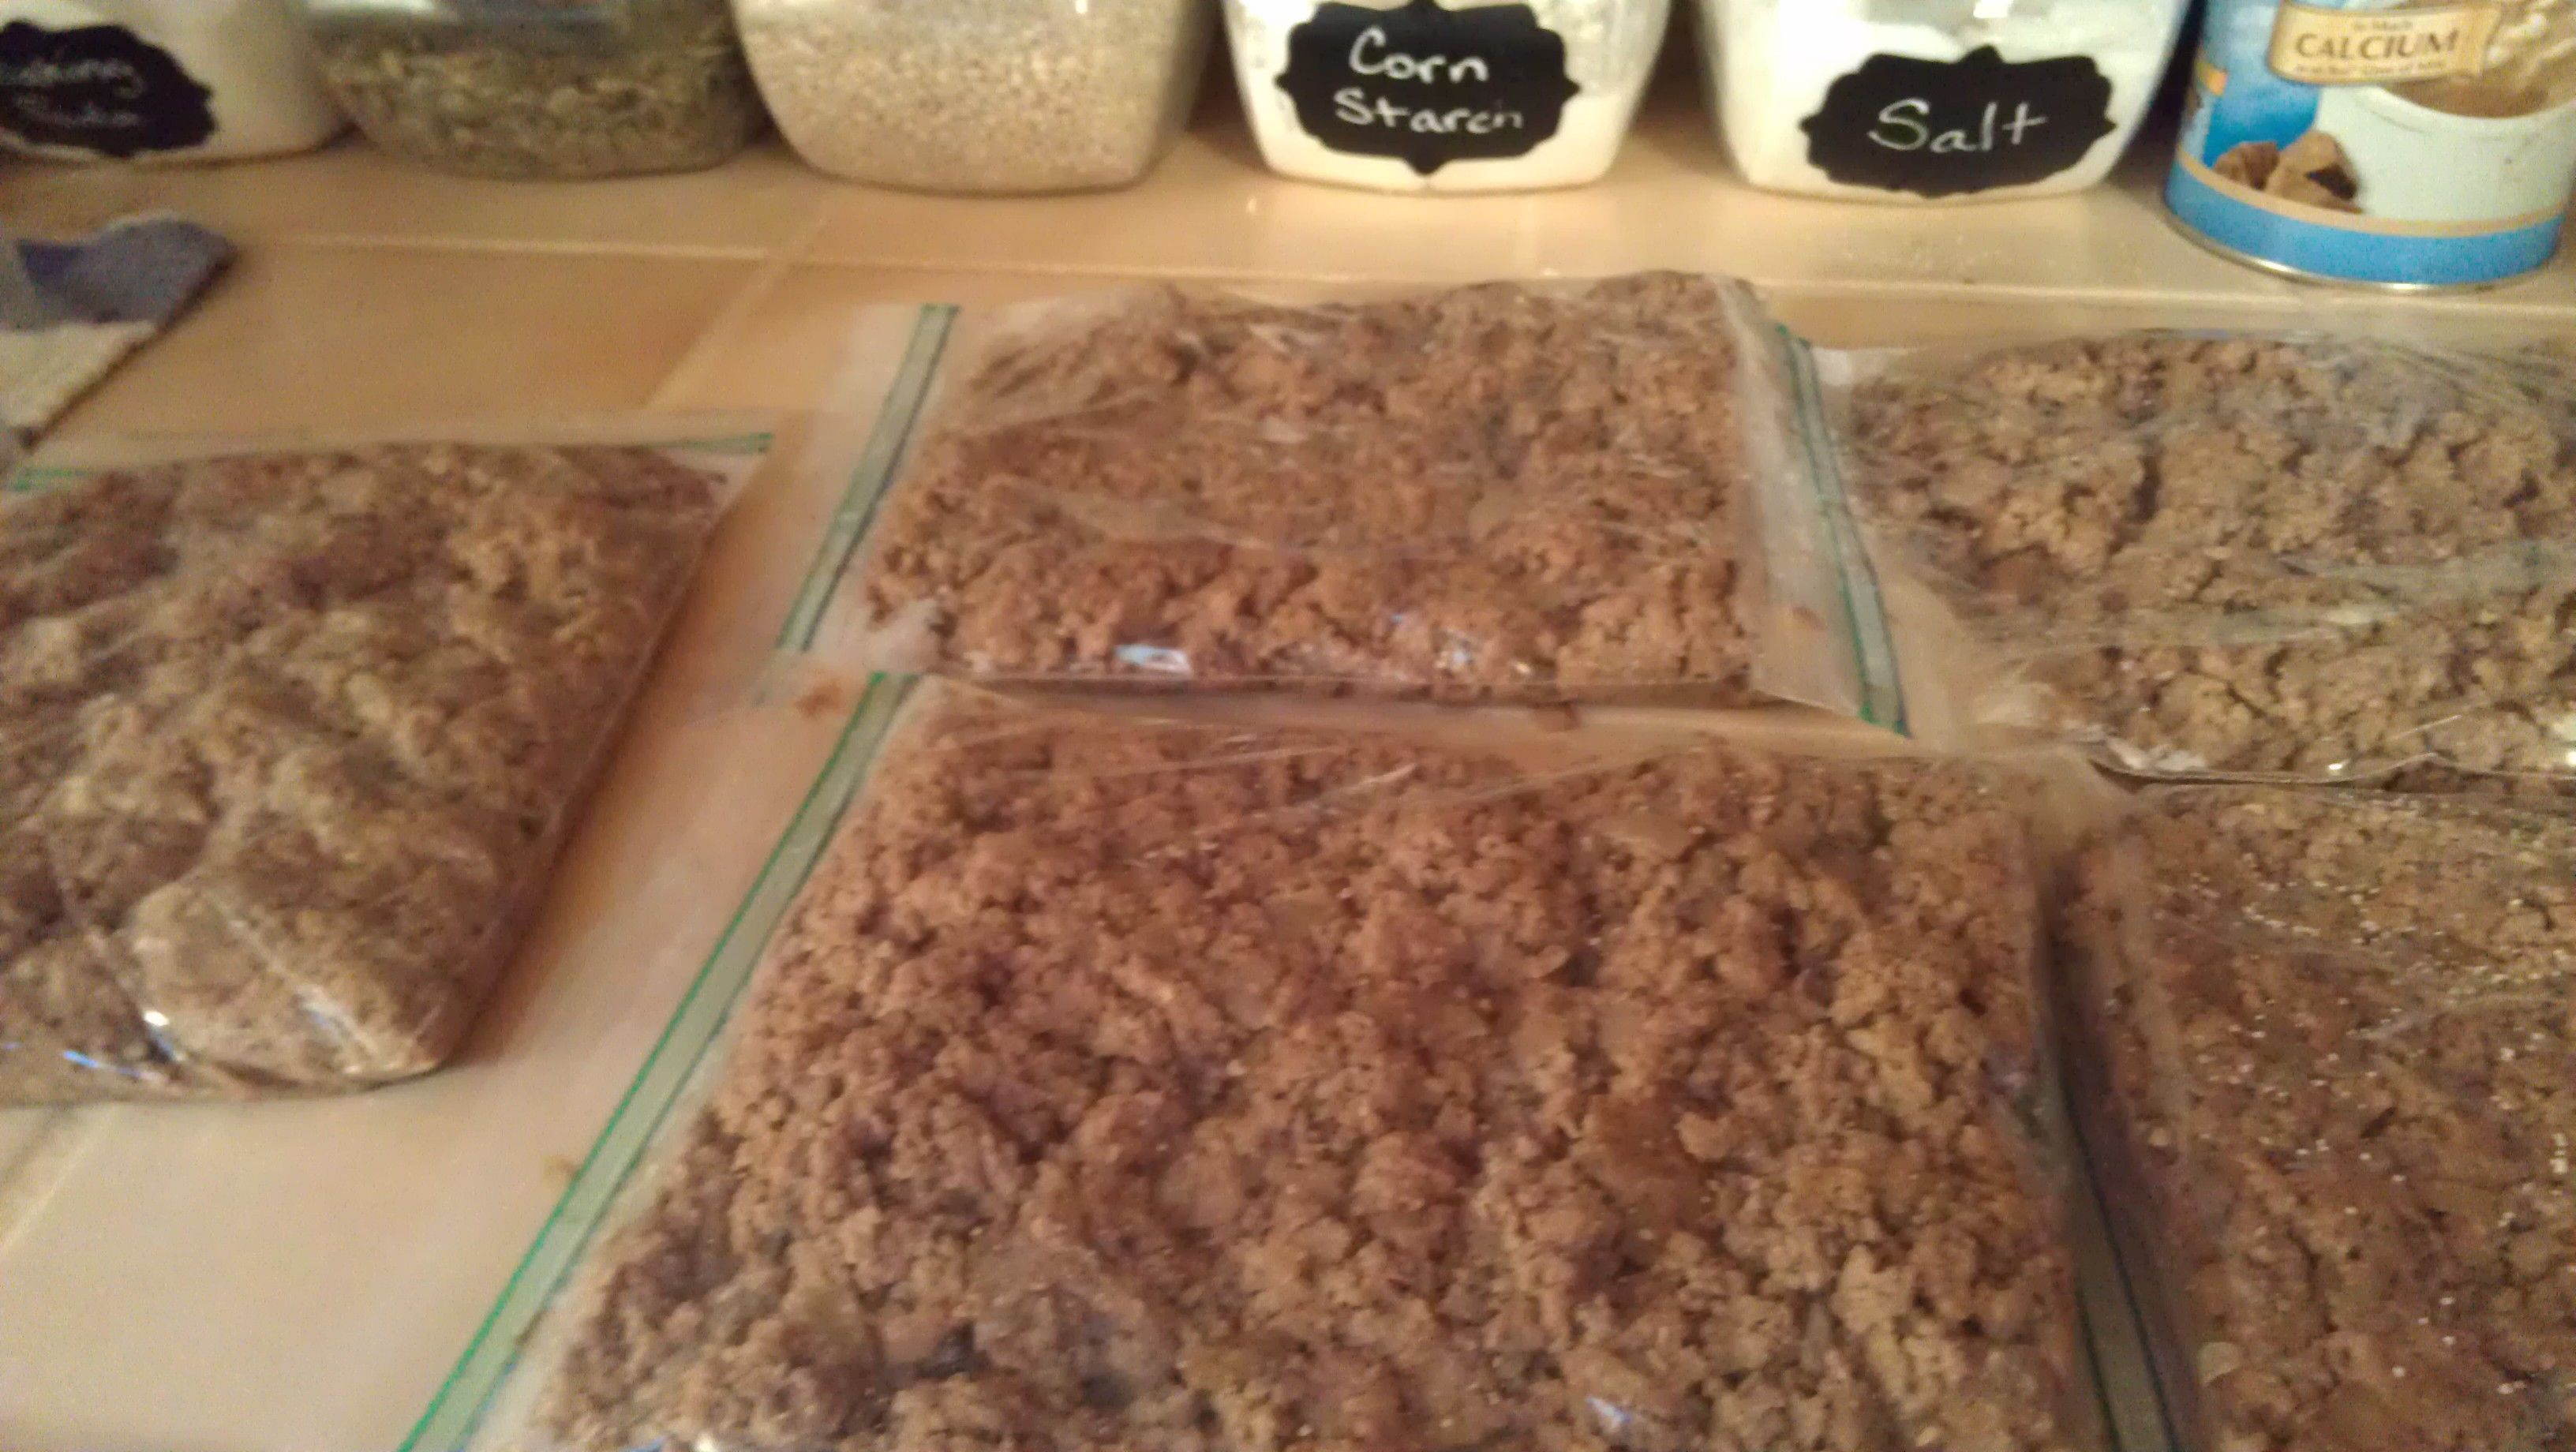
  2. Can be eaten over pasta, rice, salad, or in sandwiches and wraps. Leftovers freeze well.
http://www.groceryshrink.com/heathers-birthday-bedroom-surprise-part-5/

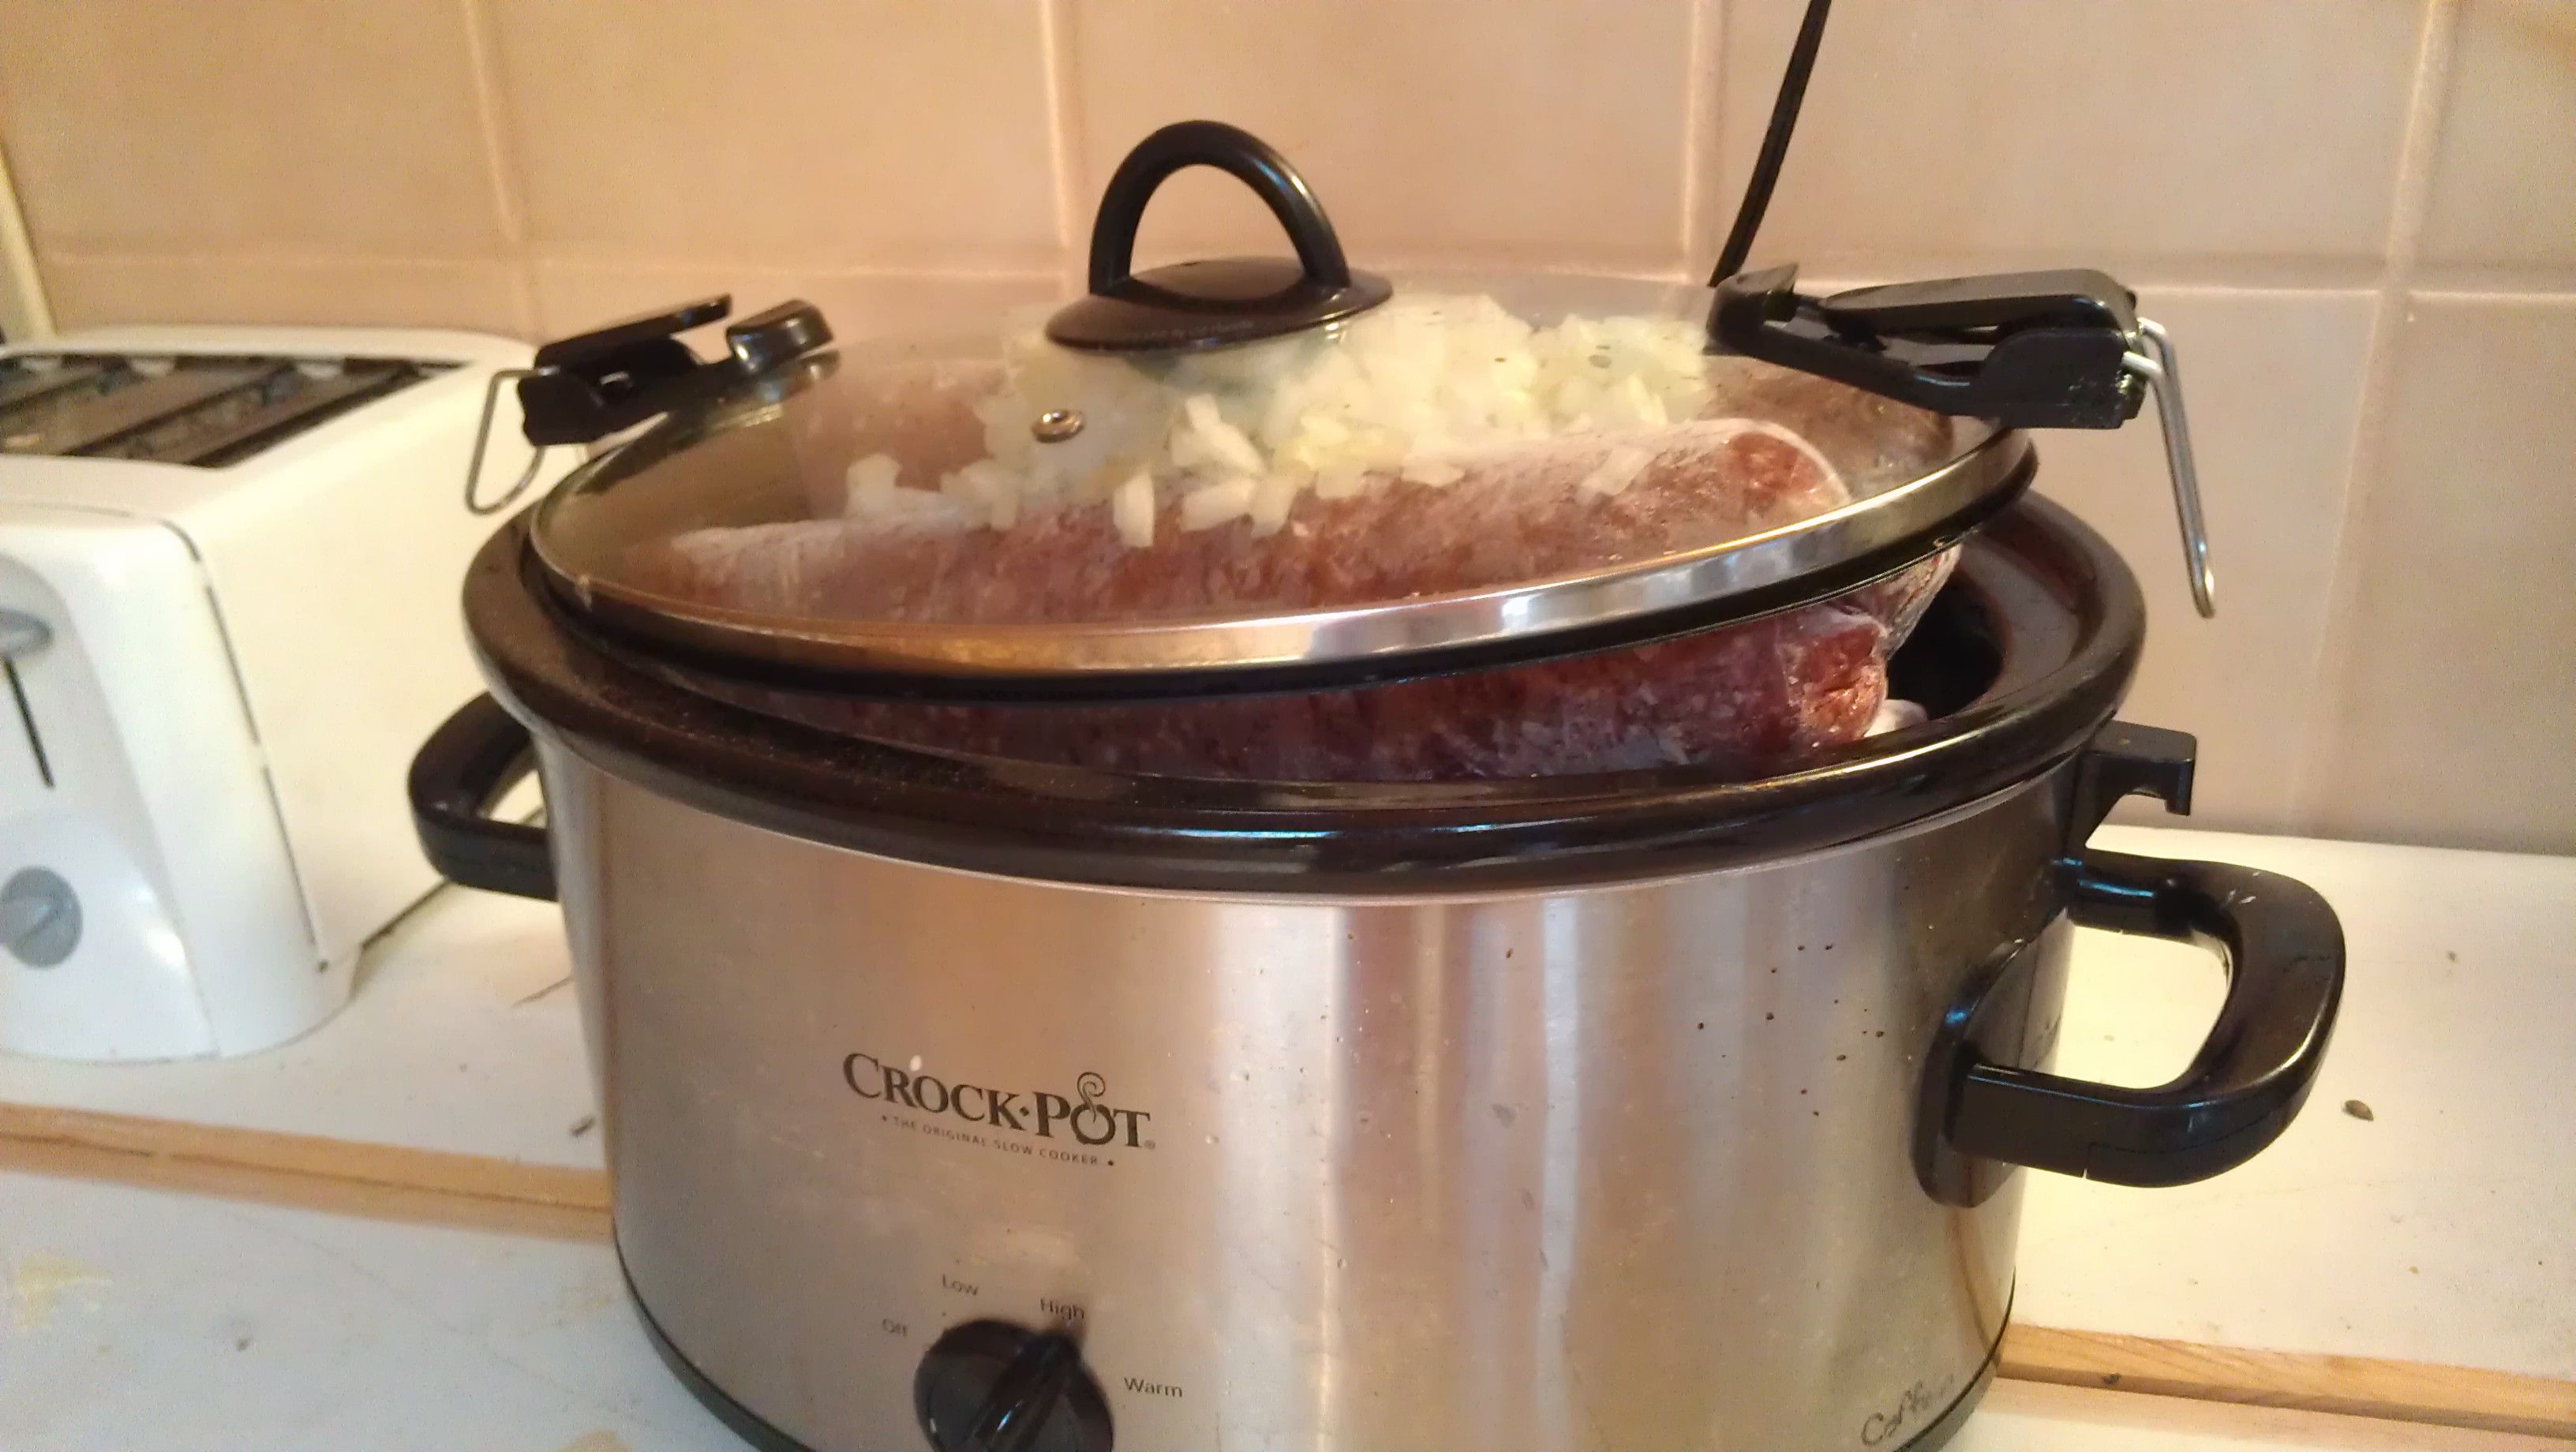
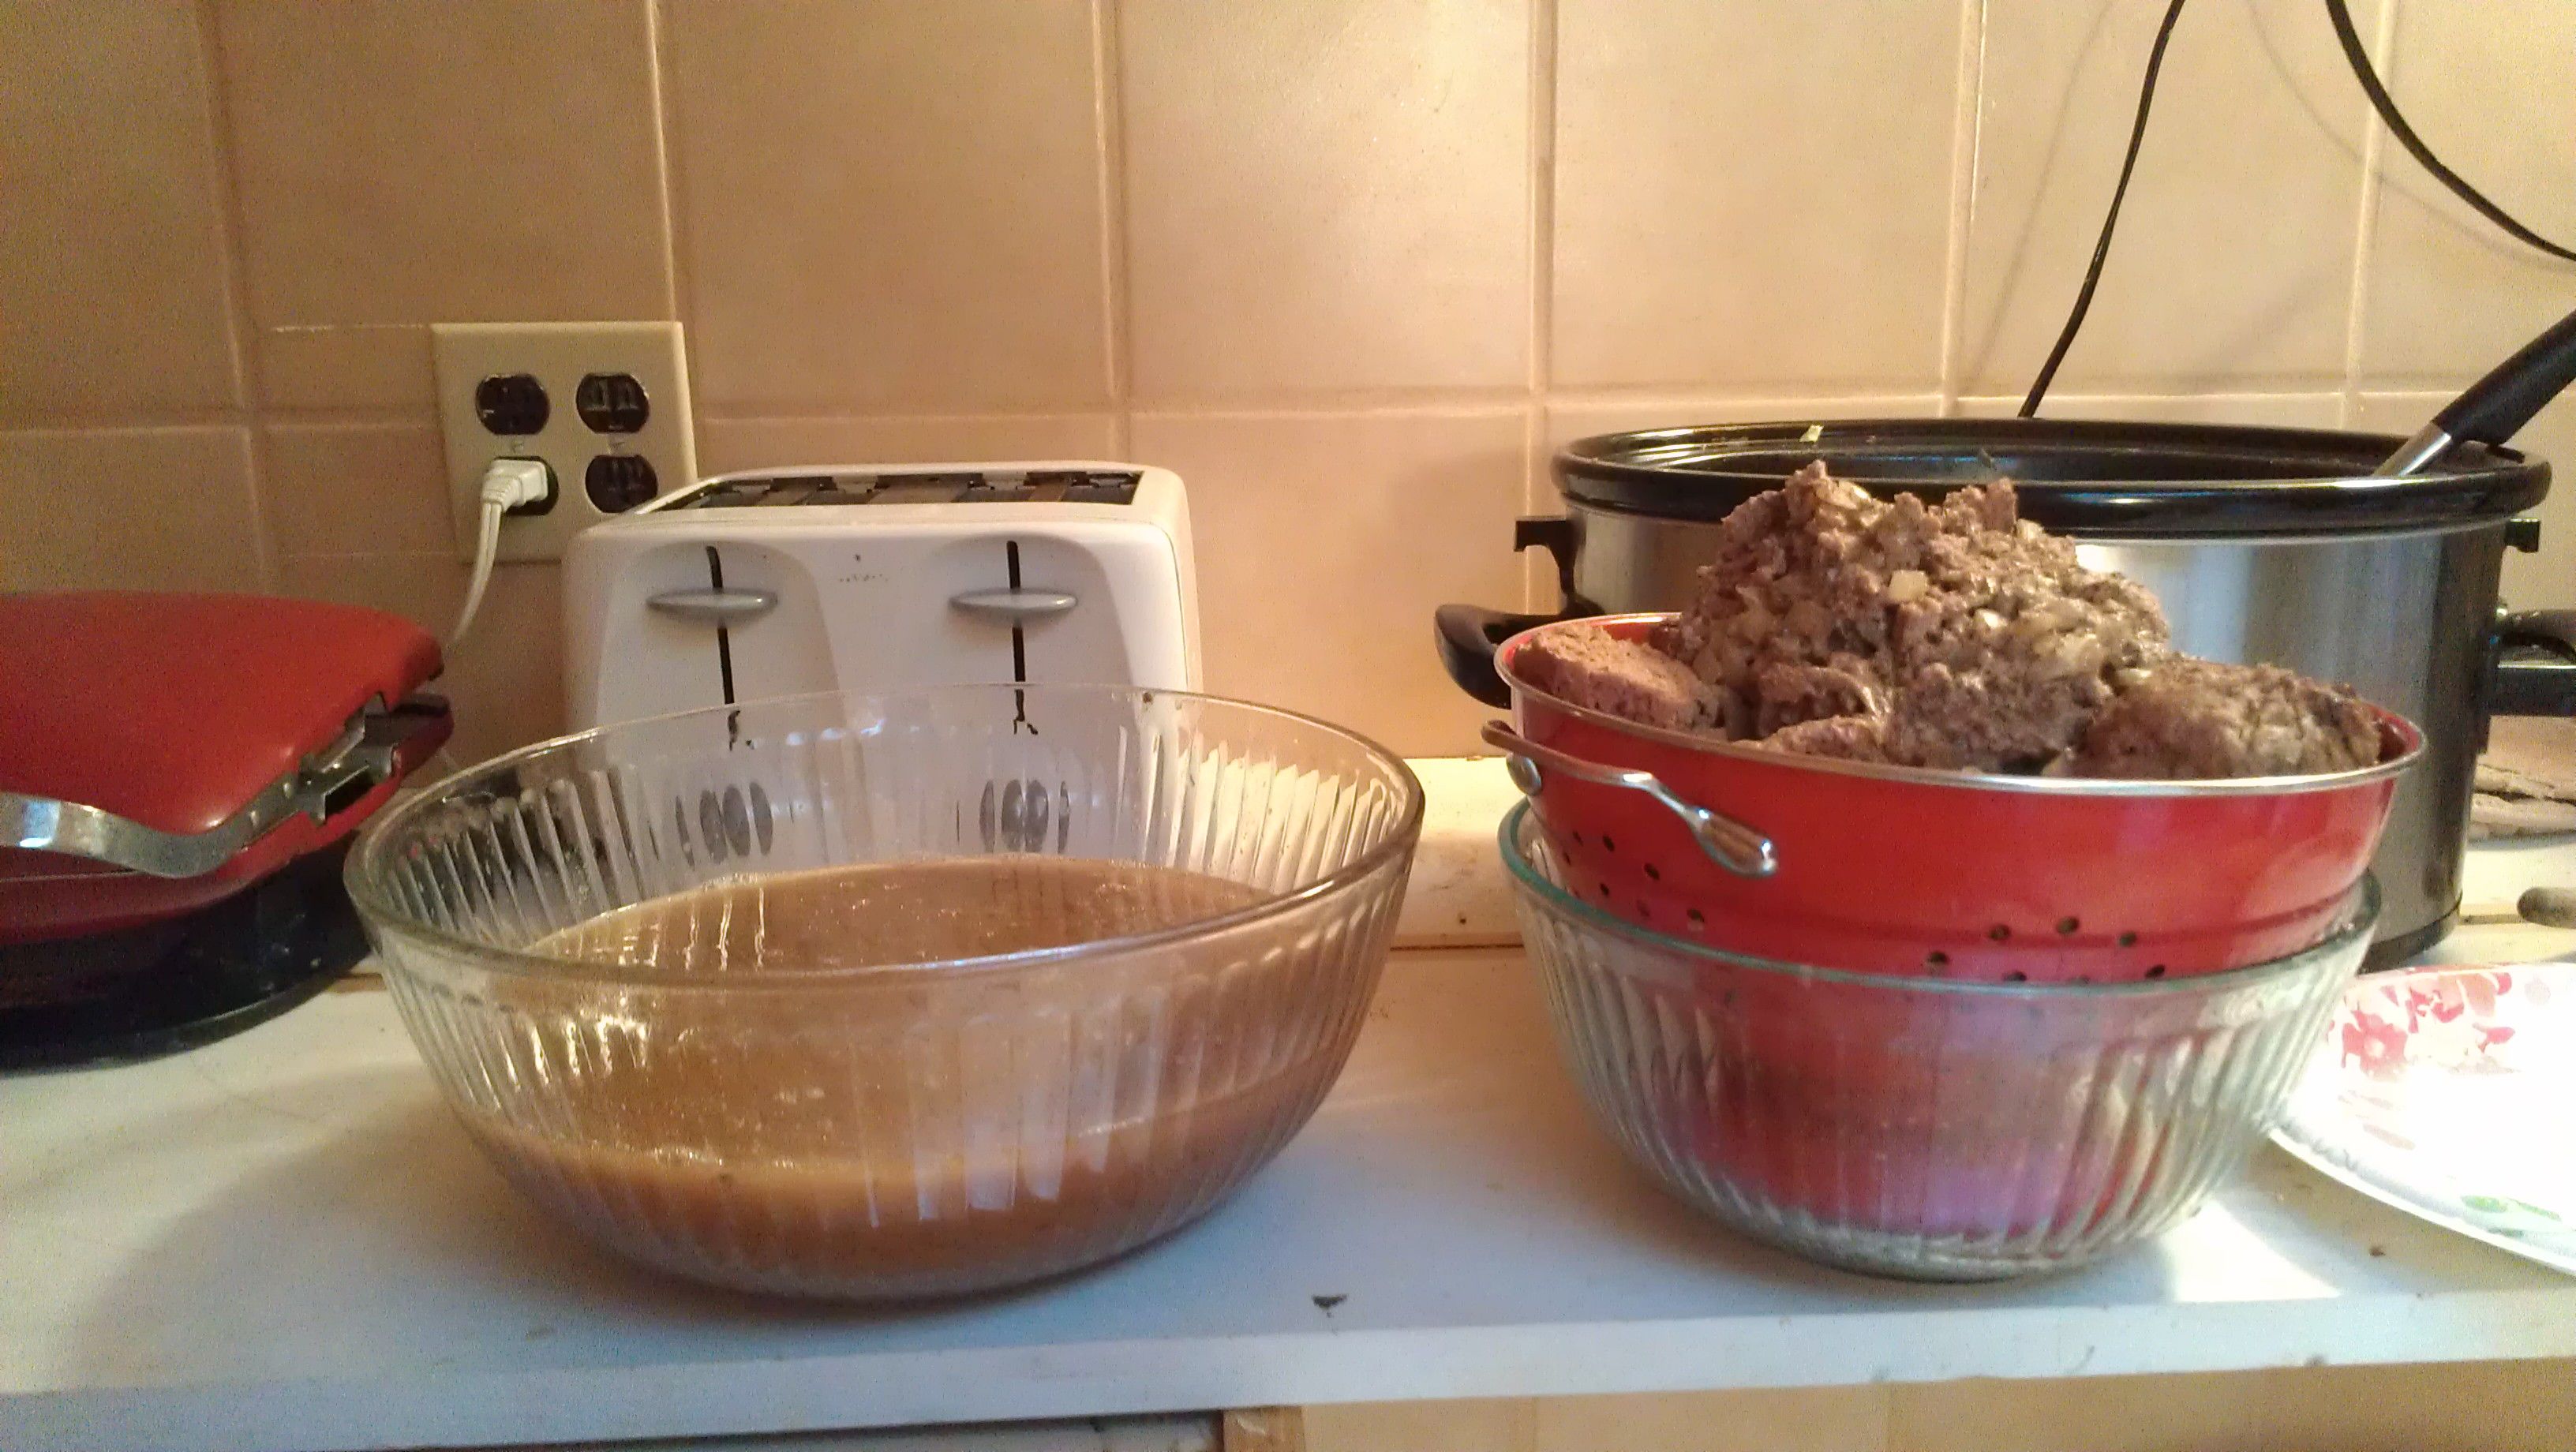
I created the red wine chicken recipe on the fly during my water break. I wasn’t sure it would turn out, but  I could smell it cooking towards the evening, Even though I didn’t get done working in time for the meal I had hoped for, that chicken was AMAZING!  We ate it without any side dishes, lol.

DSC_1165

By evening, I had the first coat of primer on the ceiling.  And had pulled the baseboards and primed them too. Mom and Dad brought the boys home and came in to see my work.  Dad said, “Now that you have the primer on, you’ll be able to see better the spots you need to mud and sand again.”  Um, Dad, those are fighting words.  I am DONE mudding and sanding ceilings, maybe forever.  


Heather’s Bedroom Birthday Surprise Part 4

Day 3 was brutal.  We went to church in the morning, came home for a fast lunch of creamy tortilla soup from the slow cooker.  And then to work! Normally we would nap, study and do other sacred things on this day. But my ox was in the ditch to make our deadline before Heather’s return.

The plan was to give the ceiling a quick sanding and then prime it in time for a nap and off to church in the evening.  Bwa ha ha ha.  What was I thinking?

I sanded down the ceiling from the first mudding job and saw that it need another coat of mud.  I’m not a fan of working with my arms overhead.  My shoulders muscles were getting really pinched feeling, but I found out I could keep going if I kept icy hot on them.

Darren was frustrated that I started this project even though our kitchen is not finished.  My excuse was: I wasn’t about to let some contract workers who couldn’t meet a deadline steal my daughter’s birthday surprise.  That is just not right.  My Mama Bear was raging.  So I said some stuff I shouldn’t have, and picked a fight with Darren when he was still in Sunday mode–resting. Did he not get the memo? This week was not going to be fun, but the look on our little girl’s face would be worth it.

Somehow he still found it in his heart to help me in the afternoon.  He started to tear up our family room floor which we planned to reuse in Heather’s room for a no-cost option.  We had already planned to replace that area as part of the kitchen remodel.  Only, the tongues were glued to the grooves and there’s no way to uninstall it without destroying each board.  He called the previous home owner just to make sure.  Things were not looking good.

I said, “Let’s buy her a laminate wood floor.”  He said, “That will be $500.”  I rolled my eyes.  Then got out my tape measure.  I found the cheapest laminate and underlayment I could—It was $450.  He was right.  Phooey!  I could paint the underlayment with porch paint….only I’d have to buy the paint.  And it would need an extra day to dry.  I could put down a paper bag floor with the leftover supplies I had from our dining room–only that needed 3 days to dry. What to do?

DSC_1178

DSC_1180

I took a break from the ceiling and sanded, deglossed and spray painted Heather’s bed and desk. I underestimated how much paint I needed and since rain was on it’s way, made a trip to the hardware store for more.  I looked fabulous:

DSC_1162

While at the store I also purchase a wooden curtain rod, finials and rod holders ($50!) for her window.  And shopped for new drawer pulls.  With all the shopping I did ahead of time, I hadn’t thought of everything and it was adding up.  Her desk is not good furniture and buying 2 cans of spray paint, 1 can of primer, and 1 bottle of deglosser was $20, plus new hardware would be between $12 and $20 more —I needed time to think about it.  Did I really want to put that much money into junk furniture?  I left without hardware.

DSC_1158

My mom showed up late afternoon.  Darren abandoned the frustrating floor to help her with the ceiling. Both of them are way better at mudding than I am and several hours later the ceiling had a new coat of mud.

It still needed to dry and then be sanded down again.  But it was way past bedtime.  We were officially behind schedule.  I showered and made peace with my husband.  We both agreed that we would hire the ceiling mudding for our big kitchen project.  I went to sleep praying for strength to be nice during the rest of the project and vowed to remember that people are more important than projects.


Heather’s Bedroom Birthday Surprise Day 3

The goal for Day 3 was to peel the popcorn off the ceiling, then remove the carpet and baseboards.  I woke up to the sounds of Eden’s tree crew in my yard!  Hooray!  It was going to be an even better day than I thought. They had 2 climbers.  One was the best climber in the midwest (not pictured.)  This second guy was really good too.  And hilarious.  The first guy was having promotional pictures taken while he worked on our property.  The second guy said, “Hey, I want my picture taken too.  I want to be famous.”

DSC_1155

Another crew member said, “Can’t, You’re too pretty.  We are about tree service here and if we put your picture on the flyer, girls would be calling for dates.  We’re not that kind of company.”  So here you go on my blog.  Now you can be semi-famous–second tree climber.  
DSC_1153 DSC_1154

They took down 2 huge walnut trees growing way too close to the house.  The climber would cut off 3 foot sections.  Tie it off and then slowly lower it down to the crew on the ground.  This made sure they didn’t crack the driveway just dropping stuff and to make sure nothing hit the roof.  When the logs were on the ground, many of them were hollow.  The tree was not healthy and I’m glad we didn’t put off the project any longer.
DSC_1140

But back to Heather’s room.  Heidi was faithful to work with me until the project was done.  What a great big sister!

DSC_1143 DSC_1144 DSC_1145


Darren got into the action a little too.

DSC_1150

We finished in just about an hour–hooray!  So after lunch, we worked on mudding and patching the divets.  I was feeling really great about things at this point.  Since we weren’t scheduled to mud until tomorrow…but ahem, patching and sanding is a LOOOONG process, especially for the unskilled.  Time would tell that if we hadn’t started patching early, we would be too far behind to make our deadline.  Lesson for the day: rest when the project is done.  If there’s still time  keep plugging ahead.

Heather’s Bedroom Birthday Surprise Part 2

We said goodbye to Heather at 5:00 pm on Friday.  As soon as the car was out of sight, we started working.  I was hoping that Heather didn’t forget anything and decide to come back for it—not sure what story I would have told, lol.  This is My daughter Heidi with her friend JJ and little sister Bea (names changed to protect the girls.)  What a pretty crew!

DSC_1097

Bea is one of Heather’s closest friends.  She called not long after Heather left to see if Heather could walk down the street to play.  I told her the sad news that Heather would be out of town for the week, and then told her why.  She said, “Why didn’t you tell me!!!! This is a huge surprise.  If someone did this for me, I would die!”  Then she rushed over with big sister support to lend a hand.

Here’s Heather’s room before:


DSC_1116 DSC_1118
DSC_1101
DSC_1099

It’s a big room–15 x 11.5 feet.  With a small walk in closet (door above) for storage and a 6 foot traditional hallway closet leading into the room where Heather puts her clothes.

DSC_1108


Here’s a close up of the toy eating orange shag.  In it’s defense, it is super soft and I’m sure it’s super cool.  Only I’m not cool enough to appreciate it….
DSC_1107


Bea assured me it IS super cool.  She said, “You’re getting rid of this carpet?!!!!! I LOVE this carpet.  Can I have it for MY room?”  Sorry, Bea, but it fell apart in the removal process—it is 43 years old you know.

The pretty crew had Heather’s room packed up and empty in 30 minutes.

DSC_1134 DSC_1135 DSC_1136

We stacked all the stuff across the hall in a corner of brother Caleb’s room.  He was not thrilled.  It’s only for 6 days, Caleb.  Deep breath.  (Yep his room is original to the house too.  Red shag and check out that wall paper.  He loved it when we first moved in, but is ready for a change too. Only I can’t talk about that right now….too many projects going on.)

DSC_1127

Darren ran out to get McDonalds, because I had hives already just thinking about the next 6 days.  I spent the rest of the evening cutting, hemming, ruffling, pinning and sewing on ruffles for Heather’s duvet cover.  I finally called it quits at midnight.  That’s a lot of ruffles….
DSC_1131


When I’m done, it will look something like this–only in ombre:

Duvet originally from Urban Outfitters, but discontinued.

Duvet originally from Urban Outfitters, but discontinued.

That’s the end of the short day 1.  Tomorrow I’ll show you day 2.

Heather’s Bedroom Birthday Surprise Part 1

We’ve  lived in our gigantic house that needs lots of love for 18 months now.  The first room we did was our oldest daughter’s bedroom.  She is 13 and will graduate High School in 5 years.  It could be 5 years before we get to every room in our home–so we wanted her to be able to enjoy hers as long as possible.

You can imagine how our second daughter felt about all this.  She was a great sport, but it was a little hard to see Heidi’s beautiful new room and to be living in an orange shag paradise for who knows how long. About a year ago, Heidi and I started planning a huge birthday surprise for Heather.  We started a pinterest board for her and encouraged her to pin room inspiration ideas that she loved.

She pinned these:

Whew, that’s a pretty big mix of styles.  And if pressed, Heather doesn’t like to choose just one.  So Heidi and I decided we would try to surprise her, choosing from the elements she loves.  Here’s what we decided:

1.  Curvy daybed with lots of pillows in bright fabrics

2.  Turquoise blue walls (we are going VERY pale to let the other brighter elements in the room take center stage)

3.  Hardwood floors–her previous shag rug ate small toys.  I also want to add a fun area rug–so far it’s sold out and won’t make it here in time for our big reveal :(.

4.  Paint her desk in a fun accent color (we chose coral pink.)

5.  A bed drape with bed crown

6.  A huge furry beanbag

7.  A gallery art wall

8.  A reading corner with hula hoop tent

9.  White trim to make the light blue walls pop

Darren’s mom came and picked Heather up last Friday to spend the week at the farm.  All Heather knows is that it’s her turn with Grandma.  And I don’t think she suspects much even though I’ve had to sew on things while she was home last week.  We have 6 days to complete the transformation–and there’s no HGTV crew here to make the magic happen.

Come back tomorrow to see our day 1 progress.

Bulk Cooking: Slow Cooked Ground Beef

As the weeks drag on without a kitchen, I’m starting to loose it a little.  Our project was delayed in an unforeseen scheduling conflict with one of our professionals and our finish date is two months in the future…..sigh.  But when it’s all said and done it will be worth it.

Part of holding it together, is making sure my family still eats while sticking to our tiny food budget, which DH lovingly raised to $500 a month (for the 8 of us) at least while our kitchen project drags on.  This allows me to buy a few more convenience items to make meal prep in our alternative kitchen space a little easier.

“If only I had a bunch of cooked up ground beef in the freezer!” I thought to myself last week.  That would make life so much better.  So I did a search on all the ways to cook large batches of ground beef–only I don’t have a stove, so it can’t use a wok, lol.

Finally I decided to try it in the slow cooker.  And it worked, beautifully–though until the very end I was sure I had wasted 6 lbs of meat.  Here’s how it played out.

I unwrapped three 2 lb logs of frozen ground beef and stuck them into the slow cooker.  Then I added 6 cups of water, because I wanted beef broth.  To make the broth and hamburger taste good, I added 2 finely chopped onions; 1 Tbs of salt; 1 tsp of garlic salt; and 1/2 tsp black pepper.

The lid wouldn’t close.  No worries.  I covered it as well as I could and cooked in on low overnight.  After about an hour, I could push the lid down.  That made me feel better.

In the morning I had 3 logs of cooked hamburger–oh no!  I was hoping for it to form crumbles automatically while I slept. But the broth looked delicious.

I chopped up the meat into huge chunks and then used a colander and bowl system to drain out the broth.

It had great color and smelled amazing.  I was surprised what little fat hardened on the top after it cooled.  This was grass fed beef direct from the farmer.  I could see the quality when cooked this way.

I was pretty sure at this point that it was all a waste.  But I decided to try the two fork shred method that I use on my pulled pork. I ended up mashing it with the back of a huge fork.  It worked beautifully–and fast. Perfect fine crumbles of ground beef!

I divided up the meat into 5 freezer bags.  Each one weighed about 1.4 lbs. And pressed them flat.  Once they were cool, I put them in the freezer.  

I got about 2 quarts of broth also.  It smells and looks so yummy.  I’m definitely doing this again.  No more thawing meat, no more standing over a hot stove.  Win win win.


Sew a Child’s Painting Smock: Tutorial

In an effort to save money on school supplies, I’m stitching up a painting smock for Brandon, the Kindergartener.

IMAG2168

I started by following this tutorial.  It is excellent!  I made some changes since Brandon is too big for this size and I didn’t have any oil cloth in my stash.

I did a quick search at fabric.com for oil cloth–just to see if I could justify the cost.  They have adorable prints averaging $15 a yard.  You only need 1/2 yard of fabric to make this, so $7.50 for a cute paint smock isn’t too bad. (But you’ll need to order extra stuff so you can get free shipping :).) Hobby Lobby also has some cute laminated fabrics in their decorator aisle and 40% off coupons available.  If you bind the edges with bias tape, you can wash it (The glue holding the fabric to the vinyl will wash out and separate the two layers without stitching them together in advance.)

Since I’m trying to do this without spending, I put my thinking cap on and remembered I had some clear vinyl in my stash.  So I layered it with a cute cotton print for the same waterproof effect and no money out of pocket!

Materials Needed:

1/2 yard of printed cotton

1/2 yard clear vinyl

4 yards of double fold bias tape

2 inches of sew in hook and loop tape, cut into two 1 inch pieces

1.  Cut a rectangle 40-44″ (selvage to selvage) by 17-18 inches wide. (Straighten your half yard of fabric and see what you have left.)

2.  Fold it into fourths and use a t-shirt to trace a neck hole.  I used a pencil and traced following the seamline underneath.  And cut it out.  While it is still folded round the lower corner (on the opposite edge–none of the rounds should be over a fold–I messed this up the first time.)

image


image

3.  Open up the rectangle and place it face down on the vinyl and trim it–giving yourself about 1″ extra vinyl all the way around.  Pin it with hair clips to keep from making extra holes in the vinyl.

image

4.  Now baste the two pieces together on the machine.  It helps to sew with the vinyl side up and if you have a walking foot, definitely use it.  Mine is broken, so instead I reduced the pressure foot tension a little and reduced the upper thread tension from a 5 to a 2.  (This kept the lower fabric from gathering up as I sewed.  It also helps to have room to lay your stuff out flat to the left of the machine.

IMAG2157

5.  Don’t forget to baste around the neck hole too.  Then trim the vinyl to the same size as your fabric. It looks best if you trim very close to the basting stitches cutting both the vinyl and the cotton.  This makes sure your basting won’t show after you bind it.

IMAG2161

6.  Bind everything with bias tape.  I used a triple zigzag stitch to make sure I caught everything well. I only had narrow bias tape in my stash, but would have preferred wider stuff.  Mine was super vintage–$.45 a package!  And I’m not sure, but I bet they don’t come with 4 yards in a package any more.

IMAG2160

Stitch #8 is the triple zigzag

Stitch #8 is the triple zigzag

7.  Measure 9″ down from the shoulder fold and place velcro or a button on each side to hold it together. I zigzagged all the way around the velcro outside edges.

IMAG2163IMAG2166

All tucked in his school supply bin ready for the first day of school.