Broccoli Cauliflower Salad

broccoli cauliflower salad

This is my favorite salad.  It’s the fancy enough for potlucks or having company over, but it’s easy enough for weeknight dinners.  It keeps for several days and the leftovers pack nicely for lunch.  Add a grilled chicken breast or salmon filet on the side for a complete meal.

Broccoli Cauliflower Salad

Ingredients

  • 2 broccoli crowns, chopped into bite sized florets
  • 1 head cauliflower, cut into bite sized pieces
  • 6 strips bacon, cooked and crumbled (or 6 Tbs real bacon crumbles)
  • 6 green onions, sliced (Or 1 cup diced red onion)
  • 1/2 cup raisins (soaked in warm water to plump and then drained)
  • 1/2 cup sliced almonds or sunflower seeds
  • 1 cup Olive Oil Mayo (or part plain Greek Yogurt)
  • 2 Tbs Red Wine Vinegar
  • 4 packets truvia (or 1/4 cup sugar or honey)
  • Pink Himalayan Salt and Fresh black pepper, to taste

Instructions

  1. In a large bowl combine broccoli, cauliflower, bacon crumbles, raisins, onion, and almonds or sunflower seeds.
  2. Beat together mayo, vinegar, sweetener and salt and pepper. Stir into salad. Serve right away or chill until serving.
http://www.groceryshrink.com/broccoli-cauliflower-salad/
We are having a busy week.  My mom decided to have a garage sale at her home and today was opening day.  It’s been 10 years since she had one there, but she had enough stuff it was be easier than hauling it to another sale location.  I filled my 15 passenger van twice and took it over, and I committed to being there as much as I can to help her.  I still have 2 rooms in my house to declutter, so I’ll be hosting my own sale again in the spring.

I did something crazy yesterday.  I called our drywall guy and hired him for Monday, November 16th to do a job I haven’t prepped yet.  That’s enough to light a fire under me!  I’m hoping to earn enough at this garage sale to pay him.  And to carve out 12 hours to prep the job for him.

Brandon and Grant's Room Gray rugby stripe

If you saw it on Facebook over the summer, I’ve been making plans to redo our shared boy’s room.  The ceiling has water damage and popcorn texture.  I plan to scrape off the popcorn and have it professionally skim coated.  Then paint, hang curtains and fluff.  This is what I’m hoping it will look like.  The opposite side of the room will be an art/lego station with toy storage and display areas.  It feels like an overwhelming project, but the boys are anxious for me to get it done.  With holiday season coming, I’m not going to stress about doing it in a week or anything crazy like that.  We’ll just take it one step at a time.

So that’s a quick update on us.  What are you up to?


Affording School Lunches

When I was a kid, my mom gave me enough cash at the beginning of the week to buy my lunch every day.  Then if I chose to make my lunch instead, I could keep the money.  It was a bonus to our allowance and taught us to be thrifty.  It worked out well since there were only 2 kids in the family.

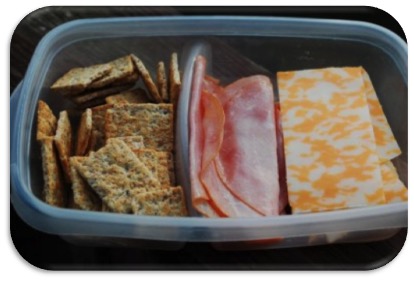
With 6 kids in our family, it would cost us $300 a month to let the kids buy lunch every day. Our schools average $2.50 for lunch (older kids are slightly more, younger ones slightly less.) We can pack a lunch for around $.75 with a basic sandwich, some veggie sticks, and a self-packaged snack like cheese crackers.  Sometimes the kids pack ramen noodles in a thermos (cringe–I know.)  Heidi, the Sophomore, will often grill a chicken breast on the single serving grill and slice it over a chef’s salad.

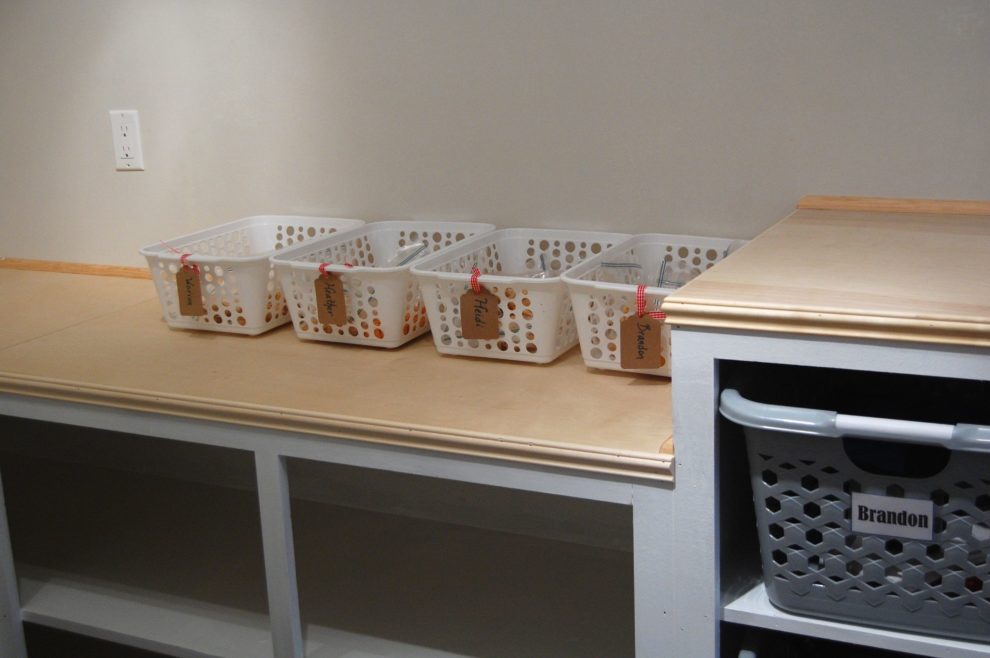
Packing 6 lunches every morning (before I leave for work at 6:45 am) would push me over the edge of sanity. I delegated that to the kids and they’ve done well.  I try to keep their snack baskets filled with healthy-ish things, so they can make a sandwich and grab a few items to go with it.

We buy family size items from Aldi and sometimes Costco (when they have a coupon that makes it a good enough deal.) Then we repackage them with a measuring cup into snack size baggies.  Sometimes the kids help with that part and it saves me a lot of time.  It costs less per serving to take a few minutes to repackage than to buy single serving packs.

The kids only drink water*, both at home and at school.  That might be the single most budget saving thing we do around here! *Occasionally with snacks they get milk or homemade kombucha or Melaleuca’s Sustain Sport–like Gatorade but healthier and less expensive–but we don’t pack those for school.

How do you make lunches fit into your budget?

This is Day 19 of our series 31 Days of Kids and Money

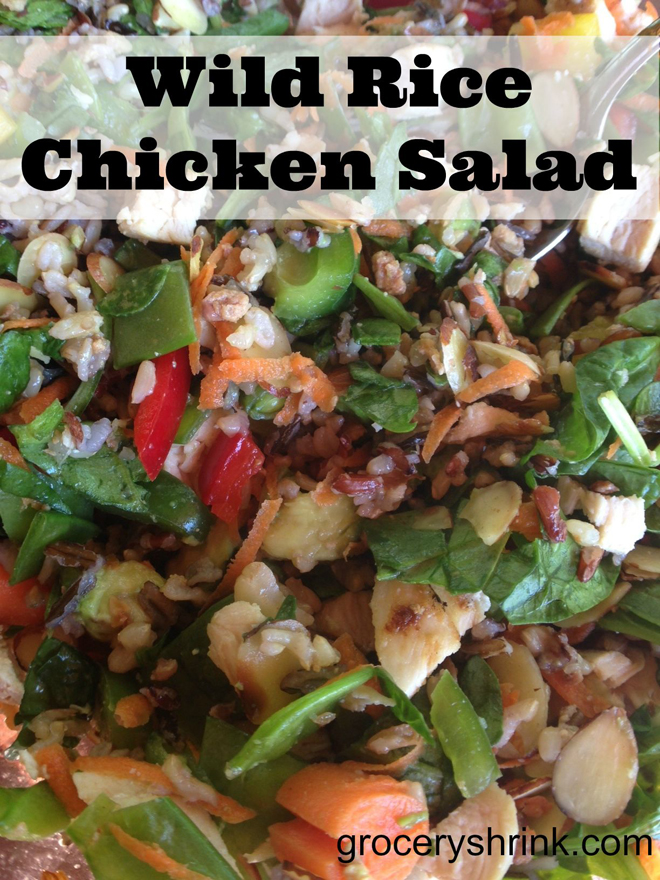
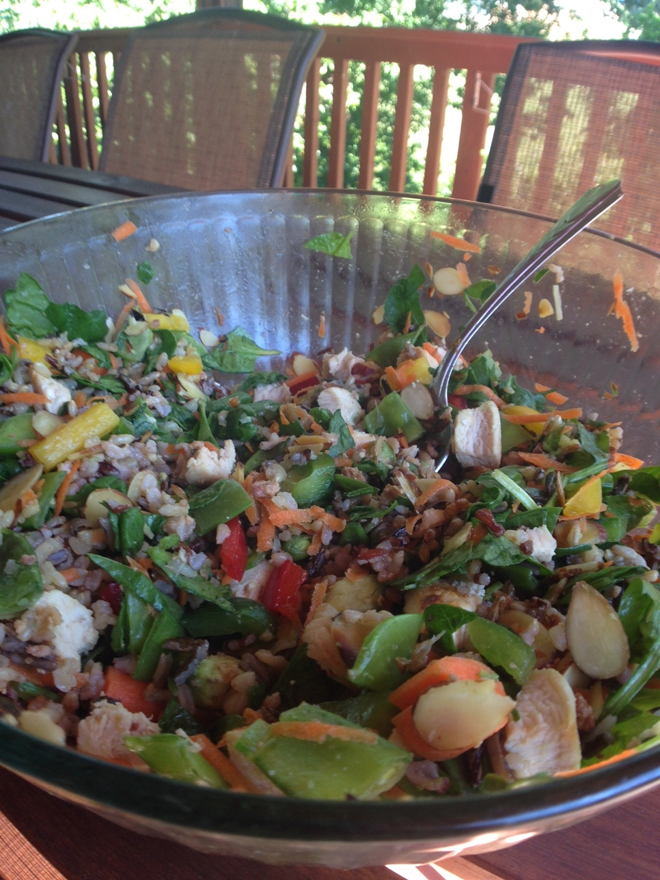
Wild Rice Chicken Salad

wild rice chicken salad

This delicious salad is great for a main entree lunch. I first tasted it at a baby shower and begged for the recipe. I’ve adapted it for my own tastes and change the vegetables every time I make it to suit what’s affordable at the time.  I purchased everything but the rice and chicken at Aldi. (The chicken was from Costco and Wild Rice was from the bulk food store.)

1 scant cup dry wild rice

2 cups chicken broth

3-4 chicken breasts (about a pound)

garlic salt to taste

1 red bell pepper, diced (Green, yellow and orange can be used also.)

4 green onions, diced

1 cup diced carrots (or 1/2 cup shred)

1 cup sugar snap peas, cut into 1/2 inch pieces

2 cups fresh chopped spinach

1-2 avocados, cubed

1/2 cup toasted sliced or slivered almonds

1/4 cup bacon crumbles

1 fresh lemon, juiced

2 packets Truvia or similar stevia product

salt to taste

In a saucepan or rice cooker, cook the wild rice in chicken broth until tender. Meanwhile sprinkle chicken breasts all over with garlic salt.  Grill for 7 minutes each in a personal table top grill (like this one.) Cool until cool enough to handle then cut into bite sized pieces.  Set aside.

Meanwhile chop all vegetables into bite sized pieces.  Combine all ingredients in a LARG bowl.  Drizzle with fresh lemon juice and toss in stevia and salt.  Serve right away.  Refrigerate leftovers. It will need an extra toss of lemon juice if it sits for very long.

If you limit the amount of avocado, bacon and almonds in your serving, this is a Trim Healthy Mama E.

IMG_1854
IMG_1856

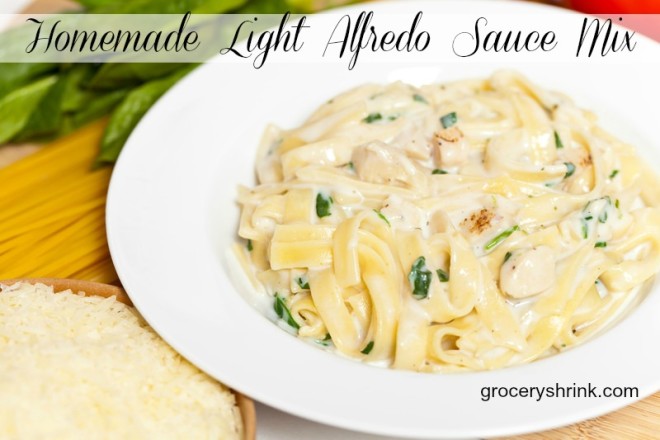
Homemade Alfredo Sauce Mix

Alfredo sauce is mostly cream and butter with a touch of garlic and maybe some white wine.  This recipe is a lot lighter than that, but still gives the creamy texture and mouthful of flavor that you’re hoping for.  The original mix I created has pasta already in it for a fast skillet in 1 dish, but you can leave it out to just make the sauce for pizza or something like that.  If you want it to be REALLY rich and creamy, when preparing the final dish replace a cup of milk with a can of evaporated milk.

homemade light alfredo sauce mix

8 oz Fettucini, broken into pieces (whole grain pasta works fine)

2 T flour (or 1 Tbs Cornstarch for gluten free)

2 T powdered instant skim milk

1/2 t basil

1 t lemon pepper

1/2 t garlic powder

1 t salt

1/2 C parmesean cheese

Mix all in a quart bag. To prepare. Pour mix into a skillet with 2 cups of water and 2 cups of milk. Stir well until all the powders are blended and noodles are well moistened. Bring just to a boil and reduce heat to a simmer. Simmer for 15-20 minutes or until noodles are tender. Remove from heat and allow to cool for 3-5 minutes. Sauce will thicken as it cools. If you like, stir in sauteed vegtables, cooked chicken cubes, turkey sausage, or shrimp.

You can also make the mix without the pasta and just make sauce.  To prepare stir the mix with 1 cup of milk and cook and stir until thickened.  It makes a nice sauce for Alfredo pizza :).

Freezer Bag Cooking: Lunch and Dinner

Freezer Bag Recipes lunch and dinner

Yesterday I shared with you some really simple Freezer Bag Breakfast Recipes perfect for camping or just to make ahead for busy moments.  Today I’m going to give you my best Freezer Bag Lunch and Dinner recipes.  When meals are packed frozen in a cooler, you need less ice and they gradually thaw to be ready when needed. (My FAVORITE part of this series is how often I can use the word smoosh <3.)

 Dutch Oven

Dutch Oven Pizza

Crust: 1 2/3 cup water; 1 Tbs yeast; 1 Tbs olive oil; 2 Tbs Honey; 1 tsp salt; 4 cups flour.  Mix together, kneading right in the bag, then press out the air and freeze.

Sauce: 6 oz tomato paste; 1/4 cup water; 1 tsp sugar; 1 tsp garlic powder; 1 tsp onion powder; 2 tsp parsley flakes; 1 tsp basil; 1/4 tsp oregano; a few dashes of oregano.  Mix in a smaller baggie and freeze.  Snip the corner to easily spread onto the pizza crust.

Additional ingredients:  Shredded mozzarella cheese; browned ground beef, pepperoni;

This is enough for 2 pizzas. Spread the thawed crust in the bottom and up the sides a bit of your well seasoned dutch oven.  Top with sauce, cheese and desired toppings.  Top with a lid. Bake for 20-3o minutes with 7 briquettes under the oven and 21 on the lid.
Sloppy Joe

Sloppy Joes

2 lb Ground meat (I use a combination of turkey and beef.)

1 cup diced onion

1 cup diced bell pepper

2 cans, 8 oz tomato sauce

2 tsp chili powder

1 tsp garlic salt

2 tsp Worcestershire sauce

Brown the ground beef, peppers and onions together, drain.  Place the tomato sauce, chili powder, garlic salt and worcestershire in a freezer baggie.  Smoosh it around.  Add remaining ingredients and smoosh to mix evenly. Seal well and lay flat to freeze.  To prepare, squeeze thawed contents into a dutch oven or saucepan and heat through. Serve on buns or stuffed into pitas with slices of cheese.


goulashGoulash

l lb macaroni noodles (dry)

8 cups tomato juice

4 tsp sugar, xylitol or similar

1 tsp salt

1/4 tsp pepper

2 tsp garlic powder

1 lb ground beef, browned and drained

1 cup chopped onion

1 cup chopped bell pepper

8 American cheeses slices

Brown ground beef with onion and bell pepper, drain.  Combine all but the cheese slices in a baggie (pasta should still be dry.)  Seal, and smoosh flat to freeze.   To prepare, pour contents of the bag into a casserole dish or dutch oven.  Top with cheese slices.  Bake at 350 for 45 minutes (For a Dutch oven: 7 hot coals on the bottom 21 coals on the lid) or until heated through and pasta is soft.

simple-spaghetti-008-400x266

Spaghetti

8 oz broken spaghetti noodles

4 cups tomato sauce

3 cups water

1 tsp basil flakes

2 tsp parsley flakes

1 tsp salt

dash of cayenne pepper (opt)

1 lb ground beef

1 cup onion

Brown and drain ground beef with onion.  Add all ingredients to a freezer bag (use the noodles dry.)  Smoosh flat and freeze.  To prepare, pour thawed contents of the bag into a pot, bring to a boil and simmer for 15 minutes or until pasta is tender and dish is thickened.

Fajitas

2 lb boneless, skinless chicken breast, sliced into strips.

1 green bell pepper

1 red bell pepper

1 yellow bell pepper

1 red onion

1 white onion

1/4 cup olive oil

1/4 cup lime juice

1 1/2 Tbs Seasoned Salt (like Lowry’s)

1 1/2 Tbs oregano flakes

1 1/2 Tbs ground cumin

1 Tbs garlic powder

1 Tbs chili powder

1 Tbs paprika

1 tsp salt

In a large baggie combine the oil, lime juice and herbs and spices.  Smoosh all around.  Add the chicken and sliced vegetables.  Press flat and freeze.  To prepare, thaw the bag. Use tongs to lift the meat and vegetables out of the bag into a hot skillet, discard remaining marinate. Stir fry until meat is cooked through and vegetables are tender.  Serve with tortillas and salsa.  (Other toppings as desired: lettuce, cheese, chopped tomatoes, sour cream, guacamole….)

Fiesta Chicken Bowls

2 lb boneless, skinless chicken breasts, cut into bite sized pieces
1/4 cup lime juice
1 bunch cilantro, chopped
1 lb corn kernels
1 tsp garlic powder
1 chopped red onion
1 can, 15 oz  black beans, drained and rinsed
1 tsp cumin
1 tsp salt
1/4 tsp pepper
Combine everything into a freezer bag and smoosh flat to freeze. To prepare, thaw bag.  Pour entire contents into a hot skillet and sauté until meat is cooked through.  Layer bowls with crushed tortilla chips and chopped lettuce.  Top with chicken mixture and serve with salsa, cheese, and ranch dressing.

Teriyaki chicken over Rice

2 lb boneless skinless chicken breast, cut into bite sized pieces

1 lb sugar snap peas

1/2 cup soy sauce

1/2 cup pineapple juice (I drain it from canned pineapple)

1 tsp fresh grated ginger

1 tsp garlic powder

Combine all ingredients into a freezer bag and smoosh to freeze.  Freeze 4-6 cups cooked brown rice in a separate bag.  To prepare, pour contents of the bag into a skillet and saute until chicken is cooked through. Heat rice, by simmering the bag in hot water for 2-3 minutes.  Serve Teriyaki chicken over rice.

Taco Soup

2 lb ground beef or turkey

1 cup chopped onion

1 lb corn kernels

2 cans, 15 oz each black beans, rinsed and drained

1 can rotel tomatoes, undrained

4 Tbs taco seasoning

Brown ground beef with onion, drain.  Combine everything in a freezer bag.  Smoosh flat to freeze.  To serve, pour contents of the bag into a stock pot or dutch oven. Add 1 cup of water. Heat through.  Serve with Frito style corn chips and cheese or sour cream.

Ham and Cheese Pockets

Ham and Cheese Pockets

There’s something wonderful about having a basic recipe memorized.  It gives freedom in cooking and opens up creativity.  It allows a woman to go into another home, discover a need, and whip up a delicious supper without running to the internet or a cook book.

DSC_2994


My Basic pizza dough is a recipe like that. It makes fabulous pizza, but can also be loaf bread, bread sticks, cinnamon rolls, bagels, English muffins, Stromboli.  Anything really.DSC_2993

And like I tell my daughters, Men like food.  Want to find a good man?  Learn to make good food.

DSC_2995

I remember the first time Darren took me to visit his grandfather in the rest home.  His grandma introduced me.  She said, your grandson J.D. found him a Jewell (his wife’s name) and Darren found an Angel.
DSC_2997

I was stunned.  I’d been admiring Darren from afar for awhile, but he had never been very clear with me about his feelings.  Was I claimed?  Was he really serious about our future or was Grandma dreaming? I was thinking such deep thoughts and floating on her words, when Grandpa spoke up.  “Can she cook?”

Um, what?

DSC_2998

On the resume I was building to be a good wife….cooking wasn’t the top thing in my mind.  I loved the Lord, could sing, play piano, clarinet and guitar.  Teach children, sew, garden, and had the stamina of a workhorse. Surely those things are more important than cooking…but, NO. Grandpa only wanted to know if I could cook, lol.
DSC_3000


If he were still with us, I’d bring him one of these yummy ham pockets. 🙂 He’d want gravy too.

DSC_2996

Ham and Cheese Pockets

Ham and Cheese Pockets

Ingredients

  • 1 2/3 cup warm water
  • 1 Tbs yeast
  • 2 Tbs honey
  • 1 Tbs olive oil
  • 1 tsp salt
  • 4 cups fresh ground Hard White Wheat Flour
  • 5 cups, diced ham (sliced ham works too)
  • 10 slices of cheese (or shredded...whatever.)

Instructions

  1. In a stand mixer, combine the first 5 ingredients and mix up into a firm dough.
  2. Oil dough and cover with a cloth while you preheat the oven to 400 degrees.
  3. After about 30 minutes, divide the dough into 10 balls.
  4. Roll each ball into a circle then top with ham and cheese.
  5. Wrap dough around the filling and place on a cookie sheet.
  6. Bake for 20 minutes or until golden brown.
  7. Brush with melted butter while they are still warm. (Sprinkle with garlic salt too if you want to.)
  8. They are delicious warm or cold and pack well for lunches.
http://www.groceryshrink.com/ham-and-cheese-pockets/

If you like this recipe, you’d love my menu subscription service.

GSP Button 4

It’s about a $1 a week for 27 breakfast, lunch, dinner and snack recipes, a shopping list, and tons of extras.  With help for those who are gluten free, dairy free, or on a fitness plan like Trim Healthy Mama and Fit Yummy Mummy. We now give 2 menus a week, one with everything and one with dinners only.

P.S. There’s just a few hours left to grab your homemaking bundle if you haven’t already.  I’ve loved looking through mine and super excited about some of them in particular.  It was stuff I really wanted to know, but didn’t know how to find out! Sale ends at midnight!

us154-d3159cb8-2b6f-41d4-a449-c77ed8a67cc1-v2

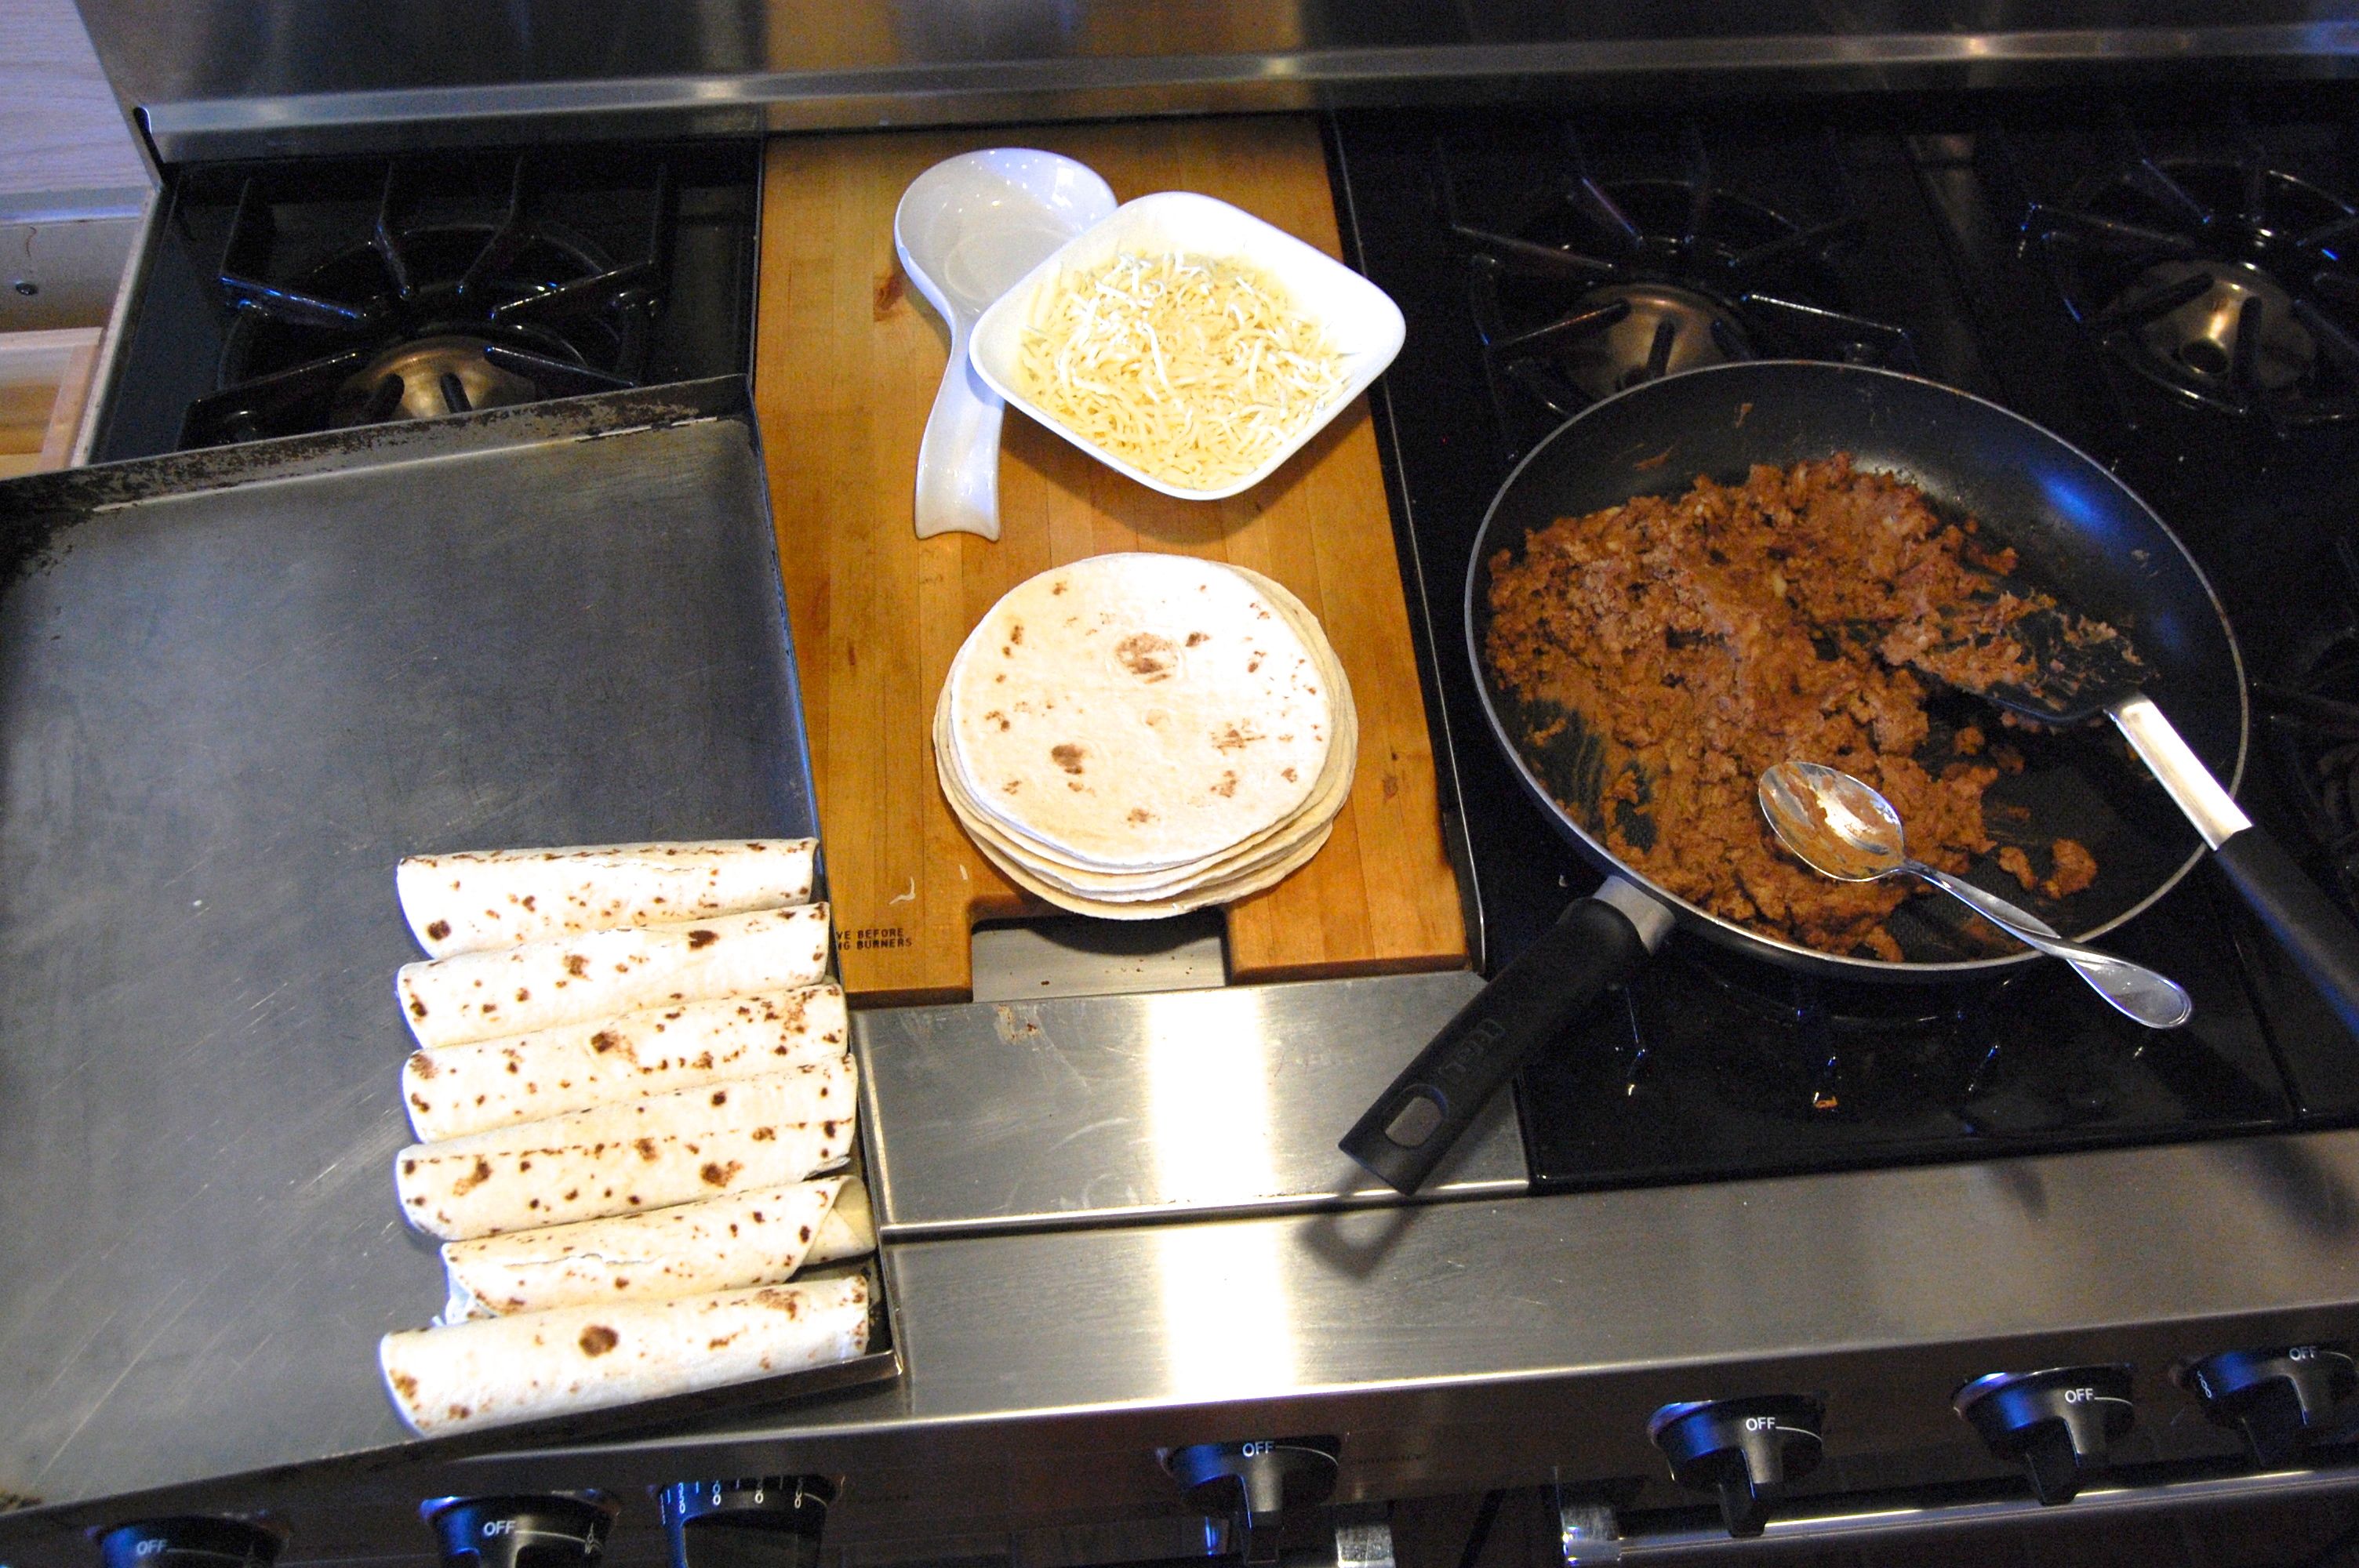
Turkey and Bean Lunch Taquitos


Every week I share 5 packable lunch recipes with my subscribers at Grocery Shrink Plus. This is just one of them, and one of our favorites!

I was trying to photograph these for the blog, and look who couldn’t wait!

Homemade Taco Seasoning Here.

Turkey and Bean Lunch Taquitos

Ingredients

  • 20 6" tortillas
  • 8 oz shredded cheese
  • 1 can (15 oz) refried beans
  • 1 pkg (20 oz) 93% lean ground turkey
  • 2 Tbs taco seasoning (I used homemade)

Instructions

  1. Preheat oven to 400 degrees.
  2. Brown ground turkey with taco seasoning until cooked through. Stir in refried beans.
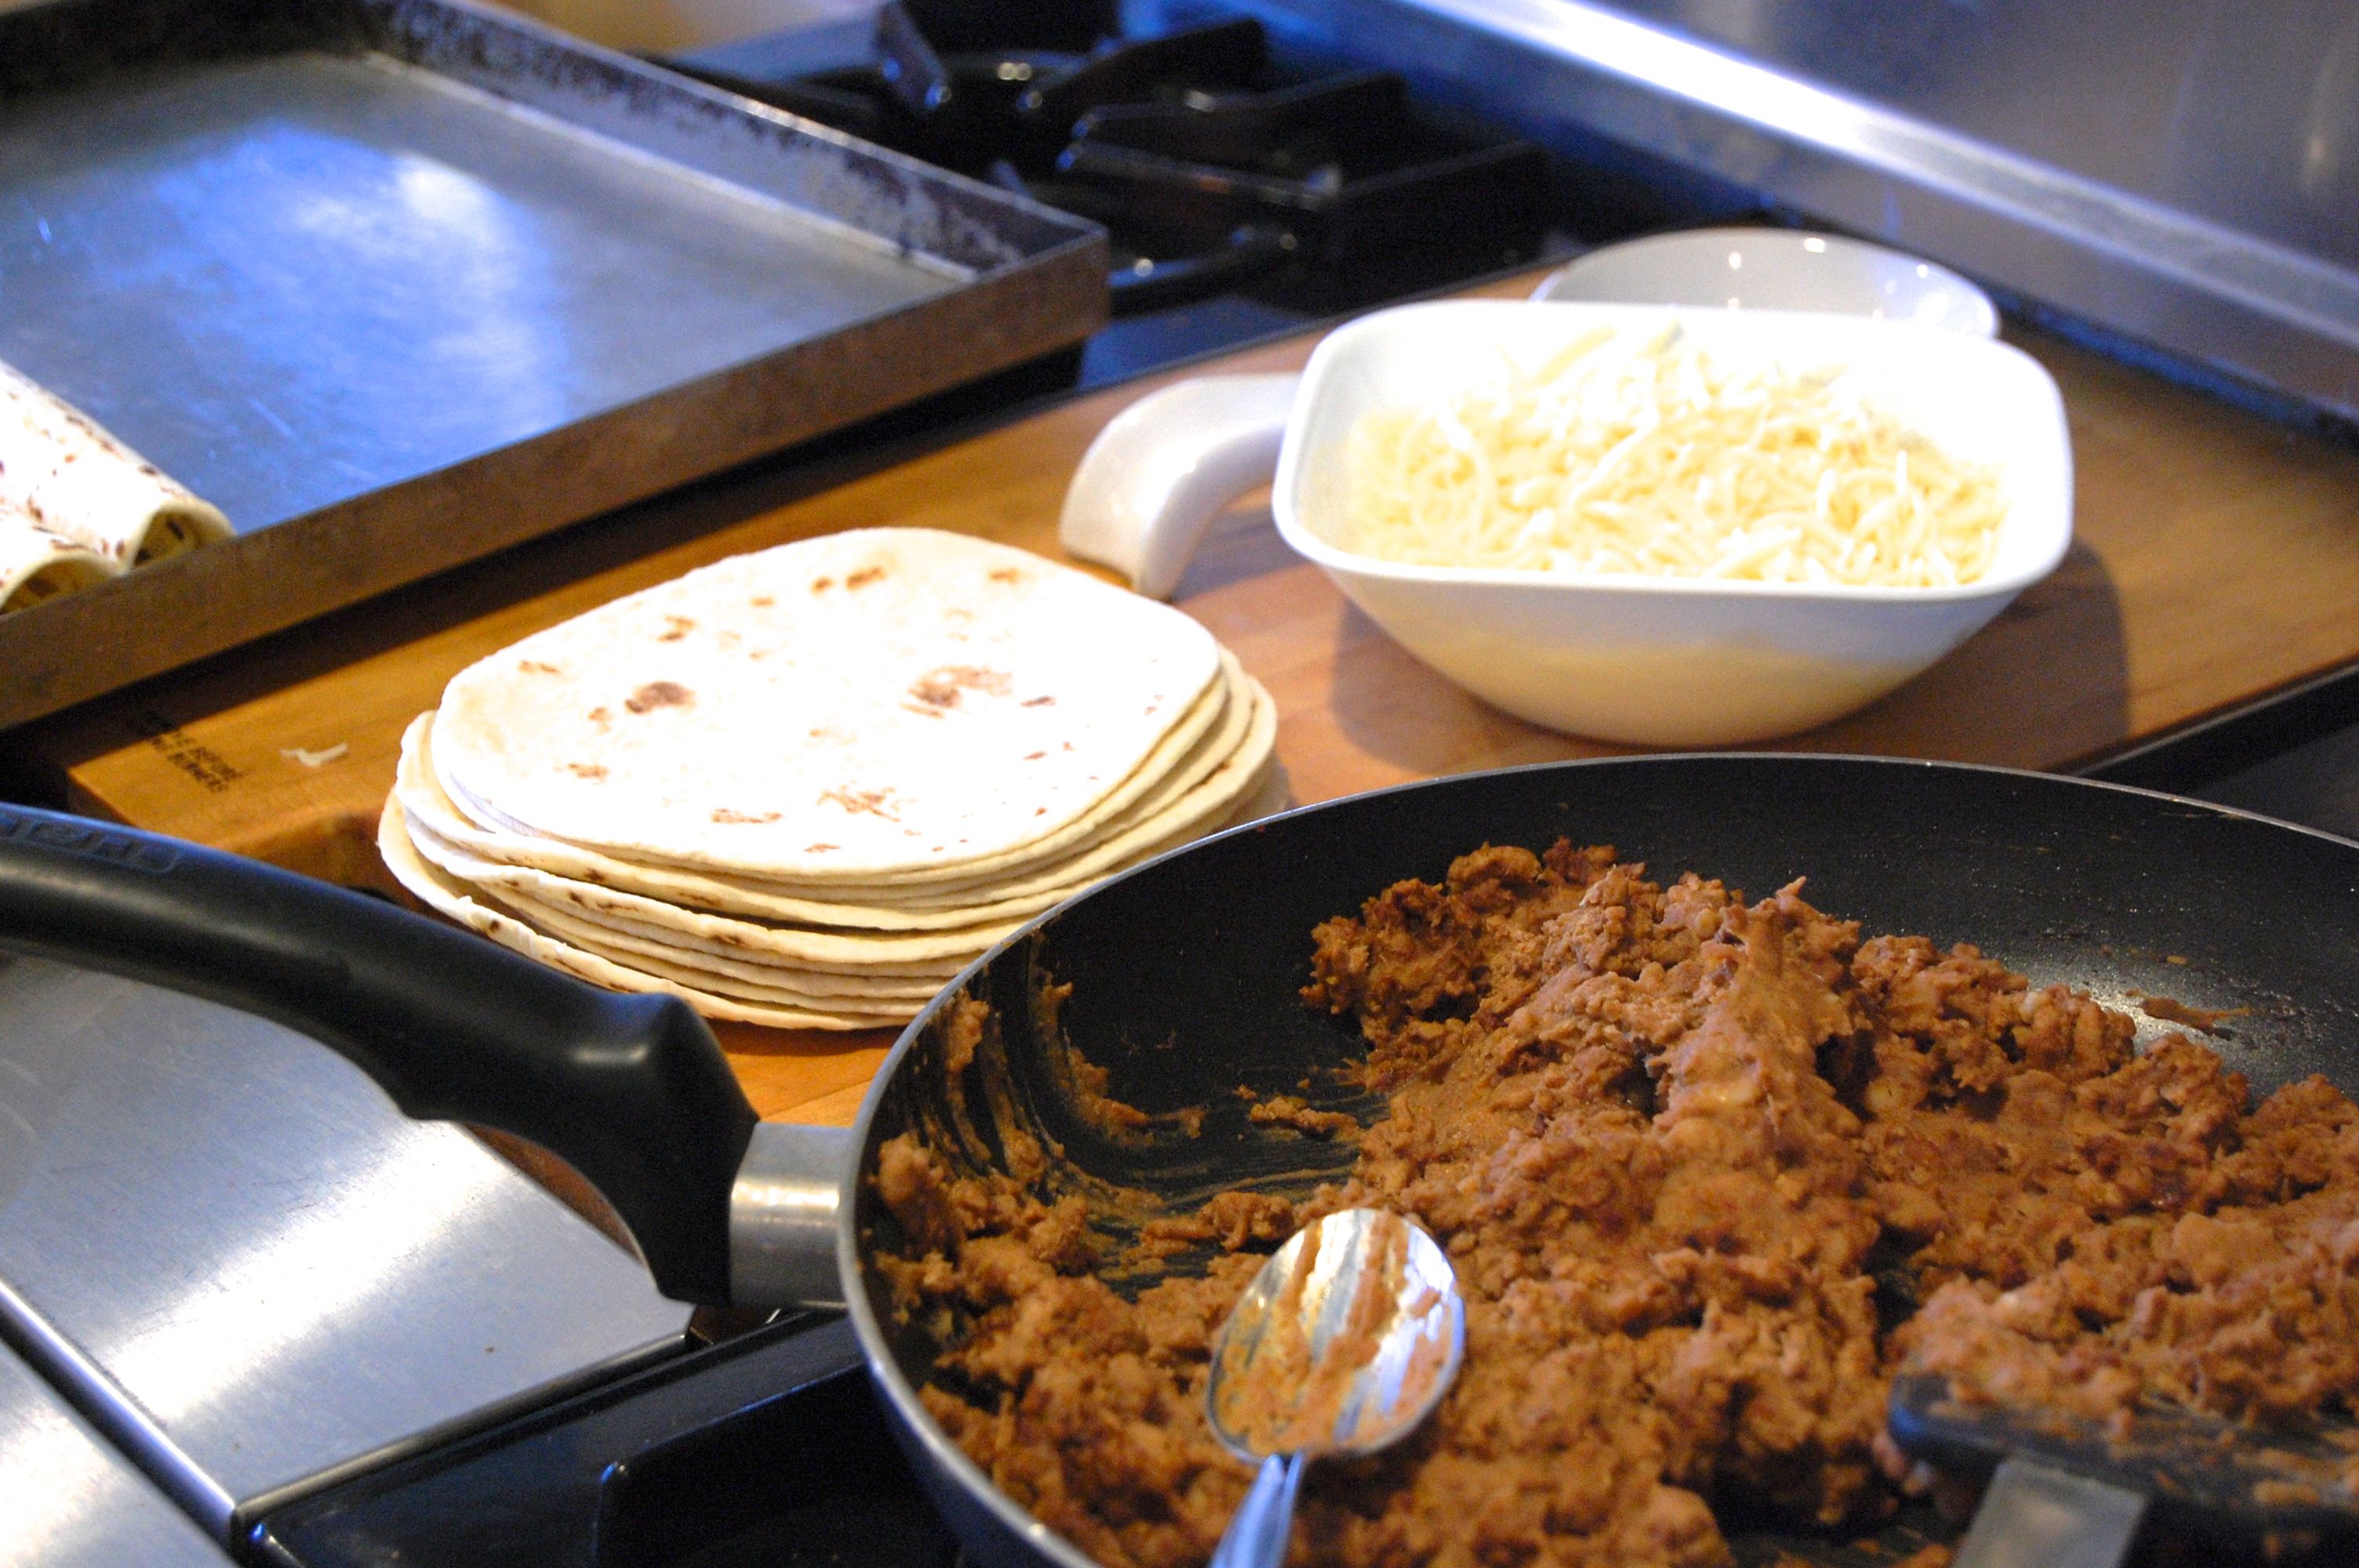
  3. Place a small amount of bean mixture on the edge of each tortilla. Top with cheese. Roll up tightly and place seam side down on a baking sheet.
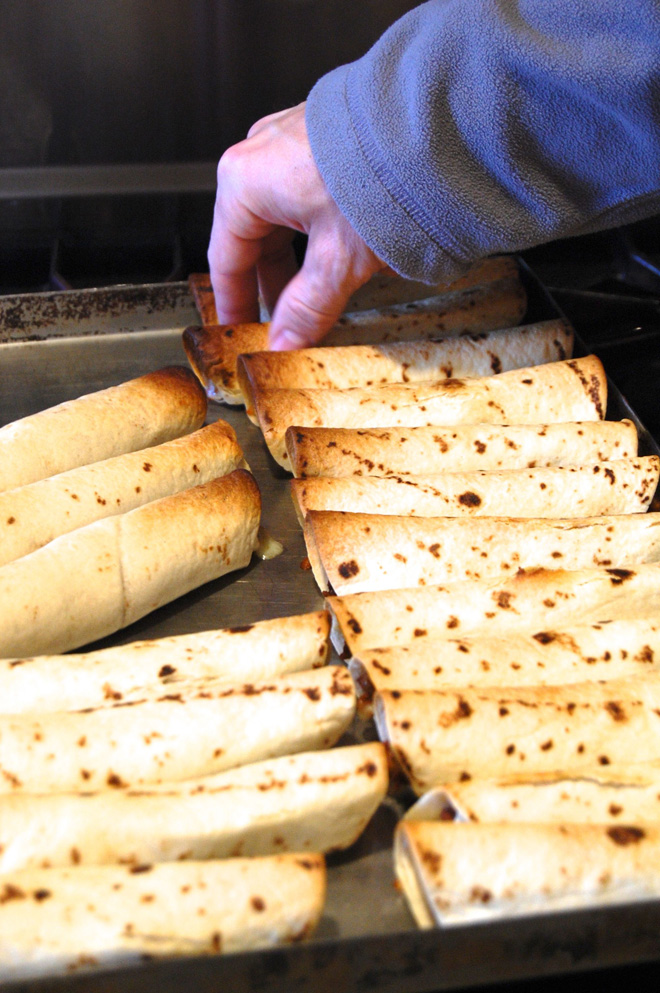
  4. Bake for 15 minutes or until golden brown and crunchy.
http://www.groceryshrink.com/turkey-and-bean-lunch-taquitos/

Homemade Pizza Rolls

We got the privilege of babysitting our cousins the other night.  We used to trade every week but with remodeling/rearranging in both households it’s been awhile. To be honest both families have oldest daughters now who are old enough to babysit their own families.  Trading babysitting really isn’t necessary, but we don’t say that out loud.  The kids LOVE getting together and I like knowing they will have good memories of growing up with their extended family.

I promised the kids I would make pizza and then promptly forgot.  Instead I boiled up two chicken carcasses in the crock pot and made homemade chicken noodle soup.  Except I didn’t watch the time and the noodles got waaaay too soft.  So not only was there no pizza, but the soup was gross.  (I’ll take their word for it–I couldn’t even bring myself to taste it.)
DSC_2356

I had Darren’s favorite junk food frozen pizza rolls in the freezer.  He said we could use them.  But I looked at the number of kids (10) and the number of rolls and knew there would never be enough.  My first thought was to run to the store and grab more, but my budget couldn’t take that.  Whatever I did was going to have to be from what I already had on hand.

My workspace this day was the top of our giant deep freezer. The freezer has it’s own little closet but it had to move out while we tiled the floor. The extra workspace in the kitchen was a blessing.  (The water bottle looks like misplaced junk right here, but it was functioning as my rolling pin.)

DSC_2358

DSC_2360

Normally I make this crust with fresh ground whole wheat flour, but I’m not sure where I packed my wheat grinder.  For now, we just used white.  (The kids tolerate my whole wheat stuff but every one of them prefers white, sigh.)

DSC_2361
DSC_2363I tried to deep fat fry these babies, but that was a disaster.  They unrolled themselves in the hot oil and all the cheese sank to the bottom and melted.  So we slapped them on the griddle instead.  (Baking them in the oven would have been a lot better way to go.  If I had an oven, I would have baked the logs and cut them into bites afterwards to keep all the goodies inside.)

DSC_2366
DSC_2367

DSC_2369

DSC_2364


They didn’t last long.  Every child called these a win (and when they were the course after soggy noodle soup–how could they lose?)

Homemade Pizza Rolls

Homemade Pizza Rolls

Ingredients

  • 1 2/3 cup warm water
  • 1 Tbs yeast
  • 2 Tbs honey
  • 1 Tbs olive oil
  • 1 tsp salt
  • 4 cups flour (unbleached or 100% whole hard white wheat)
  • 1 cup marinara sauce
  • 2 oz pepperoni, chopped
  • 2 cups shredded mozzarella cheese

Instructions

  1. In a bread machine or electric mixer, combine the first 6 ingredients, making sure the salt doesn't come in direct contact with the yeast (use a little flour as a buffer.) Let rise for 1 hour (skip it if you are in a hurry, but the dough will roll out better if you let it relax for an hour.)
  2. Divide dough into 2 balls. Roll each ball into a rectangle 1/4 inch thick. Cut into 3 strips. Stop with marinara, pepperoni and cheese (leaving a border on the edge of the dough plain so you can pinch it closed.) Roll up and pinch closed.
  3. Placed on a baking sheet and bake at 400 degrees for 15 minutes, then cut into bite sized pieces.
  4. Or cook on a 350 degree griddle for 5-7 minutes on each side until golden brown. (Be careful not to burn them.)
http://www.groceryshrink.com/homemade-pizza-rolls/


Coconut Blueberry Muffin in A Mug

DSC_1848

It’s about time for a recipe around here.  And there’s nothing like a contest with a $2000 prize to motivate a little cooking :).  We sure could use the money on our kitchen project, but the lack of a kitchen makes testing recipes more of a challenge.  Ah, who doesn’t like a challenge?

I was hungry for a healthy snack this week while working on the menus.  As part of my job, I look at hundreds of pictures of food.  And it makes me hungry.  Even if I’m stuffed, 5 minutes of looking at gorgeous yummy pictures will convince me that I’m starving.

This little muffin filled me up and let me focus on working and had a nice healthy nutritional profile as a bonus.

With blueberries as the main ingredient, it’s full of antioxidants. It’s also dairy free, gluten free, sugar free and low carb. Has a good amount of protein.  And is ready in just 2 minutes. Are you in love yet?

DSC_1840

DSC_1842

DSC_1844 DSC_1846 DSC_1847

Coconut Blueberry Muffin in A Mug

Coconut Blueberry Muffin in A Mug

Ingredients

  • 1 Tbs Coconut Flour
  • 2 Tbs Almond Flour
  • 1 Tbs Coconut flakes (opt.)
  • Dash of pure stevia extract (like nunaturals) or 2 packets of truvia
  • 1 tsp vanilla extract
  • 1/8 tsp baking powder
  • 1 egg
  • 1 tsp coconut oil (up to 1 Tbs)
  • 2-3 Tbs milk or water
  • 1/4 cup fresh or frozen blueberries

Instructions

  1. Combine everything in a large greased coffee mug, stirring in the blueberries last.
  2. Microwave on high for 2 minutes, or just until the center is set. Do not over cook.
  3. Serve with a dollop of coconut whipped cream or cream cheese frosting.
http://www.groceryshrink.com/coconut-blueberry-muffin-in-a-mug/

P.S.  Today is the last day to use your 50% off coupon for Freezer Week and Mix Week